Begin by identifying the element you want to visualize. This process starts with finding its atomic number and understanding its electron configuration. For example, hydrogen (atomic number 1) has just one electron, which will occupy the closest energy level to the nucleus.
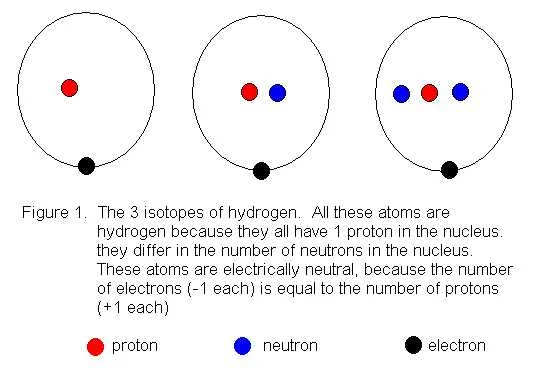
Next, draw the nucleus. Represent the protons and neutrons as small circles in the center. For hydrogen, there is only one proton, and no neutrons are present. For elements with more protons, ensure you add the appropriate number of neutrons as well.
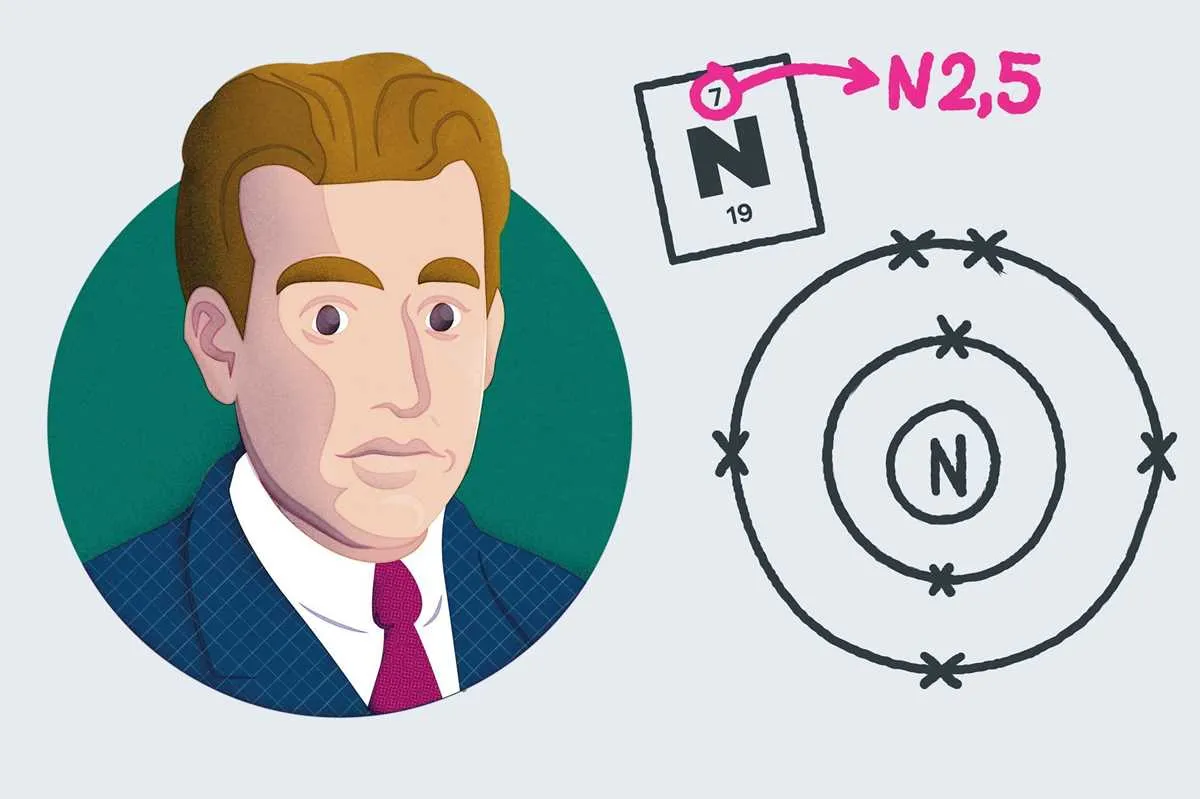
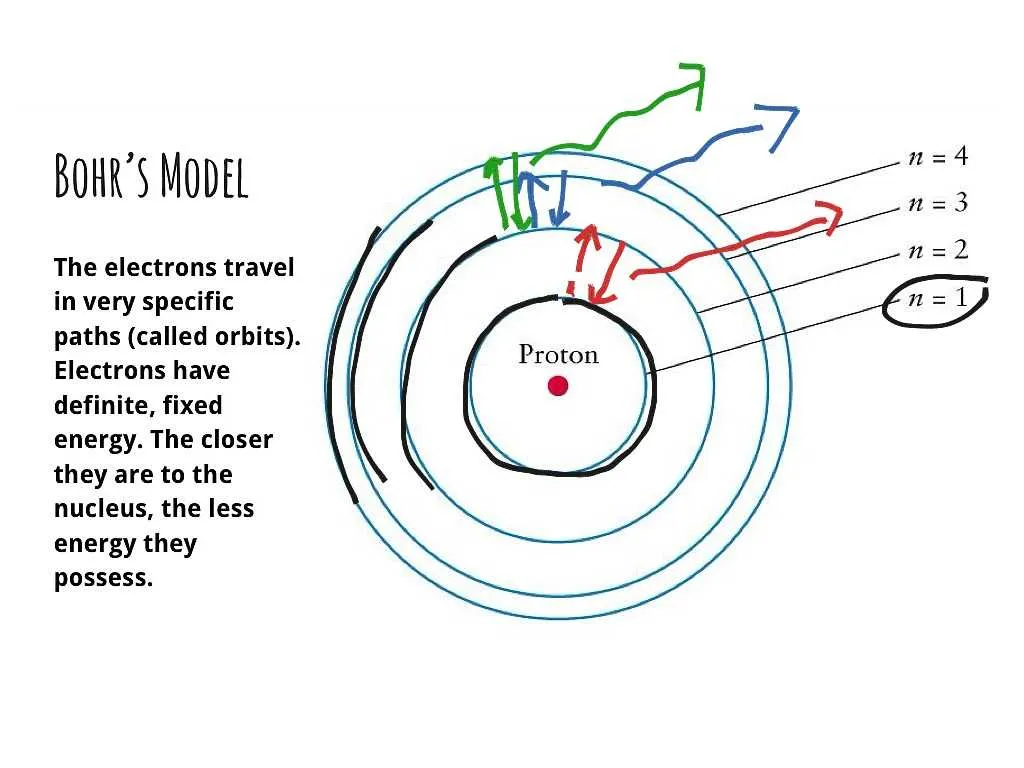
Then, place electrons in concentric circles around the nucleus, following the electron shell model. The first shell can hold up to two electrons, the second up to eight, and the third can accommodate 18. Distribute the electrons accordingly, starting from the innermost shell. For oxygen (atomic number 8), place two electrons in the first shell and six in the second.
Finally, label the energy levels and indicate the number of electrons in each shell. This helps visualize the structure and behavior of the atom, offering insight into its chemical properties and reactivity. For larger atoms, additional shells will be filled according to the periodic table rules.
Steps to Draw an Atomic Model

Start by determining the atomic number of the element, as this tells you how many protons and electrons the atom has. For instance, hydrogen has one proton and one electron, while carbon has six protons and six electrons. Write down this number as a reference.
Next, place the nucleus in the center. The nucleus consists of protons and neutrons. Represent the protons with small circles labeled with their positive charge. Neutrons can be shown as neutral circles. For simplicity, you can omit neutrons in some cases, especially for basic elements.
To show electron shells, draw concentric circles around the nucleus. Each shell corresponds to an energy level. The first shell can hold up to two electrons, the second up to eight, and the third can hold up to 18 electrons. Fill each shell starting from the innermost shell, following the electron configuration of the element.
Electron placement follows the principle of maximum stability, meaning electrons fill lower energy levels first. If the element has more electrons than can fit in the first two shells, start placing electrons in the next shell.
Finally, indicate the electrons on each shell as dots or small circles, ensuring you fill them according to the element’s configuration. Make sure the shells are evenly spaced and labeled with the corresponding energy level number.
Tip: Double-check the number of electrons to make sure it’s consistent with the atomic number. For ions, adjust the electron count based on charge: negative ions gain electrons, while positive ions lose them.
Choosing the Right Element for Your Atomic Model

Selecting the right element depends on the level of complexity you need to illustrate and the number of electron shells involved.
- Simple Elements: Start with elements from the first few rows of the periodic table, like hydrogen, helium, or lithium. These have fewer electrons and are easier to model.
- Atomic Number: The number of protons determines the number of electrons in a neutral atom. Choose elements with atomic numbers ranging from 1 to 20 for simplicity.
- Electron Shells: Each shell can hold a specific number of electrons: the first shell holds up to 2, the second up to 8, and the third can hold up to 18. This pattern helps in creating balanced visual representations.
- Elemental Behavior: Consider the element’s position on the periodic table. Elements in the same column often share similar electron configurations, which can be useful for comparison.
- Ion Consideration: If you’re working with ions, remember that electrons are gained or lost, which alters the model. For example, sodium loses one electron to form a Na+ ion.
For a basic understanding, start with elements like carbon (C), nitrogen (N), or oxygen (O), as they offer clear, easily visualized structures. As you progress, experiment with elements from higher rows to introduce more complexity.
Drawing the Correct Number of Electron Shells
Start by identifying the element’s atomic number, which indicates the total number of electrons. Each electron shell can hold a specific maximum number of electrons: the first shell holds up to 2, the second shell up to 8, the third shell up to 18, and the fourth shell up to 32. Begin placing electrons in the innermost shell, then move outward to the next shell, filling them according to the capacity of each shell.
For example, oxygen (atomic number 8) will have 2 electrons in the first shell and 6 electrons in the second shell. If the element has more than 10 electrons, continue adding them to subsequent shells, ensuring the number does not exceed the shell’s maximum capacity. The correct representation of electron shells ensures a balanced and accurate depiction of an atom’s electron configuration.
Remember to follow the principle of filling lower-energy shells first. This helps avoid misrepresentations of the atom’s structure and energy states. The first shell is always the closest to the nucleus, and shells further from the nucleus contain higher energy levels.
Placing Electrons in the Shells According to the Aufbau Principle

Start by filling the lowest energy levels first. Electrons occupy orbitals in order of increasing energy, following the sequence 1s, 2s, 2p, 3s, 3p, 4s, 3d, 4p, and so on. The Aufbau principle dictates that the electrons will fill orbitals from the lowest to the highest energy state, ensuring the most stable configuration.
Use the diagonal rule to predict the order of orbital filling. This rule suggests that orbitals are filled by moving diagonally across a periodic table, from the lower-left to the upper-right, matching the increasing energy levels.
Each orbital can hold a maximum of two electrons with opposite spins, as per the Pauli exclusion principle. After filling an orbital, place electrons in the next available orbital at the same energy level, ensuring the configuration adheres to the Hund’s rule – electrons prefer to occupy degenerate orbitals singly before pairing up.
For example, the electron configuration of oxygen (atomic number 8) will be 1s² 2s² 2p⁴. The 1s orbital is filled first, followed by the 2s orbital. The 2p orbitals then begin filling with one electron in each of the three 2p orbitals before pairing occurs.