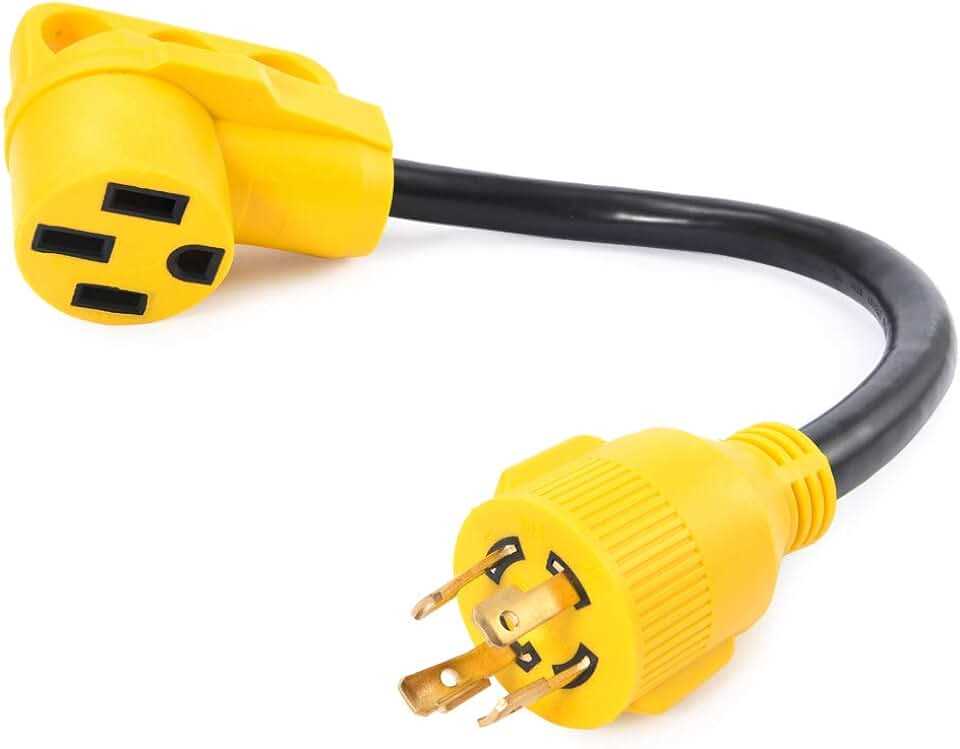
If you own a camper or are planning on purchasing one, it’s important to understand the different electrical components and wiring options available. One key component is the 30 amp plug, which is used to connect your camper to a power source. Understanding how to wire a 30 amp plug is essential to ensure proper electrical connections and to maintain the safety of your camper.
A 30 amp plug is commonly used for smaller campers and RVs that require a moderate amount of power. It provides enough electricity to run various appliances and systems in your camper, such as lights, air conditioning, refrigerator, and other essential electrical devices. Wiring a 30 amp plug involves connecting the appropriate wires to the corresponding terminals in the plug to ensure a correct and secure electrical connection.
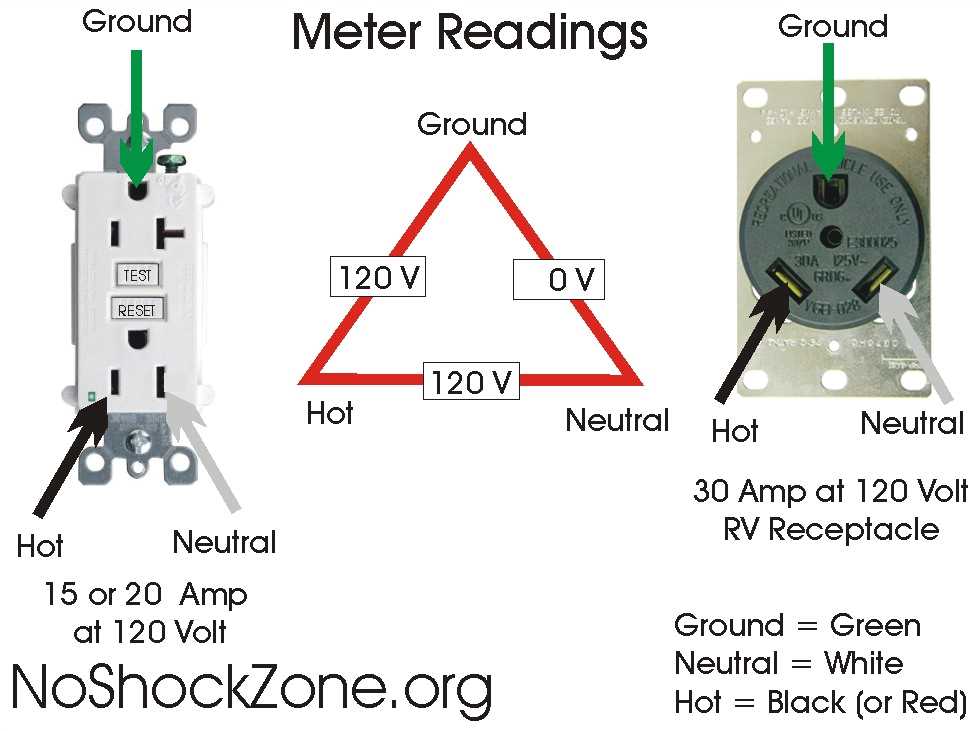
When wiring a 30 amp plug, it’s essential to follow the specific color-coding conventions for the different wires. The three wires typically used are the black wire, white wire, and green or bare copper wire. The black wire is the hot wire, carrying the electrical current from the power source to the camper. The white wire is the neutral wire, providing a return path for the current. The green or bare copper wire serves as the ground wire, ensuring electrical safety by redirecting any stray current to the ground.
Understanding Camper 30 Amp Plug Wiring
When it comes to wiring a camper with a 30 amp plug, it’s important to understand the basics to ensure a safe and efficient electrical system. A 30 amp plug is commonly used for recreational vehicles (RVs) and campers that require a moderate amount of power. Here’s a breakdown of how camper 30 amp plug wiring works and the key components.
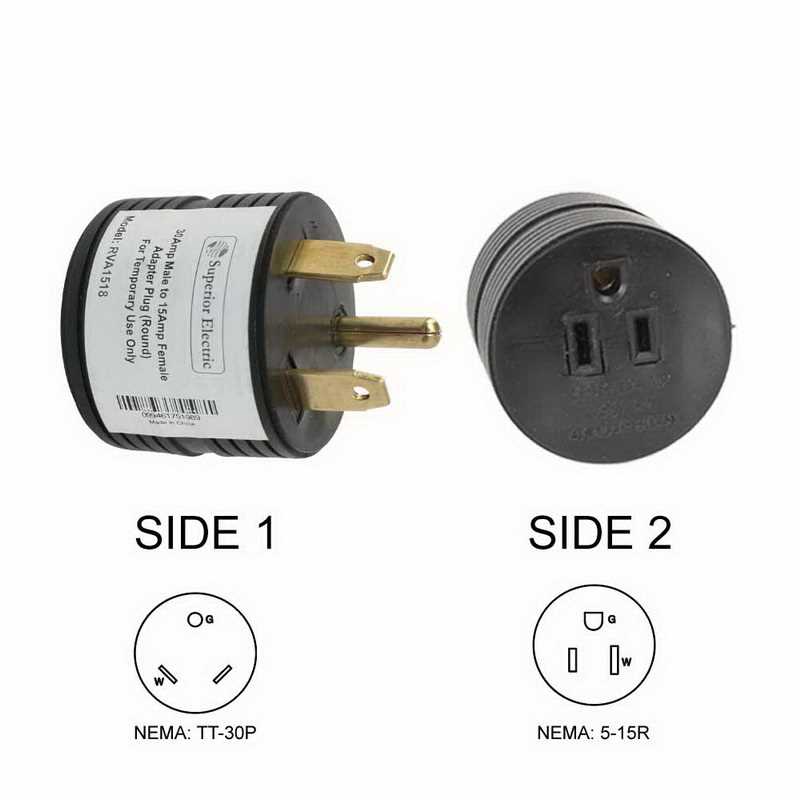
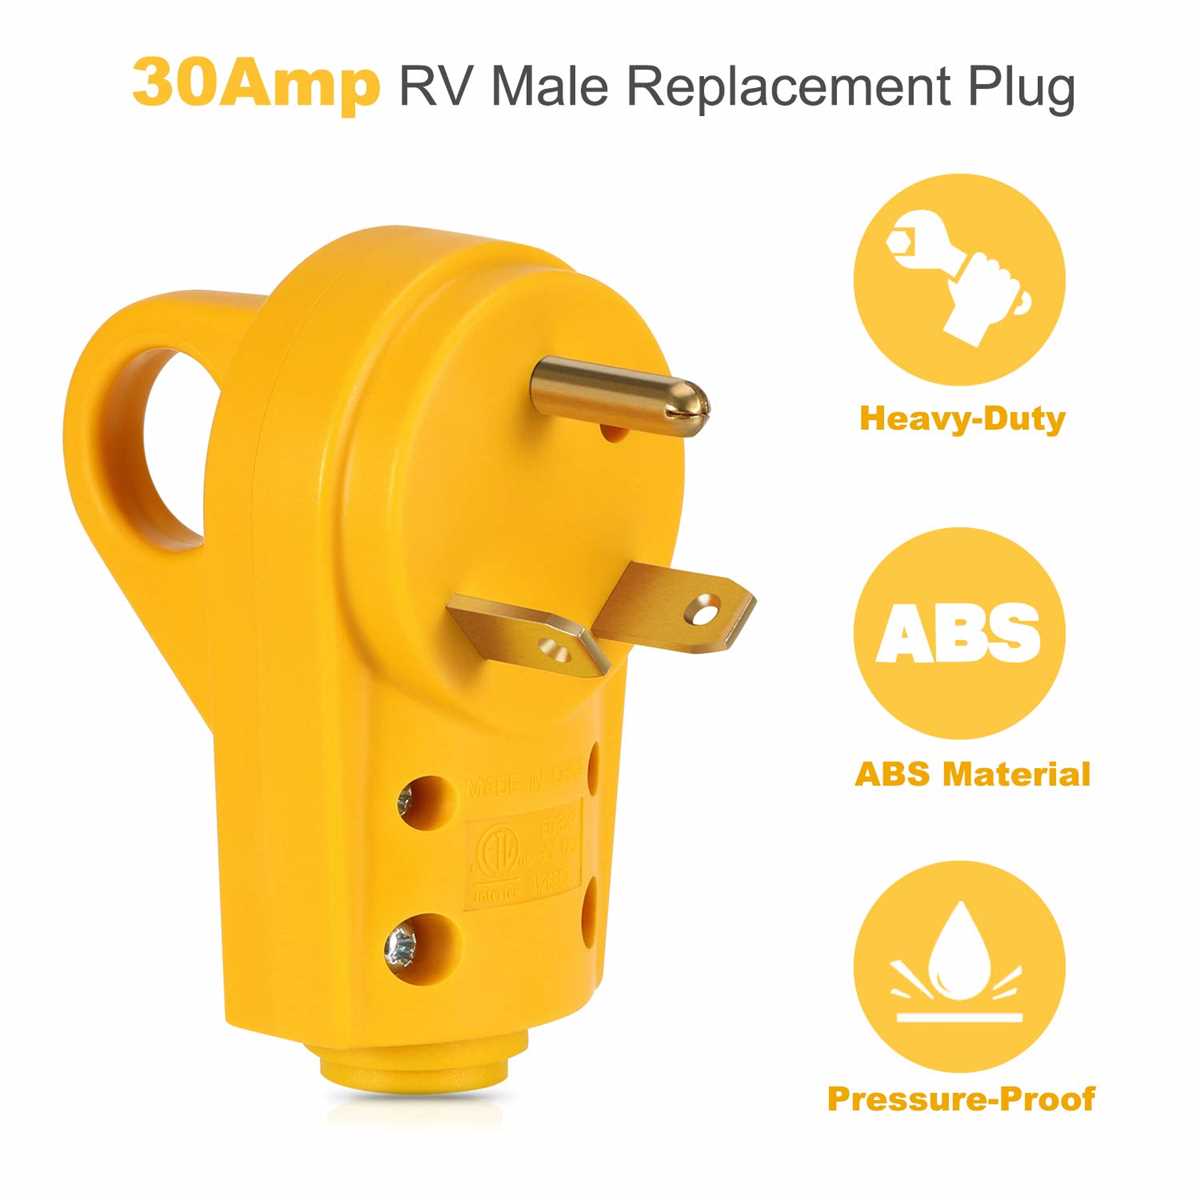
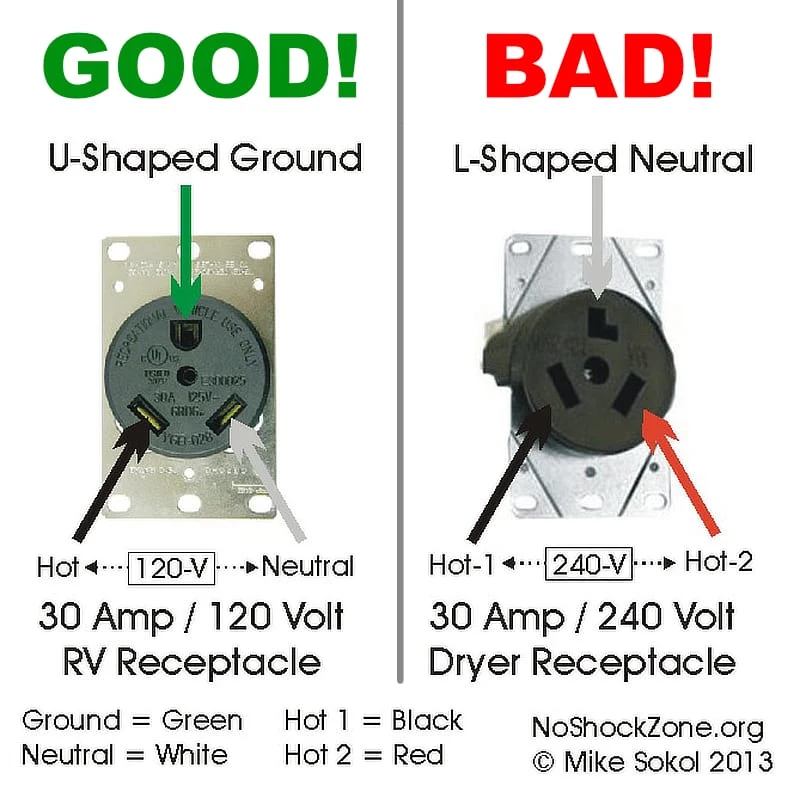
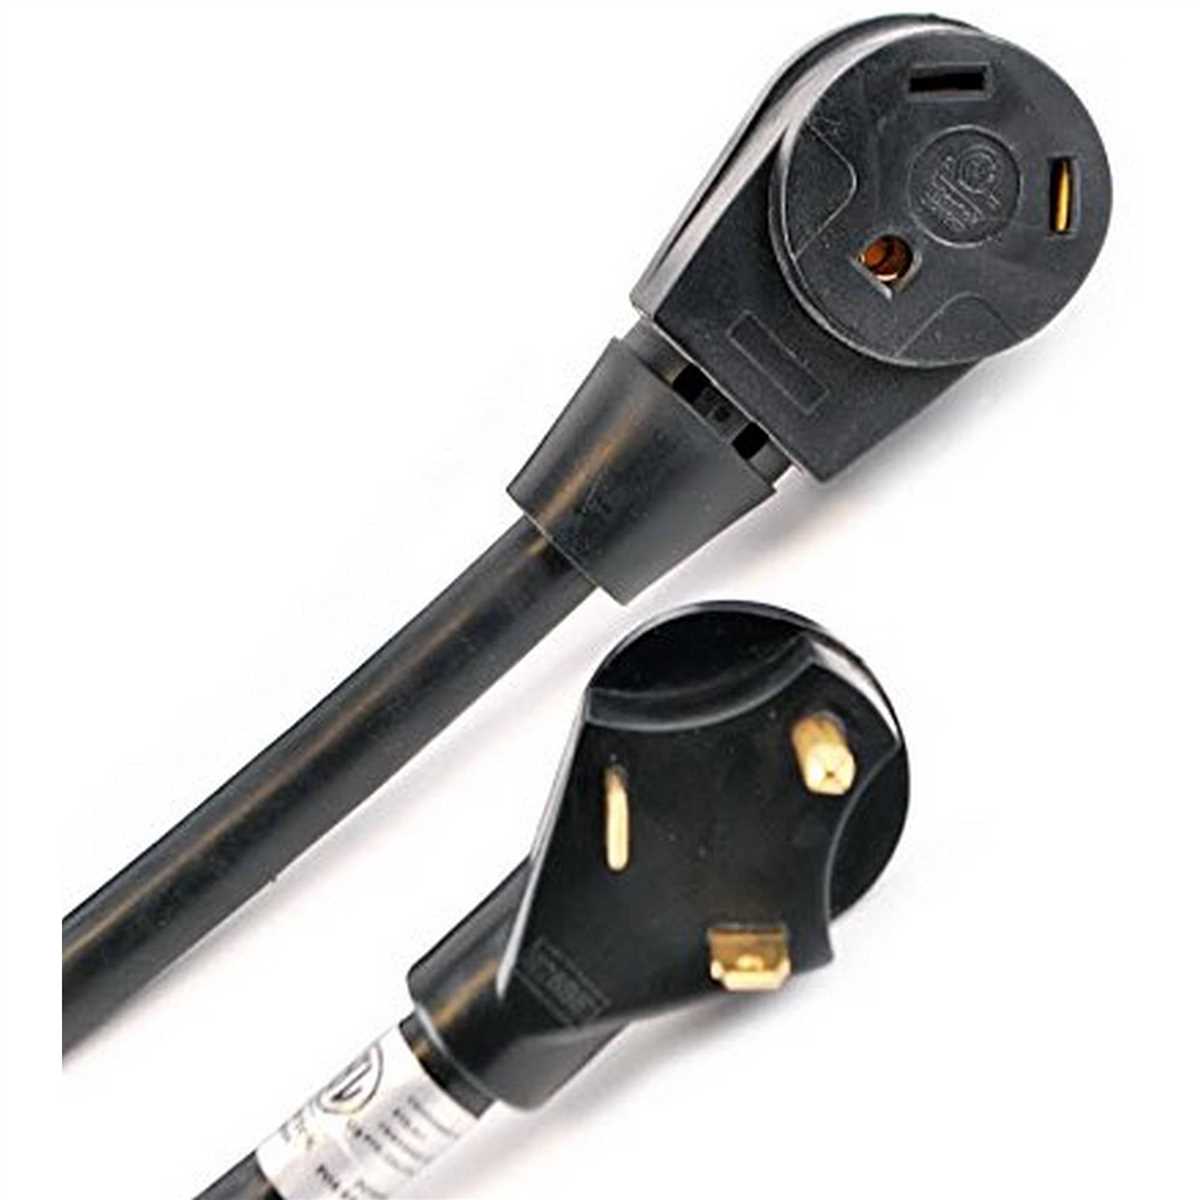
1. The 30 Amp Plug: The 30 amp plug used in camper wiring is a three-pronged male plug with two flat pins and a round grounding pin. It is designed to handle a maximum of 30 amps of electrical current, providing enough power to run the appliances and systems in most RVs and campers.
2. The Shore Power Connection: To connect your camper to a power source at a campsite or RV park, you will need a shoreline power cord. This cord is equipped with a female 30 amp plug that matches the male plug on your camper. Simply plug in the cord to the campsite’s power pedestal or the RV park’s electrical hookup, ensuring a secure connection.
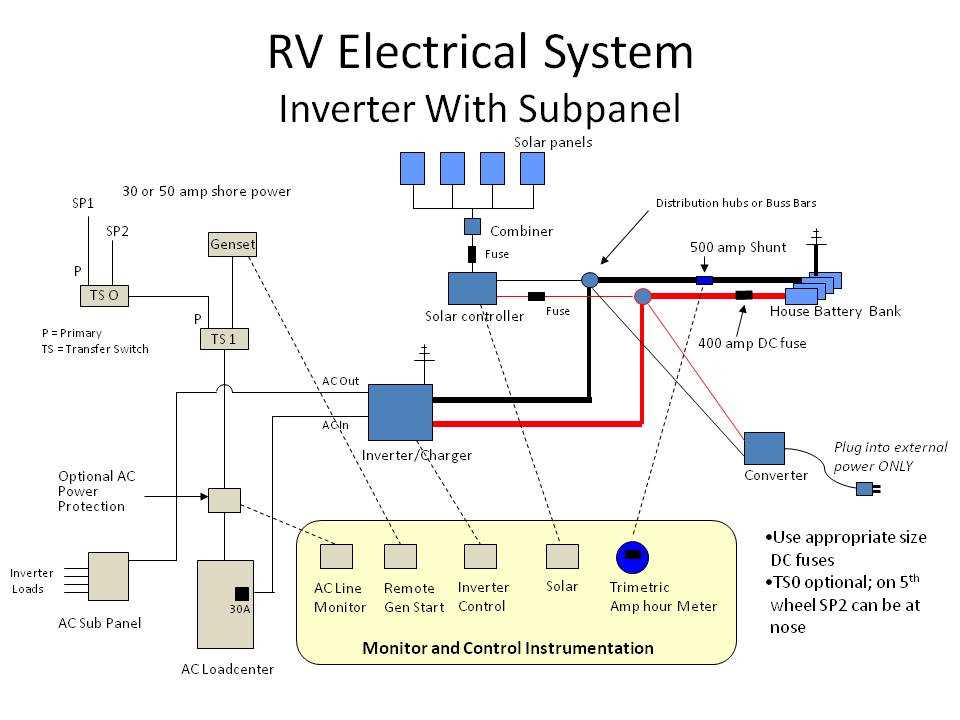
3. The Distribution Panel: Once connected to shore power, the electrical current enters the camper’s distribution panel. This panel acts as the central hub for the electrical system, distributing power to various outlets and appliances in the camper. It also houses the circuit breakers and fuses to protect the electrical system from overloads and short circuits.
4. Wiring Diagram: A wiring diagram specific to your camper’s make and model will be provided by the manufacturer. This diagram illustrates the correct wire connections between the 30 amp plug, distribution panel, and various appliances and outlets. It’s important to follow this diagram carefully to ensure proper wiring and avoid any electrical issues.
5. Safety Precautions: When dealing with electrical systems, safety should always be a top priority. Before connecting your camper to shore power, make sure to switch off the main circuit breaker in the distribution panel. This will prevent any electrical surges or accidents while making the connection. It’s also crucial to regularly inspect the wiring and connections for any signs of wear or damage.
By understanding the basics of camper 30 amp plug wiring, you can ensure a safe and reliable electrical system in your camper. Following the manufacturer’s wiring diagram and taking necessary safety precautions will provide peace of mind during your adventures on the road.
What is a 30 amp plug?
A 30 amp plug is a type of electrical plug that is commonly used for RVs, campers, and other vehicles that require a 30 amp power supply. It is designed to provide a higher level of electrical current than standard household plugs, which are typically rated at 15 or 20 amps.
The 30 amp plug, also known as an RV plug or a NEMA TT-30 plug, has three prongs that are arranged in a specific pattern. The prongs are usually flat blades, with one prong being larger than the others. This larger prong is the grounding prong, which helps to prevent electrical shocks and ensures the safety of the user.
A 30 amp plug is usually wired to a 30 amp circuit breaker in the electrical system of the RV or camper. This circuit breaker is designed to protect the electrical system from overload and prevent damage to the wiring and appliances. The 30 amp plug is typically used to power the air conditioning unit, refrigerator, microwave, and other high-powered appliances in the RV or camper.
When connecting a 30 amp plug, it is important to make sure that the electrical system is properly grounded and that the plug is securely connected to the power source. It is also recommended to use a surge protector to protect the electrical system from power surges and fluctuations.
Why do campers use 30 amp plugs?
When it comes to providing electrical power to campers, RVs, and motorhomes, the use of 30 amp plugs is quite common. These plugs are specifically designed to handle the electrical demands of larger recreational vehicles and provide a safe and reliable power supply.
One of the main reasons campers use 30 amp plugs is the higher power requirements of larger RVs. These vehicles often come equipped with various appliances and systems that need a significant amount of electricity to operate, such as air conditioning units, microwaves, refrigerators, and entertainment systems. A 30 amp plug can handle the load of multiple devices running simultaneously, ensuring that campers can enjoy all the comforts of home while on the road.
In addition, 30 amp plugs are designed to provide a more stable power supply compared to standard household outlets. They have specific wiring configurations and heavier gauge wires that can handle higher currents without overheating or causing electrical hazards. This level of electrical protection is essential for the safety of both campers and their vehicles.
Overall, the use of 30 amp plugs in campers is necessary to meet the electrical demands of larger recreational vehicles and ensure a reliable source of power while camping. These plugs provide the capacity and safety features needed to support multiple appliances and systems, making them an essential component of a camper’s electrical system.
How to wire a camper with a 30 amp plug
A camper typically requires a 30 amp plug to power its electrical system. Wiring a camper with a 30 amp plug is a relatively straightforward process, but it requires attention to safety and proper wiring techniques. Here are the general steps to wire a camper with a 30 amp plug:
Gather the necessary materials
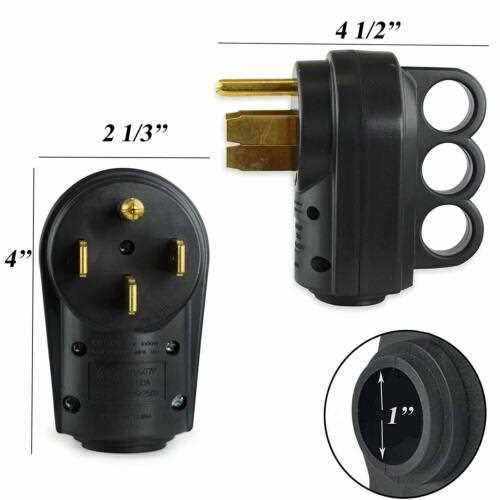
Before starting the wiring process, gather all the necessary materials, including a 30 amp plug, appropriate wires, wire cutters, wire strippers, wire connectors, electrical tape, and a screwdriver.
Turn off the power
Before working with any electrical wiring, it is crucial to turn off the power source. This can typically be done by turning off the corresponding breaker in the main circuit breaker panel or by unplugging the power source from its outlet.
Prepare the wires
Using wire cutters, cut the appropriate length of wire needed to connect the camper to the 30 amp plug. It is important to choose a wire gauge that can handle the current load of the camper’s electrical system. Strip the insulation off the ends of the wires using wire strippers, exposing around ½ inch of bare wire.
Connect the wires to the plug
Depending on the type of 30 amp plug being used, there will be specific instructions for connecting the wires. Typically, the wires will need to be inserted into the corresponding terminals and secured using screw-type connectors. It is important to follow the wiring diagram provided with the plug and ensure that the wires are connected to the proper terminals.
Secure the connections
Once the wires are connected to the plug, use wire connectors to secure the connections. This will help prevent any accidental disconnections or loose wiring that could lead to electrical issues. Once the connections are secured, wrap electrical tape around them for added insulation and protection.
Test the wiring
After the wiring is completed, it is important to test the system to ensure everything is functioning correctly. Plug the camper into a power source and check that all the electrical components, such as lights and appliances, are working properly.
By following these steps and taking the necessary safety precautions, wiring a camper with a 30 amp plug can be done with relative ease. However, if you are unsure or uncomfortable with performing electrical work, it is always recommended to consult a professional electrician to ensure the job is done correctly and safely.
Required tools and materials for camper 30 amp plug wiring
When it comes to wiring a camper’s 30 amp plug, there are several tools and materials that you will need to ensure a successful installation. These tools and materials are essential for completing the job safely and efficiently. Here are some of the required items:
Tools:
- Wire strippers: This tool is necessary for removing the insulation from the wires to make connections.
- Wire cutters: You will need wire cutters to trim the wires to the correct length.
- Screwdriver set: A set of screwdrivers with various sizes and types will be needed for securing connections.
- Drill: In some cases, a drill may be required to create holes for mounting the plug.
- Multimeter: A multimeter will help you test the voltage and continuity of the wires to ensure a proper connection.
- Electrical tape: Electrical tape is crucial for insulating and protecting the connections.
Materials:
- 30 amp plug: The main component of the wiring connection, the plug should be specifically designed for a 30 amp circuit.
- Electrical wiring: You will need the appropriate gauge of electrical wiring for the 30 amp circuit, typically 10 or 8 gauge.
- Wire connectors: Wire connectors, such as twist-on wire nuts, will be needed to securely connect the wires together.
- Wire clamps: Wire clamps are necessary to secure the wires and prevent them from being damaged.
- Mounting brackets: If the plug needs to be mounted, you will need mounting brackets to secure it in place.
- Grounding wire: A grounding wire is essential for safety and should be connected to the appropriate ground connection.
Having these tools and materials on hand before starting the camper 30 amp plug wiring project will help ensure a smooth installation process. It is also important to follow any specific instructions provided by the manufacturer and to comply with local electrical codes to ensure a safe and reliable installation.
Step-by-step guide to wiring a camper with a 30 amp plug
Wiring a camper with a 30 amp plug is a crucial step in ensuring that your camper has a reliable source of electrical power. Whether you’re setting up a new camper or upgrading an existing one, following these steps will help you avoid any potential electrical hazards and ensure that your camper is correctly wired.
Step 1: Gather the necessary materials and tools
Before you begin wiring your camper, make sure you have all the necessary materials and tools. You will need a 30 amp RV plug, electrical wire suitable for outdoor use, wire cutters, wire strippers, electrical tape, and a screwdriver. Additionally, it’s important to have a clear understanding of your camper’s electrical system and the power requirements of your appliances.
Step 2: Turn off the power supply
Before you start working on any electrical wiring, it’s essential to turn off the power supply to your camper. This will help prevent any accidents or damages while you work. Locate the main breaker or disconnect switch for your camper’s electrical system and switch it off.
Step 3: Remove the existing wiring
If you’re upgrading an existing camper, you will need to remove the old wiring before installing the 30 amp plug. Carefully disconnect the wires from the old plug, making sure to note the original configuration. Use wire strippers to remove the insulation from the wires, exposing the bare copper ends.
Step 4: Install the 30 amp plug
Take the 30 amp plug and carefully connect the wires to their appropriate terminals. Typically, there will be three terminals: hot, neutral, and ground. The hot wire (usually black or red) should be connected to the brass-colored terminal. The neutral wire (usually white) should be connected to the silver-colored terminal. The ground wire (usually green) should be connected to the green-colored terminal.
Step 5: Secure and test the wiring
Once all the wires are securely connected, use a screwdriver to tighten the terminal screws. Ensure that there is no exposed wire and that the connections are tight. Once everything is secure, turn on the power supply to your camper and check if everything is functioning properly.
Step 6: Regular maintenance and inspections
After wiring a camper with a 30 amp plug, it’s essential to regularly inspect and maintain the electrical system. Check for any signs of wear or damage, and replace any faulty components immediately. Additionally, it’s crucial to follow the recommended maintenance schedule provided by your camper manufacturer to ensure safe and reliable operation.
By following these steps and taking proper precautions, you can wire your camper with a 30 amp plug safely and efficiently. If you are unfamiliar with electrical work, it may be best to consult a professional electrician to ensure the job is done correctly.
Common issues and troubleshooting tips for camper 30 amp plug wiring
In this article, we have discussed the importance of proper wiring for camper 30 amp plug and the necessary steps to ensure a safe and reliable electrical connection. However, even with proper installation, there can still be some common issues that may arise. Here are a few troubleshooting tips to help you address these issues:
1. No power at the camper’s electrical outlets
If you have connected your camper to a 30 amp power source but there is no power at the electrical outlets inside, there could be a few potential problems:
- Check the circuit breaker on the power pedestal to ensure it hasn’t tripped. Reset if necessary.
- Inspect the camper’s circuit breaker panel for any tripped breakers. Reset if needed.
- Make sure the power cord is securely plugged into both the camper’s inlet and the power source.
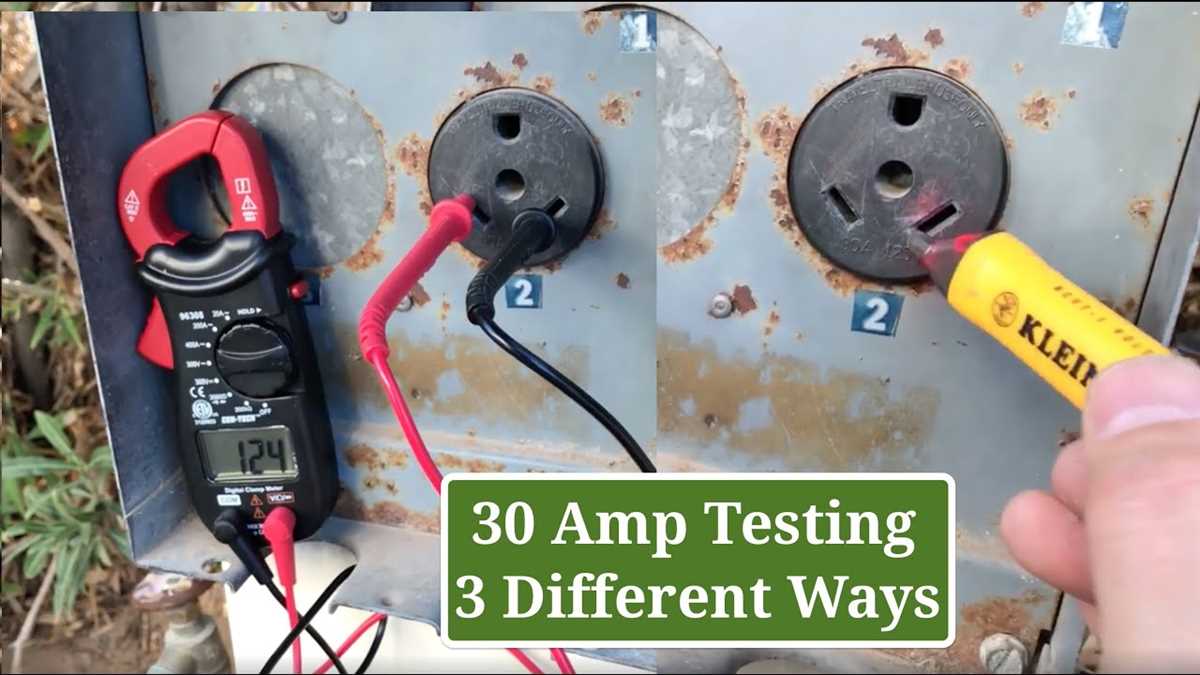
- Test the power source with a voltage tester to ensure it is delivering power.
2. Overheating or melted plug
If you notice overheating or melting of the plug, it is important to address the issue promptly as it can be a fire hazard. Here are a few steps to take:
- Unplug the power cord immediately and let it cool down.
- Inspect the plug for any visible damage or loose connections.
- Check the wire connections inside the plug for any loose or frayed wires. If necessary, consult a professional electrician to repair or replace the plug.
- Consider upgrading to a higher quality plug that is specifically designed for high amp usage.
3. Inconsistent power supply
If you are experiencing inconsistent power supply to your camper, where the power goes on and off intermittently, try the following troubleshooting tips:
- Check the power pedestal for any loose connections or signs of damage. Tighten any loose connections and report any damages to the campground management.
- Inspect the power cord for any visible damage or frayed wires. Replace if necessary.
- Test the power source with a voltage tester to ensure it is providing a stable power supply.
- If you have multiple appliances running simultaneously, try reducing the load by turning off some appliances to see if that stabilizes the power supply.
By following these troubleshooting tips, you can address common issues with camper 30 amp plug wiring and ensure a safe and reliable electrical connection for your camper. Remember, if you are unsure or uncomfortable with any electrical repairs, it is always best to consult a professional electrician who can help you with the troubleshooting and repairs.