When it comes to creating professional and visually appealing diagrams, Microsoft Word offers a wide range of tools and features. Among them is the ability to draw Venn diagrams, which are useful for comparing and contrasting different sets of data or ideas. Whether you are a student, a teacher, or a professional, being able to create Venn diagrams in Word can greatly enhance your presentations, reports, and projects.
Creating a Venn diagram in Word is a straightforward process that can be done in just a few simple steps. First, open a new document in Word and go to the “Insert” tab. From there, click on the “Shapes” button and select the “Ellipse” shape. This will allow you to draw the circles that will represent each set in your Venn diagram.
Next, click and drag on the document to create the first circle. To duplicate the circle and create the second one, simply hold down the “Ctrl” key and drag the first circle to the desired position. Repeat this step for the third circle if needed. Once you have all the circles in place, you can resize and reposition them as necessary.
…
Draw Venn Diagram in Word
Creating a Venn diagram in Microsoft Word is a simple process that can be done using the program’s built-in features. A Venn diagram is a graphical representation of the intersections between different sets or groups. It is a useful tool for visualizing relationships between different elements and understanding their commonalities and differences.
To draw a Venn diagram in Word, you can use the built-in shapes and text boxes to create the circles and labels. Here’s a step-by-step guide on how to do it:
- Open a new Word document and go to the “Insert” tab.
- In the “Illustrations” group, click on the “Shapes” button and choose the “Ellipse” shape.
- Click and drag on the document to create the first circle of the Venn diagram. You can resize and position the circle as needed.
- Repeat steps 2 and 3 to create the remaining circles of the Venn diagram.
- Select all the circles and go to the “Format” tab.
- In the “Shape Styles” group, choose a fill color and outline color for the circles.
- Resize and position the circles to create the desired intersection and overlap.
- Add text boxes to label each circle and intersection. Go to the “Insert” tab and click on the “Text Box” button.
- Position the text boxes next to the corresponding circles or intersections and type in the labels.
- Format the text boxes and labels as desired, using the options available in the “Format” tab.
Once you have created your Venn diagram in Word, you can customize it further by adding colors or shading to the circles, adjusting the sizes of the text boxes, or adding additional shapes or elements to enhance the visual representation. Remember to save your document regularly to avoid losing any changes.
In conclusion, drawing a Venn diagram in Word is a straightforward process that can be done using the program’s built-in shapes and text boxes. It is a great way to visually represent the relationships between different sets or groups and can be customized to fit your specific needs.
Step-by-Step Guide on How to Draw a Venn Diagram in Word
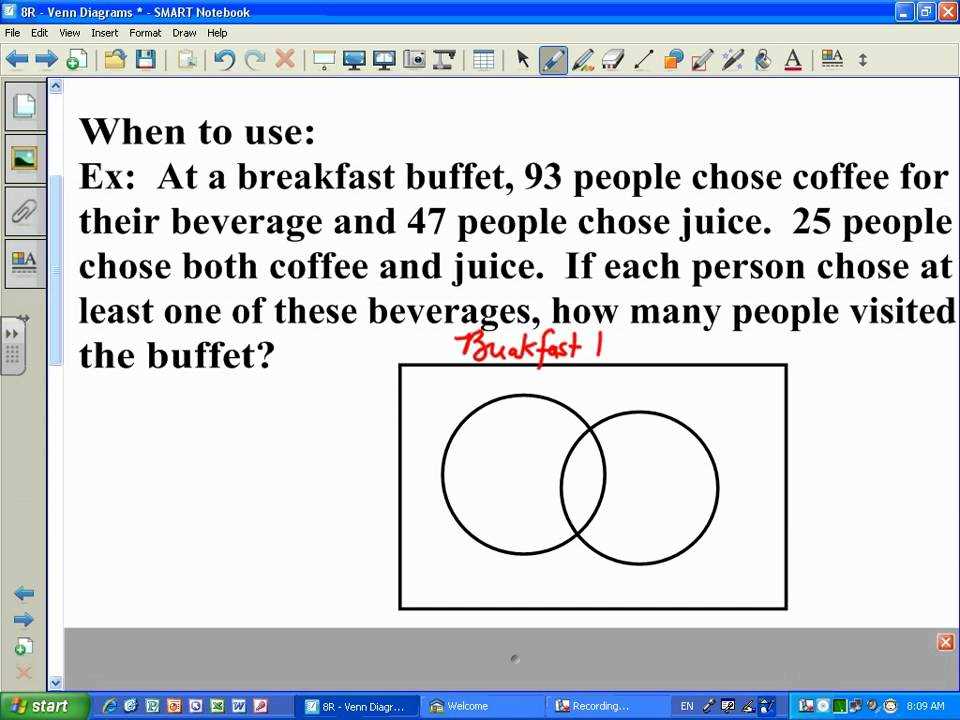
Venn diagrams are a useful tool for visually representing relationships and comparisons between different sets of data. Microsoft Word provides an easy and efficient way to create Venn diagrams, allowing you to customize and modify them according to your specific needs. Here is a step-by-step guide on how to draw a Venn diagram in Word.
Step 1: Open Microsoft Word
To start creating your Venn diagram, open Microsoft Word on your computer.
Step 2: Insert a SmartArt Graphic
Click on the “Insert” tab in the menu bar at the top of the Word window. From the options available, select “SmartArt” to open the SmartArt Graphic menu.
Step 3: Choose a Venn Diagram Template
In the SmartArt Graphic menu, navigate to the “Relationship” category. Look for the Venn diagram templates, which are represented by overlapping circles, and select the one that best suits your needs.
Step 4: Enter Your Data
Once you have chosen a Venn diagram template, a new window will open with the diagram. Click on the text boxes within the diagram to enter your data or labels. You can customize the size, position, and formatting of the text as needed.
Step 5: Customize the Venn Diagram

To further customize your Venn diagram, use the options available in the SmartArt Tools menu that appears when you have the diagram selected. You can change the colors, styles, and layout of the diagram to make it visually appealing and easy to understand.
Step 6: Save and Export
After you have finished creating and customizing your Venn diagram in Word, make sure to save your document. You can also export the diagram as an image or PDF file, if needed, by selecting the appropriate option from the “File” menu.
Conclusion
Drawing a Venn diagram in Word is a straightforward process that allows you to visually represent relationships and comparisons between different sets of data. By following this step-by-step guide, you can create and customize professional-looking Venn diagrams quickly and easily.
Tips and Tricks for Creating a Venn Diagram in Word
Microsoft Word is a versatile tool that can be used for various purposes, including creating and editing diagrams. If you need to create a Venn diagram in Word, here are some tips and tricks to help you get started.
1. Enable the Drawing Tools
Before you can start creating your Venn diagram, you need to enable the Drawing Tools in Word. To do this, click on the “Insert” tab, then select “Shapes” from the toolbar. From the drop-down menu, choose the shape you want to use for your Venn diagram, such as the circle or ellipse.
2. Draw the Circles
Once you have enabled the Drawing Tools, you can start drawing the circles for your Venn diagram. Click and drag on the Word document to create the first circle. To create additional circles, hold down the “Shift” key while clicking and dragging. Position the circles as desired to represent the overlapping areas.
3. Customize the Circles
To customize the circles in your Venn diagram, you can change their size, color, and style. Right-click on a circle and select “Format Shape” from the context menu. In the Format Shape pane, you can adjust various properties, such as the fill color, outline color, and effects. This allows you to create a visually appealing Venn diagram that suits your needs.
4. Add Text
Adding text to your Venn diagram is essential for labeling the different areas and conveying information. To add text, select the “Text Box” option from the “Insert” tab. Click and drag on the Word document to create a text box, then type in your desired text. You can customize the font, size, and formatting of the text using the options available in the “Home” tab.
5. Group and Align Elements
If you want to move or resize multiple elements of your Venn diagram as a group, you can select them all and group them together. To do this, press and hold the “Shift” key while clicking on each element. Right-click on one of the selected elements and choose the “Group” option from the context menu. You can also use the alignment tools in Word to ensure that the elements of your Venn diagram are properly aligned and spaced.
By following these tips and tricks, you can easily create a Venn diagram in Word. Whether you need to illustrate overlapping concepts, compare and contrast ideas, or analyze data sets, a Venn diagram can be a powerful visual tool to convey information effectively.
Common Mistakes to Avoid when Drawing a Venn Diagram in Word
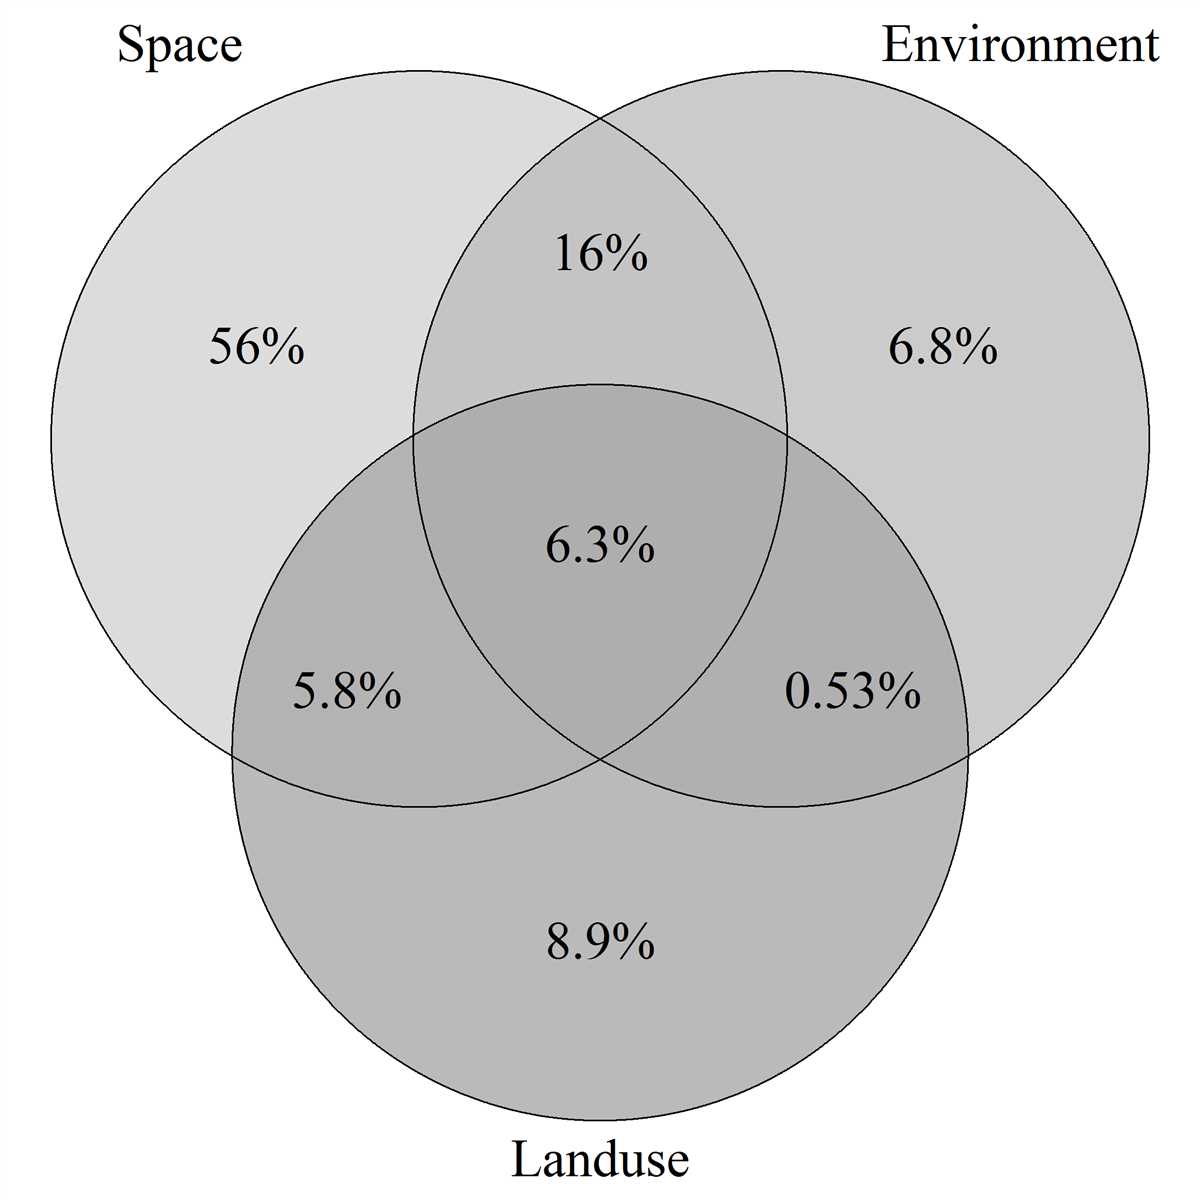
Venn diagrams are a great way to visually represent the relationships between different sets or groups of data. Microsoft Word provides a convenient tool for drawing Venn diagrams, but there are common mistakes that people often make when using this feature. Avoiding these mistakes will help ensure that your Venn diagram is accurate and effectively communicates the information you intend.
1. Incorrect set representation:
One common mistake is incorrectly representing the sets in the Venn diagram. Each set should be depicted as a separate circle or oval, but sometimes people mistakenly draw overlapping shapes instead. It’s important to clearly distinguish between the individual sets and the overlapping regions to accurately represent the relationships between them.
2. Missing or misplaced labels:
Another mistake is forgetting to include labels for the sets or misplacing them within the diagram. Labels are essential to clearly identify each set and help the reader understand the information being presented. Make sure that each set is clearly labeled and positioned appropriately within the diagram.
3. Inconsistent sizing or positioning:
Consistency in the sizing and positioning of the circles or ovals representing the sets is crucial for accurately conveying the relationships between them. Inconsistent sizing may inaccurately represent the relative sizes of the sets, while improper positioning may miscommunicate their intersections. Pay attention to ensuring consistent sizes and proper positioning for a clear and accurate Venn diagram.
4. Lack of color or shading:
Venn diagrams can benefit from the use of color or shading to differentiate the individual sets and the overlapping regions. However, it’s important to use these visual elements sparingly and effectively. Too much color or excessive shading can distract from the main message of the diagram or make it difficult to read. Keep it simple and use color or shading purposefully.
Avoiding these common mistakes will improve the quality and clarity of your Venn diagram in Word. Remember to correctly represent the sets, include clear and properly positioned labels, ensure consistency in sizing and positioning, and use color or shading judiciously.
Alternative Methods for Drawing a Venn Diagram in Word
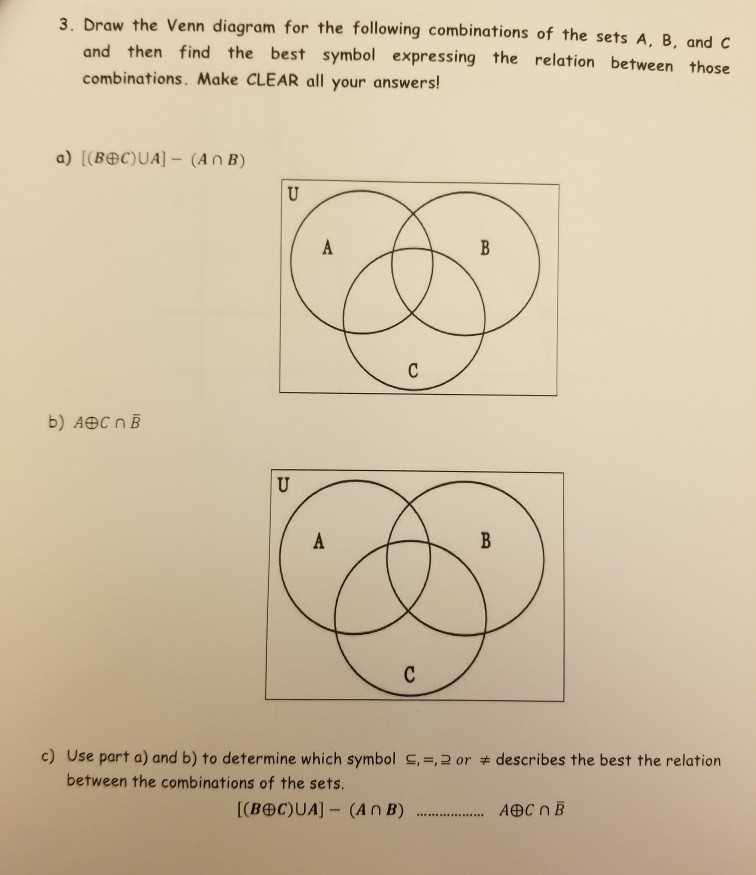
If you’re unable to draw a Venn diagram in Word using the built-in shapes and drawing tools, don’t worry. There are alternative methods you can try to create a Venn diagram in Word. Here are a few options:
- Using SmartArt: Word provides a range of built-in SmartArt graphics that you can use to create Venn diagrams. Simply select the Insert tab, click on the SmartArt button, and choose a suitable SmartArt graphic such as “Basic Venn” or “Circular Relationship” to create your Venn diagram.
- Using tables: You can also create a Venn diagram using tables in Word. Start by inserting a table with the desired number of circles or ovals. Then, adjust the cell borders, fill colors, and text to create the Venn diagram structure.
- Using online Venn diagram generators: If the built-in options in Word don’t meet your requirements, you can turn to online Venn diagram generators. These tools allow you to create custom Venn diagrams by simply inputting the data and selecting the desired diagram style. Once generated, you can then copy and paste the diagram into your Word document.
Remember, the method you choose for creating a Venn diagram in Word depends on your specific needs and the available tools at your disposal. Experiment with different methods to find the one that works best for you.