
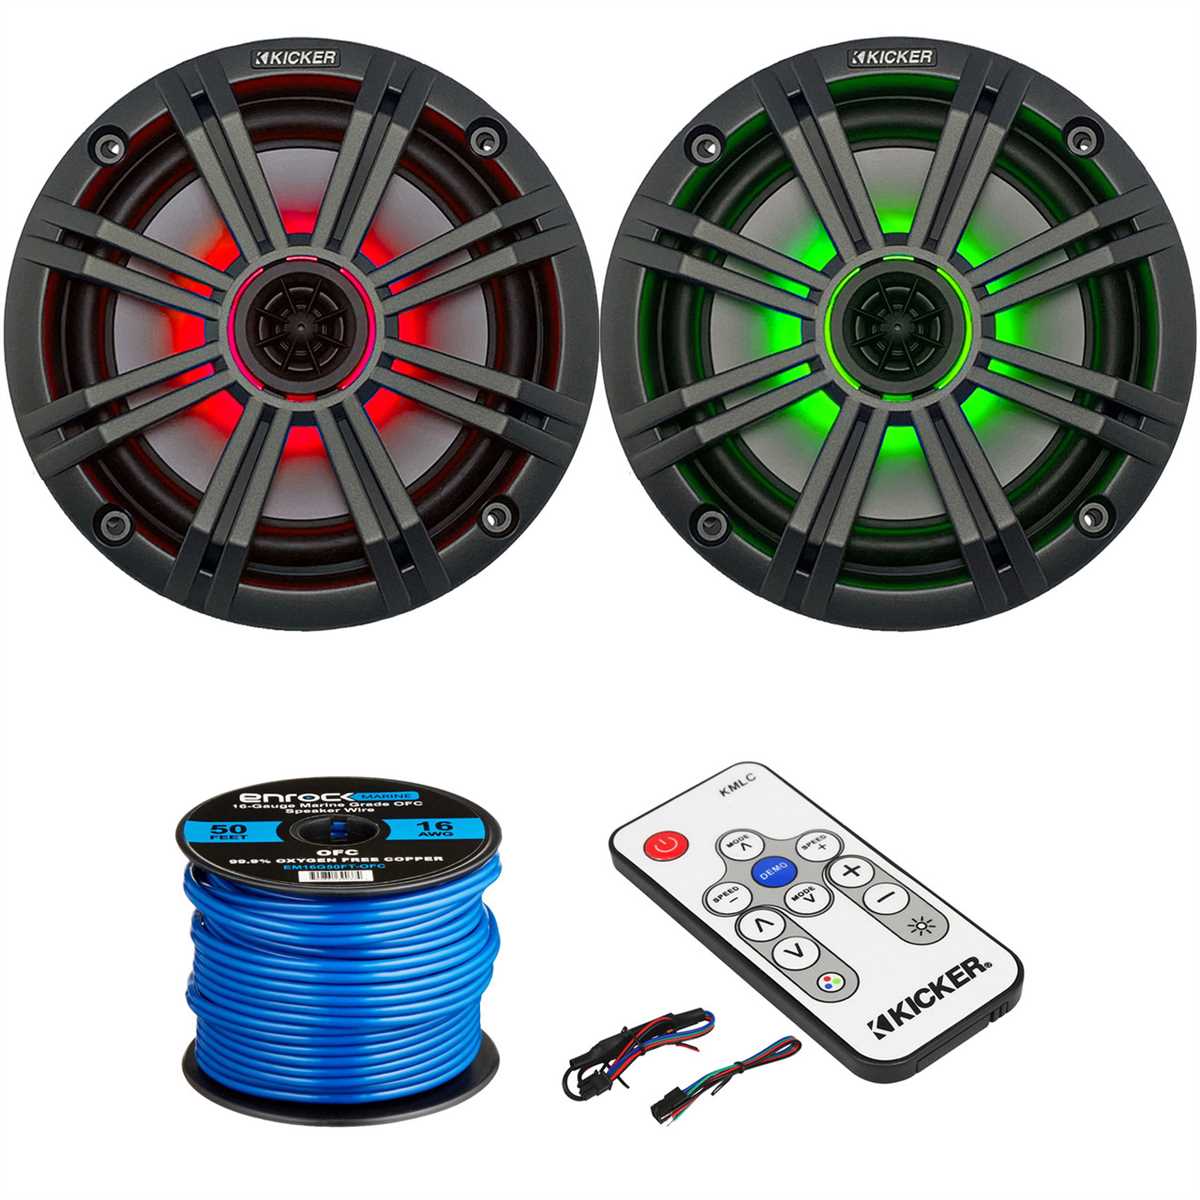
When it comes to upgrading your marine audio system, one of the most important considerations is the wiring for your speakers. Kicker has long been a trusted name in the industry, known for their high-quality products and innovative designs. Their marine LED speakers are no exception, providing excellent sound quality and added visual appeal for your boat.
The wiring for Kicker marine LED speakers is designed to be durable and weather-resistant, ensuring that you can enjoy your music on the water without worrying about the elements. These speakers are built to withstand the harsh marine environment, with UV-treated cones and corrosion-resistant components.
Installing the wiring for Kicker marine LED speakers is a straightforward process that can be done by most boat owners. The first step is to determine the appropriate location for the speakers on your boat, keeping in mind factors such as sound quality, visibility, and protection from water splashes. Once you have chosen the ideal location, you can begin the wiring installation.
Kicker Marine LED Speakers Wiring: How to Install and Connect
If you’re looking to upgrade your boat’s sound system and add a touch of visual appeal, Kicker Marine LED speakers are a great choice. These speakers not only deliver high-quality audio performance but also feature built-in LED lights that can create an ambiance on your boat. To properly install and connect your Kicker Marine LED speakers, follow these steps:
1. Prepare the wiring:
Before installing the speakers, you need to prepare the wiring. Start by measuring the distance between the speakers and the audio source to determine the length of speaker wire needed. Use marine-grade, oxygen-free copper wire for the best performance and resistance against corrosion. Cut the wire to the appropriate length for each speaker.
Strip about 1/4 inch of insulation from each end of the wire, exposing the copper conductors. This will ensure proper electrical contact when connecting the wires to the speakers and the audio source. Use a wire stripper or a sharp knife to strip the insulation, making sure not to damage the copper conductors.
2. Connect the speakers:
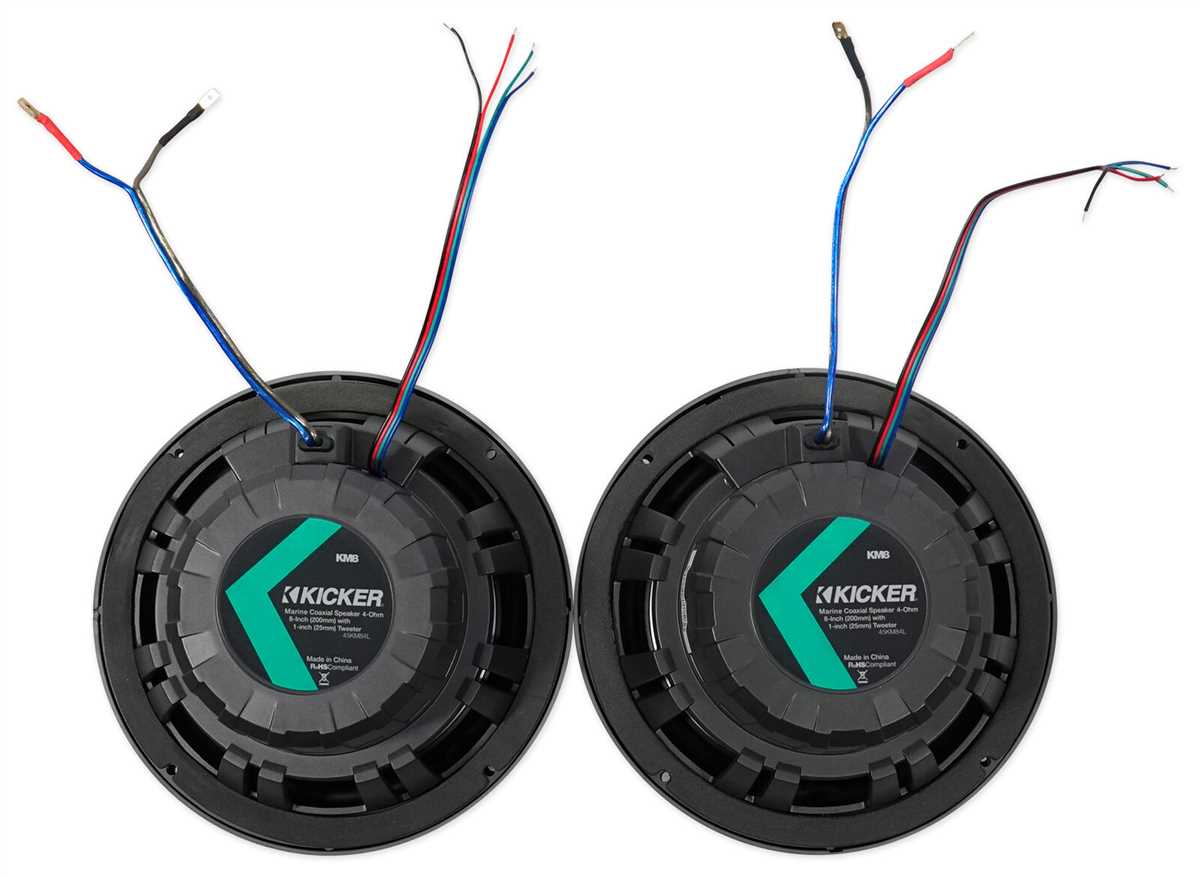
Next, you will connect the wires to the Kicker Marine LED speakers. Each speaker has two terminals: positive (+) and negative (-). The positive terminal is usually marked with a red color or a plus sign, while the negative terminal is marked with a black color or a minus sign. Connect the positive wire to the positive terminal and the negative wire to the negative terminal of each speaker.
Make sure to tighten the connection securely to ensure good electrical contact. If necessary, use a small screwdriver or a wrench to tighten the terminal connections. Double-check the polarity of each speaker to avoid any wiring mistakes that could affect the sound quality.
3. Connect to the audio source:
After connecting the wires to the speakers, you need to connect the other end of the wires to the audio source. This could be a marine receiver or amplifier depending on your setup. Similar to the speakers, the audio source will also have positive and negative terminals for each channel. Connect the positive wire to the positive terminal and the negative wire to the negative terminal of the audio source.
Again, make sure the connections are tightened securely to ensure good electrical contact. It is recommended to use appropriate connectors, such as crimp connectors or soldering, for a reliable and durable connection.
4. Test and secure the wiring:
Once all the connections are made, it’s time to test the system. Turn on the audio source and play some music to check if the speakers are working properly. Make sure the LED lights are also functioning as desired.
After confirming everything is working correctly, secure the wiring to prevent any loose or exposed wires. Use zip ties or adhesive clips to secure the wires along the boat’s structure, away from any moving parts or potential hazards. This will help prevent damage to the wiring and ensure a clean and professional installation.
Following these steps, you can successfully install and connect your Kicker Marine LED speakers, enhancing the audio experience on your boat while adding an eye-catching visual element. Enjoy your upgraded sound system and the ambiance created by the LED lights!
Understanding the Basics of Kicker Marine LED Speakers
Kicker Marine LED speakers are a popular choice among boaters for their high-quality sound and vibrant LED lighting. These speakers are specifically designed to withstand the harsh marine environment, making them perfect for boats, yachts, and other watercraft. It is essential to understand the basics of Kicker Marine LED speakers to ensure proper installation and optimal performance.
1. Waterproof Design: One of the key features of Kicker Marine LED speakers is their waterproof design. These speakers are built with materials that can withstand exposure to water, salt, and UV rays. The speakers are typically IP-rated, which means they can resist water immersion up to a certain level. This ensures that the speakers will continue to deliver excellent sound quality even in wet conditions.
2. Wiring: Proper wiring is crucial for the installation of Kicker Marine LED speakers. The speakers come with specific wiring instructions that need to be followed carefully. It is essential to use marine-grade wiring that is designed to resist corrosion and damage from constant exposure to water. Additionally, it is recommended to use connectors and terminals that are also marine-grade to ensure a secure and reliable connection.
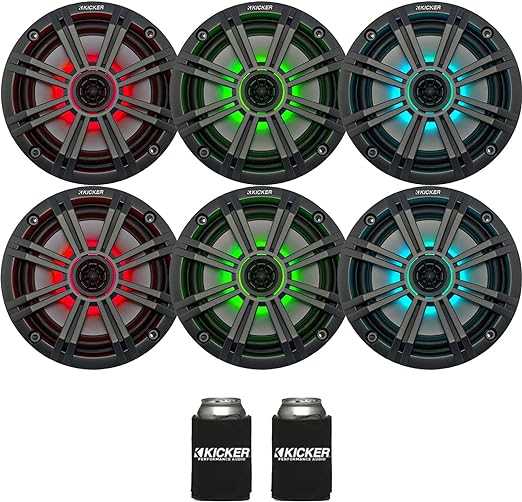
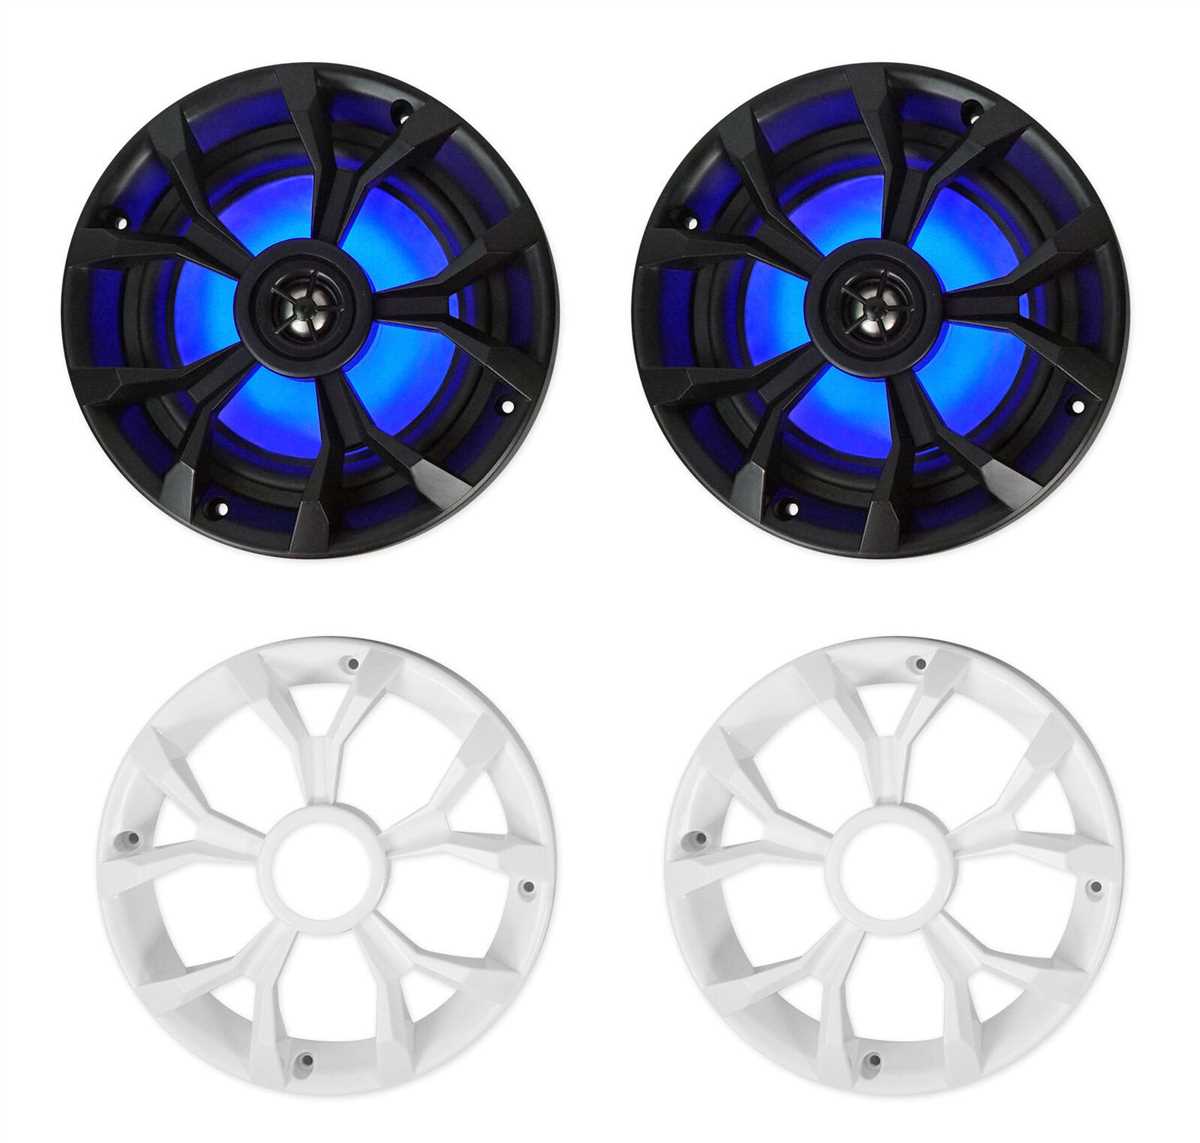
3. LED Lighting: The LED lighting integrated into Kicker Marine speakers adds a visual element to your boating experience. The speakers usually feature multiple LED lights that can be customized to match your preferred color scheme. The LED lights are powered through a separate wiring connection, which should be properly connected to a power source and controlled using a compatible switch or controller.
4. Sound Quality: Kicker Marine LED speakers are known for their exceptional sound quality. The speakers are engineered with advanced technology to produce clear and powerful audio, even in outdoor environments. They are designed to deliver a wide frequency response and optimized audio dispersion, ensuring that every note and tone is reproduced accurately.
5. Installation: Installing Kicker Marine LED speakers requires some technical know-how. It is recommended to consult the instruction manual provided by the manufacturer or seek professional installation assistance. Proper installation will ensure that the speakers are securely mounted and properly connected, resulting in optimal performance and longevity.
In conclusion, understanding the basics of Kicker Marine LED speakers is essential for a successful installation and enjoyable boating experience. With their waterproof design, proper wiring, vibrant LED lighting, exceptional sound quality, and appropriate installation, these speakers can enhance your time on the water and provide an immersive audio experience.
Gathering the Necessary Tools and Supplies
Before you can start wiring your Kicker marine LED speakers, it’s important to gather all the necessary tools and supplies. Having the right equipment on hand will make the installation process much smoother and ensure a professional result. Here are the essential items you’ll need:
Tools:
- Wire Cutters and Strippers: These tools are essential for cutting and stripping the speaker wires.
- Crimping Tool: A crimping tool is necessary for securely attaching the wire connectors.
- Screwdriver Set: A set of screwdrivers will be needed for removing panels and accessing the speaker mounting areas.
- Drill: Depending on your marine vessel, you may need a drill for creating holes to mount the speakers.
- Heat Gun: A heat gun can be helpful for shrinking heat shrink tubing, if needed.
Supplies:
- Speaker Wire: You will need enough speaker wire to connect each speaker to the audio system. Make sure to choose a wire that is rated for marine use.
- Wire Connectors: Wire connectors are used to join the speaker wires to the audio system wiring. It’s important to use marine-grade connectors to ensure a secure and water-resistant connection.
- Heat Shrink Tubing: Heat shrink tubing can be used to protect and insulate the wire connectors. This is especially important in marine environments where water and moisture are present.
- Mounting Hardware: Depending on your speaker and boat, you may need specific mounting hardware such as screws, brackets, or clamps.
By gathering all of these tools and supplies before you start the installation process, you’ll be well-prepared to wire your Kicker marine LED speakers correctly and efficiently.
Planning the Speaker Placement and Wiring Route
When it comes to installing your Kicker marine LED speakers, it is crucial to plan the speaker placement and wiring route carefully. Doing so will ensure the best audio experience and minimize any potential issues or complications during the installation process. Here are some key steps to consider when planning your speaker placement and wiring route:
Determine the Ideal Speaker Locations
First and foremost, identify the best locations on your boat for mounting the speakers. Consider factors such as visibility, sound projection, and potential obstructions. Generally, speakers should be placed in a way that provides an even distribution of sound throughout the boat. Ensure that the speakers are positioned securely and in a manner that complements the boat’s aesthetics.
Map Out the Wiring Route
After deciding on the speaker locations, plan the wiring route to connect the speakers to the audio source. Start by identifying the nearest access points from the speakers to the audio source, such as an amplifier or head unit. Then, determine the most efficient and discreet path for running the wiring. Take into account any potential obstacles or hazards, and avoid running the wiring in close proximity to electrical or fuel lines.
Pro tip: To maintain a neat and organized appearance, consider using wire loom or conduit to protect and conceal the wiring. This will not only enhance the overall look of the installation but also provide added protection against moisture and potential damage.
Once the speaker placement and wiring route are planned, carefully measure and cut the wiring to the appropriate lengths. It is crucial to ensure that the wiring is cut with precision to avoid any unnecessary length that may cause tangling or interfere with other components.
- Use a wire stripper to remove the insulation from the ends of the wires.
- Twist the exposed wire strands together to create a solid connection.
- For added security, use crimp connectors or solder the connections.
- Ensure that all connections are tight and secure before proceeding with the installation.
By following these steps and taking the time to plan the speaker placement and wiring route, you can ensure a smooth and successful installation of your Kicker marine LED speakers. Remember to always refer to the manufacturer’s instructions and guidelines for the best results.
Preparing the Boat for Speaker Installation
Before installing Kicker marine LED speakers on your boat, it’s important to make sure that the boat is properly prepared to accommodate the speakers and their wiring. Here are some steps to follow:
1. Determine the speaker locations: Start by identifying the ideal locations for the speakers on your boat. Consider factors such as visibility, sound projection, and any potential obstructions that may interfere with the speaker performance. It’s recommended to choose locations that are protected from direct exposure to water and excessive moisture.
2. Measure and mark the speaker cutouts: Once you have determined the speaker locations, carefully measure and mark the cutouts for the speakers. Use a pencil or masking tape to ensure accurate placement. Double-check the measurements before proceeding to avoid any unnecessary mistakes.
3. Prepare the mounting surfaces: Clean and prep the mounting surfaces where the speakers will be installed. Remove any dirt, grime, or residue that may interfere with the adhesion of the speaker brackets or mounting hardware. Ensure that the surfaces are smooth and free from any sharp edges that could damage the speakers or their wiring.
4. Plan the speaker wiring route: Consider the best route for running the speaker wiring from the speakers to the audio source. Avoid routes that may expose the wiring to excessive heat, moisture, or potential damage from other equipment or objects on the boat. Plan to use marine-grade wiring and connectors for optimal performance and durability.
- 5. Double-check for compatibility: Ensure that the Kicker marine LED speakers you have chosen are compatible with your boat’s audio system. Check the specifications of both the speakers and the audio system to confirm that they are a suitable match. This will help to avoid any compatibility issues or potential damage to the equipment.
- 6. Gather the necessary tools and materials: Before starting the installation, gather all the tools and materials you will need, such as a drill, hole saw, screwdriver, wire strippers, and marine-grade wiring. Having everything on hand will make the installation process smoother and more efficient.
- 7. Follow the manufacturer’s instructions: Lastly, carefully read and follow the manufacturer’s instructions that come with the Kicker marine LED speakers. These instructions will provide specific guidance on how to install and wire the speakers correctly, ensuring optimal performance and longevity.
By taking the time to properly prepare your boat for speaker installation, you can ensure that the process goes smoothly and the speakers are securely and effectively integrated into your boat’s audio system.
Connecting the Speaker Wires to the Amplifier
When it comes to wiring your kicker marine LED speakers to an amplifier, it’s important to follow the correct process to ensure a proper and secure connection. This will help ensure optimal sound quality and prevent any potential damage to your equipment.
The first step is to gather all the necessary tools and materials, including speaker wire, a wire stripper, and a screwdriver. Make sure you have enough wire to reach from the amplifier to each speaker, allowing for some extra length for flexibility.
To start, strip about half an inch of insulation from the end of the speaker wire using the wire stripper. This will expose the bare metal wire underneath. Repeat this process for each speaker wire that will be connected to the amplifier.
Next, locate the speaker output terminals on the amplifier. These will typically be labeled as “left” and “right” or “positive” and “negative”. It’s important to match the polarity of the speaker wires to the corresponding terminals on the amplifier to ensure proper phase alignment.
Once the terminals are identified, insert the stripped end of the speaker wire into the corresponding terminal. The positive wire should be connected to the positive terminal and the negative wire to the negative terminal. Use a screwdriver to tighten the terminal securely around the wire.
After connecting the speaker wires to the amplifier, repeat the process for each speaker, making sure to connect the positive and negative wires correctly to each speaker terminal. Double-check all connections to ensure they are secure before powering on the system.
By following these steps, you can confidently connect your kicker marine LED speakers to an amplifier and enjoy high-quality audio on your boat or marine vehicle.
Testing and Troubleshooting the Speaker System
After completing the wiring process for your Kicker marine LED speakers, it is important to test and troubleshoot the speaker system to ensure everything is working correctly. Here are some steps you can follow:
Step 1: Power Check
Make sure that your speaker system is receiving power. Check the power connection and ensure that the power source is providing the necessary voltage for the speakers to function. You can use a multimeter to measure the voltage at the power connection point.
Step 2: Audio Check
Connect a source of audio, such as a phone or music player, to the speaker system. Play some audio and check if sound is coming out of the speakers. If you don’t hear any sound, ensure that the audio source is working properly and that the volume is turned up. You can also try connecting a different audio source to rule out any issues with the original source.
Step 3: LED Check
If your Kicker marine LED speakers have LED lights, check if they are functioning properly. Make sure that the LED connections are secure and that the power source for the LEDs is also working. You can use a multimeter to measure the voltage at the LED connection points.
Step 4: Wiring Check
Inspect the wiring connections of your speaker system. Ensure that all the wires are connected properly and that there are no loose or damaged connections. Check for any signs of fraying or breakage in the wires. If you find any issues, fix them accordingly.
Step 5: Speaker Placement Check
If you are still experiencing issues with your speaker system, double-check the placement of the speakers. Placement plays a crucial role in the audio quality and performance of the speakers. Make sure that the speakers are positioned correctly and that there are no obstructions that could impede the sound.
By following these steps and troubleshooting any issues that arise, you can ensure that your Kicker marine LED speakers are working properly and providing you with high-quality sound while out on the water.