
If you are looking to install a rocker switch in your home or business, it is important to understand the proper wiring instructions. A rocker switch is a type of electrical switch that is commonly used in lamps, appliances, and other devices. It is known for its easy-to-use design, making it a popular choice for both residential and commercial applications.
One of the most important aspects of wiring a rocker switch is ensuring that the power source is disconnected. This is crucial to prevent any electrical accidents or shock hazards. Once the power is turned off, you can begin the installation process. Start by identifying the type of rocker switch you have – there are several different colors and configurations available, so it is important to choose the one that matches your specific needs.
Next, you will need to gather the necessary tools and materials for the installation. This may include a screwdriver, wire strippers, electrical tape, and wire connectors. Once you have everything you need, you can begin the wiring process. It is recommended to follow the manufacturer’s instructions, as different switches may have slightly different wiring diagrams. However, the general process involves connecting the live wire, neutral wire, and load wire to the appropriate terminals on the switch.
Rocker Switch Wiring Instructions
Wiring a rocker switch is a simple process that can be done in just a few steps. Whether you’re installing a new switch or replacing an old one, following these instructions will ensure a successful installation. Here’s a step-by-step guide to wiring a rocker switch.
Step 1: Gather the necessary materials
- Rocker switch
- Wire cutters/strippers
- Electrical tape
- Electrical connectors
- Power source
- Load device (e.g., light or motor)
Step 2: Turn off the power
Before starting any electrical work, it’s important to turn off the power to the circuit you’ll be working on. Locate the circuit breaker or fuse box and switch off the relevant breaker or remove the appropriate fuse.
Step 3: Determine the switch type
Identify the type of rocker switch you’re working with. There are different types, such as single-pole, double-pole, and momentary switches. Refer to the switch’s instruction manual or label to determine its type.
Step 4: Connect the wires
Using wire cutters/strippers, strip the insulation off the wires that will be connected to the switch. Attach them to the appropriate terminals on the switch, ensuring a secure connection. Secure the connections with electrical connectors and wrap them with electrical tape for added protection.
Step 5: Test the switch
Once the wiring is complete, it’s time to test the switch. Turn the power back on and toggle the switch to ensure it functions properly. If there are any issues, double-check the wiring and connections.
Following these instructions will help you successfully wire a rocker switch. Remember to always prioritize safety and consult a professional if you’re unsure about any step in the process. Good luck with your installation!
What is a rocker switch?
A rocker switch is a type of electrical switch that features a rectangular or square shape and a rocker-like mechanism that can be pressed or flipped to control the flow of electricity. It is commonly used in various applications and devices, providing a simple and convenient way to turn on or off electrical circuits.
The rocker switch typically consists of two or more terminals that are connected to the circuit, allowing for the electrical current to pass through when the switch is in the “on” position. When the switch is in the “off” position, the circuit is interrupted and the flow of electricity is stopped.
Rocker switches are often found in household appliances, electronic devices, and automotive applications. They can be used to control lights, fans, motors, and other electrical components. The design of the switch allows for easy operation, as it can be easily flipped or pressed to change the state of the circuit.
When wiring a rocker switch, it is important to follow the manufacturer’s instructions to ensure proper installation and functionality. The switch may have specific wiring instructions and diagrams that need to be followed to correctly connect the terminals and the circuit. It is also essential to use the appropriate wire size and connectors to ensure a secure and reliable connection.
In conclusion, a rocker switch is a versatile electrical switch that is commonly used to control the flow of electricity in various applications. Its simple design and easy operation make it a popular choice for both residential and commercial use. When wiring a rocker switch, it is important to carefully follow the instructions provided by the manufacturer to ensure proper installation and functionality.
Understanding the Components of a Rocker Switch
A rocker switch is a commonly used electrical component that is used to control the flow of electricity in a circuit. It is typically used in applications where there is a need to turn something on or off, such as lights, fans, or appliances. Understanding the different components of a rocker switch is essential for proper installation and use.
1. Actuator
The actuator is the part of the rocker switch that is used to physically change its state. It can be either a lever or a button that is pressed or toggled to turn the switch on or off. The actuator is designed to be easily accessible and intuitive to use.
2. Contacts
The contacts are the electrical terminals within the rocker switch that make or break the circuit. When the actuator is in the “on” position, the contacts are connected, allowing electricity to flow through the switch. When the actuator is in the “off” position, the contacts are disconnected, cutting off the electricity.
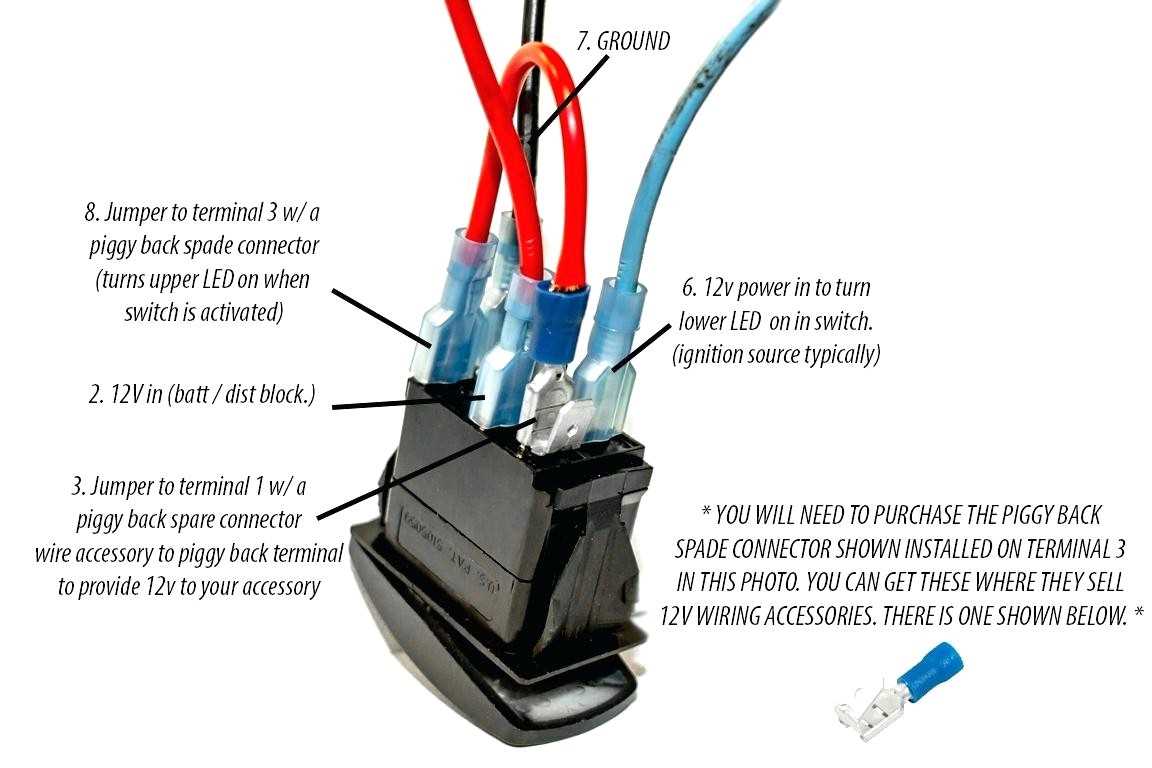
3. Terminals
The terminals are the points on the rocker switch where wires are connected. They are usually labeled as “in” and “out” or “common” and “load” to indicate the flow of electricity. The wires are typically secured to the terminals using screws or push-in connectors to ensure a secure and reliable connection.
4. Housing
The housing is the protective casing that surrounds the internal components of the rocker switch. It is usually made of durable plastic or metal to provide insulation and protection from external factors such as moisture or physical damage. The housing also serves as a mounting point for the switch.
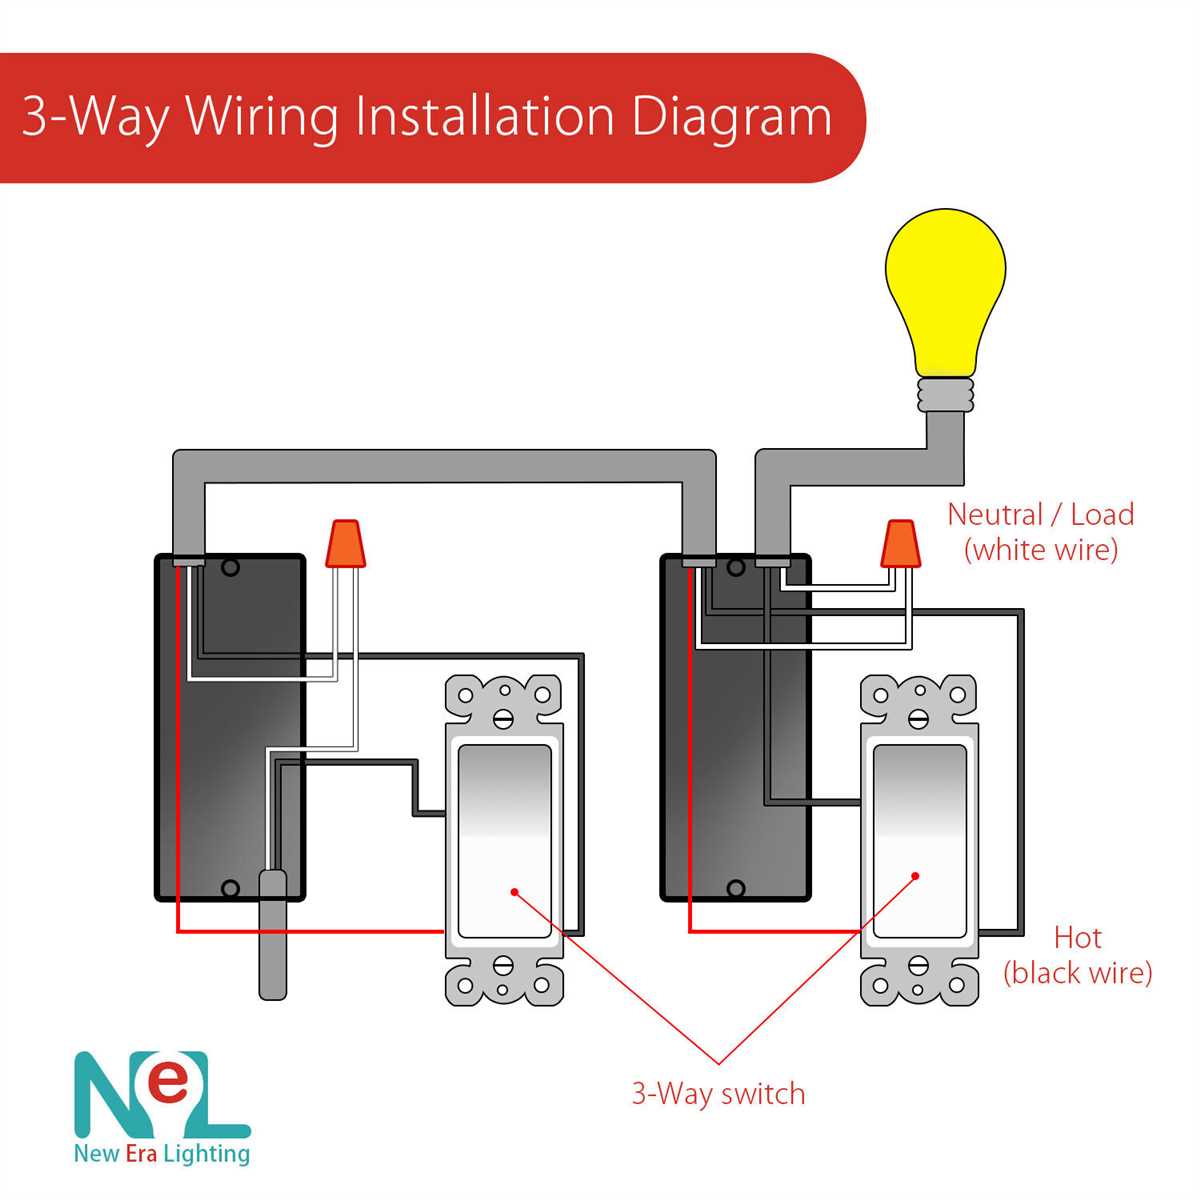
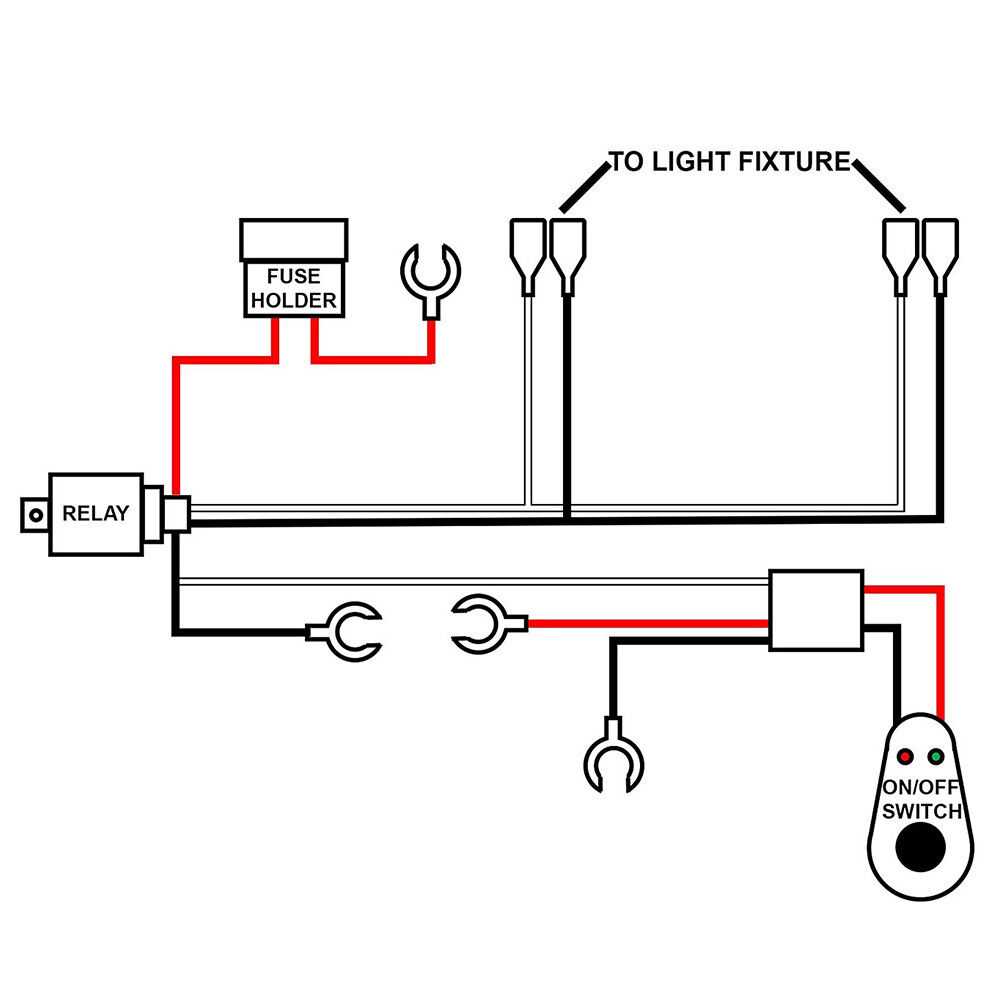
5. Wiring Diagram
A wiring diagram is a visual representation of how the rocker switch should be connected in order for it to function properly. It shows the different terminals and their corresponding connections, guiding the user on how to wire the switch. Following the wiring diagram is crucial to ensure a safe and reliable installation.
Understanding these components of a rocker switch is essential for anyone who needs to install or replace one. By familiarizing yourself with the actuator, contacts, terminals, housing, and wiring diagram, you can confidently wire and use rocker switches in various applications.
Tools and Materials Needed for Rocker Switch Wiring

When it comes to wiring a rocker switch, there are several tools and materials that you will need to have on hand. These items are essential to ensure a successful installation and proper functioning of the switch. Here are some of the key tools and materials you will need:
1. Rocker Switch
The main component you will need is, of course, the rocker switch itself. Rocker switches come in various sizes and types, so it’s important to choose one that suits your specific needs. Make sure to check the specifications and ratings of the switch to ensure it is compatible with your wiring setup and the electrical load it will be handling.
2. Wire Cutters and Strippers
In order to connect the wires to the rocker switch, you will need wire cutters and strippers. These tools will allow you to cut the wires to the appropriate length and remove the insulation from the ends, making it easier to attach them to the switch terminals.
3. Electrical Tape
Electrical tape is an important tool for securing and insulating the connections you make during the wiring process. It helps prevent the wires from coming loose or making unwanted contact with other metal surfaces, ensuring a safe and reliable connection.
4. Screwdriver
A screwdriver will be needed to secure the rocker switch to its mounting location. Depending on the type of switch you are using, you may need a flathead or Phillips screwdriver. Make sure to use the appropriate size and type for the screws provided with the switch.
5. Wire Connectors
Wire connectors, such as butt connectors or crimp connectors, are essential for joining the wires together and creating a secure and stable connection. These connectors come in various sizes and types, so choose ones that are compatible with the gauge of the wires you are working with.
6. Wiring Diagram
Lastly, having a wiring diagram or instructions specific to your rocker switch model can be very helpful. It will guide you through the correct wiring connections and ensure that you are installing the switch correctly.
By having these tools and materials on hand, you will be well-prepared to wire your rocker switch and enjoy its functionality in various applications.
Step-by-Step Guide to Wire a Rocker Switch
The rocker switch is a commonly used electrical component that is used to control the on and off function of devices or appliances. Wiring a rocker switch may seem intimidating, but it is actually a fairly simple process. By following these step-by-step instructions, you can easily wire a rocker switch for your specific application.
Gather Materials and Tools
Before you begin, it is important to gather all necessary materials and tools. You will need a rocker switch, electrical wire, wire connectors, a screwdriver, and a voltage tester. Make sure you have the correct type and rating of rocker switch for your application.
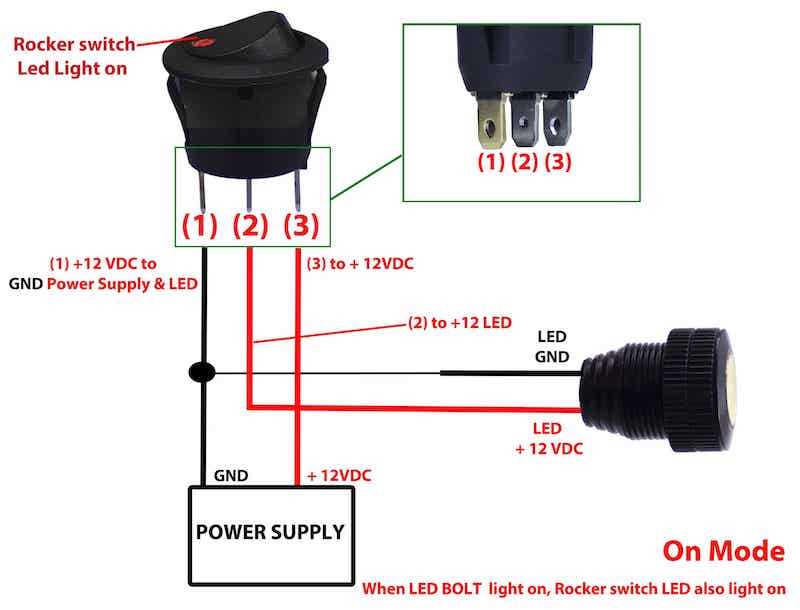
Identify the Switch Terminals
Start by identifying the terminals on your rocker switch. Most rocker switches have three terminals: one for the power input, one for the power output, and one for the ground connection. The terminals may be labeled with symbols or letters. Refer to the manufacturer’s instructions or the markings on the switch to determine which terminal is which.
Disconnect Power Supply

Before you begin wiring the switch, it is important to disconnect the power supply to prevent any electrical accidents. Turn off the circuit breaker or unplug the device or appliance that you will be working on.
Connect the Power Supply
Start by connecting the power supply wire to the input terminal of the rocker switch. Use a wire connector to securely attach the wire to the terminal. Make sure the connection is tight and secure.
Connect the Load
Next, connect the load wire (the wire that leads to the device or appliance you want to control) to the output terminal of the switch. Again, use a wire connector to create a secure connection.
Connect the Ground
Finally, connect the ground wire to the ground terminal of the rocker switch. The ground wire is typically green or bare copper. Make sure the ground connection is tightly secured with a wire connector.
Test the Connection
After wiring the rocker switch, it is important to test the connection to ensure it is working properly. Use a voltage tester to check for power at the output terminal when the switch is in the “on” position. If the tester indicates power, then your rocker switch is wired correctly.
Secure the Switch
Once you have confirmed that the switch is properly wired and functioning, secure the switch in its desired location. Use a screwdriver to tighten any screws or mounting brackets that hold the switch in place.
Following these step-by-step instructions, you can easily wire a rocker switch for your specific application. However, if you are unsure or uncomfortable working with electrical wiring, it is always recommended to consult a professional electrician for assistance.
Safety precautions to consider
1. Disconnect the power: Before starting any electrical work, always make sure to disconnect the power source to prevent any potential dangers. This can be done by turning off the circuit breaker or unplugging the device.
2. Wear protective gear: To ensure your safety, it is recommended to wear protective gear such as safety goggles and gloves. This will protect you from any potential hazards or injuries that may occur during the wiring process.
3. Familiarize yourself with the instructions: Before proceeding with the rocker switch wiring, carefully read and understand the manufacturer’s instructions. This will ensure that you follow the correct steps and avoid any mistakes or accidents.
4. Use the appropriate tools: Make sure to use the proper tools for the job. Using the wrong tools can lead to damage to the switch or cause electrical hazards. Always use insulated tools and avoid using any damaged or worn-out tools.
5. Secure all connections: After completing the wiring, double-check all connections to ensure they are properly secured. Loose or faulty connections can lead to electrical failures or even fires. Use wire nuts or electrical tape to secure the connections.
6. Test before use: After the installation is complete, it is essential to test the switch before using it. Turn on the power and check if the switch is functioning correctly. If there are any issues, immediately disconnect the power and inspect the wiring for any mistakes or problems.
7. Consult a professional if unsure: If you are unsure about any aspect of the rocker switch wiring process or encounter any difficulties, it is always better to seek professional assistance. Electricians or electrical experts can provide guidance and ensure the installation is done safely and correctly.
Troubleshooting common issues
While installing and wiring a rocker switch, you may encounter some common issues. Here are some troubleshooting tips to help you overcome them:
-
No power: If the switch does not have power, check if the circuit breaker connected to it is tripped or if there is a blown fuse. Also, ensure that the wires are properly connected to the switch terminals and that they are not damaged or frayed.
-
Inoperable switch: If the switch does not turn on or off the intended device, make sure that the switch is properly wired according to the manufacturer’s instructions. Double-check the connections to ensure they are secure. If the switch is still not functioning, it could be a defective switch and may need to be replaced.
-
Flickering or dim lights: If the lights connected to the switch flicker or appear dim, the switch may not be rated for the load of the lights. Check the switch rating and compare it to the power requirements of the lights. If they do not match, you may need to install a switch with a higher rating or consider using a relay to handle the load.
-
Intermittent operation: If the switch works intermittently or cuts out unexpectedly, it could be due to loose or faulty connections. Inspect all the wiring connections, ensuring they are tight and secure. If the issue persists, it could be a sign of a defective switch or a larger electrical problem, and it may require professional assistance to diagnose and resolve.
Remember to always follow the manufacturer’s instructions and consult a professional electrician if you are unsure or uncomfortable with any aspect of rocker switch installation or troubleshooting. By carefully wiring the switch and addressing any common issues, you can ensure optimal functionality and safe operation of your electrical devices.