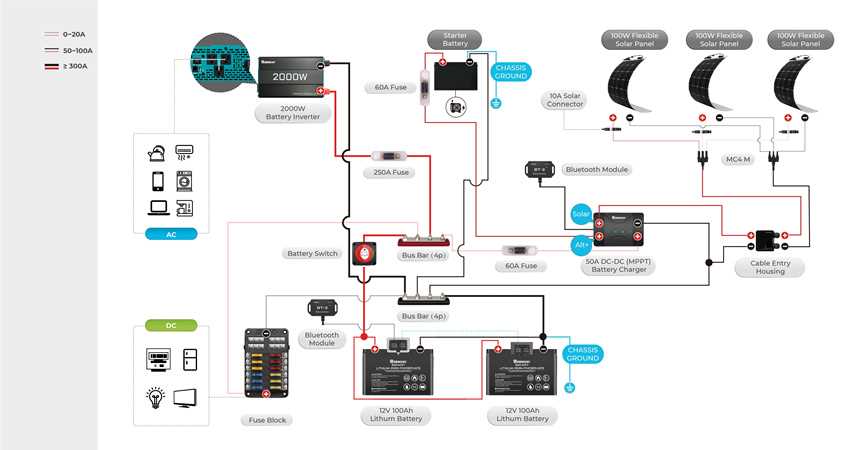
When it comes to living life on the road, having a reliable and efficient water system is essential for your comfort and convenience. Whether you’re camping in the wilderness or staying at an RV park, understanding the intricate workings of your RV’s water system is vital.
An RV water system schematic provides a visual representation of how water flows through your motorhome’s plumbing system. It outlines the various components, such as fresh water tanks, pumps, faucets, and drains, and shows how they are interconnected. By familiarizing yourself with this schematic, you can better troubleshoot any issues and perform necessary repairs.
One of the primary components in an RV water system is the fresh water tank. This tank stores the water you will use for cooking, cleaning, and drinking. From the fresh water tank, a pump pressurizes the water and sends it through the plumbing lines to the faucets and other fixtures within your motorhome.
Understanding the flow of water through your RV’s plumbing system is crucial for preventing leaks, ensuring proper water pressure, and maintaining the overall functionality of your water system. By referring to an RV water system schematic, you can easily identify any potential problems and take appropriate corrective measures.
Understanding the Basics: The Water Pump and Tank
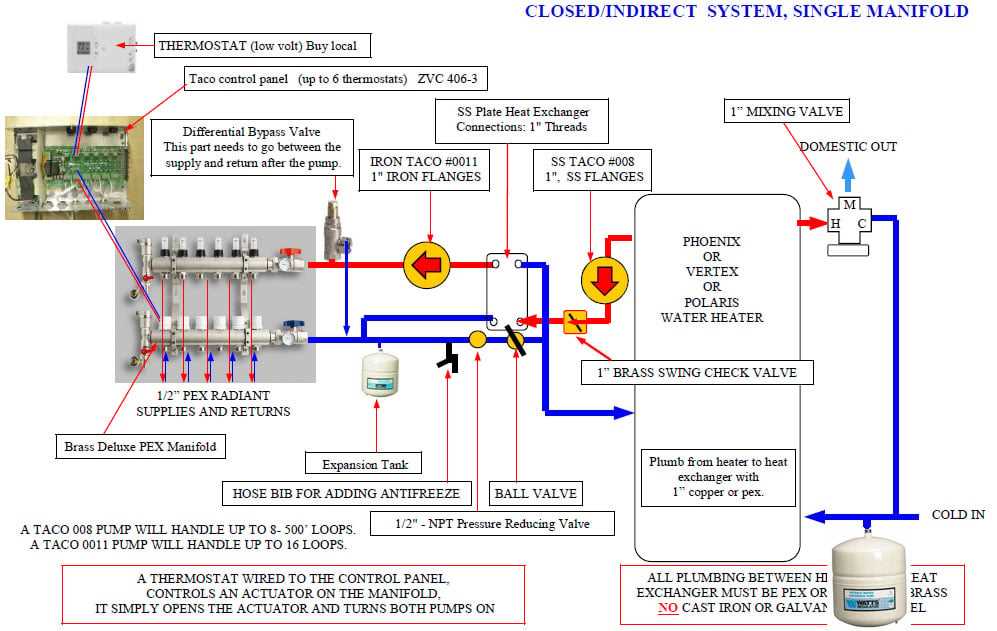
When it comes to an RV water system, there are a few key components that play a crucial role in ensuring a reliable and consistent water supply. Two of these components are the water pump and tank. Understanding how these components work together can help you better manage your RV’s water system and avoid potential issues.
The water pump is responsible for drawing water from the tank and delivering it to the various faucets and fixtures throughout your RV. It operates using a 12-volt DC power source and is typically activated by a switch located on the control panel. When you turn on a faucet or shower, the water pump is triggered to start working, creating the necessary pressure to push the water through the pipes and out of the fixture.
The water tank, on the other hand, is where the fresh water supply is stored. It can be filled manually using a hose or automatically when connected to a water source. The tank capacity can vary depending on the size of your RV, but it typically ranges from 20 to 100 gallons. The water pump is connected to the tank through a series of pipes and fittings, which allow the water to flow freely.
It’s important to note that the water pump should never run without water in the tank, as this can cause damage to the pump itself. To prevent this, most RV water systems are equipped with a pressure switch that automatically turns off the pump when the water pressure drops below a certain level. This ensures that the pump only operates when there is water available.
In addition, it’s recommended to periodically inspect the water tank for any signs of leaks or damage. Regular maintenance, such as cleaning the tank and replacing worn-out fittings, can help prolong the lifespan of your RV’s water system. It’s also essential to properly winterize the water system before storage, to prevent freezing and potential damage during colder months.
In conclusion, understanding the basics of your RV’s water pump and tank is essential for ensuring a reliable water supply. By familiarizing yourself with these components and their functions, you can better manage your water system, avoid potential issues, and enjoy a hassle-free camping experience.
The Role of the Freshwater Inlet and Fill Valve
The freshwater inlet and fill valve play a crucial role in the RV water system, allowing fresh water to enter the vehicle’s plumbing system and fill the water tanks. These components are essential for ensuring a reliable and convenient water supply during camping and travel.
The freshwater inlet is the entry point where water from an external source, such as a campground water hookup or a residential water supply, is connected to the RV’s plumbing system. It is typically located on the side of the vehicle and features a threaded connection or a hose fitting for easy attachment. The inlet may also have a built-in screen or filter to prevent debris or sediment from entering the water system.
The fill valve, on the other hand, is responsible for controlling the flow of water into the RV’s water tanks. It is usually located near the freshwater inlet and may consist of a simple manual valve or a more advanced electronic valve. By opening or closing the fill valve, RV owners can regulate the water flow and fill their tanks to the desired level.
Some RV models may have additional features incorporated into the freshwater inlet and fill valve system. For instance, a pressure regulator may be installed to protect the plumbing system from excessive water pressure. This ensures that the water flowing into the RV is at a safe and optimal pressure level. In some cases, a check valve may also be present to prevent water from flowing back into the external water source and potentially causing contamination or damage.
In conclusion, the freshwater inlet and fill valve are essential components of the RV water system. They allow for easy connection to an external water source and enable the filling of the RV’s water tanks. These components, along with any additional features, ensure a reliable and efficient water supply for camping and travel adventures.
The Water Heater: Essential for Showering and Dishwashing
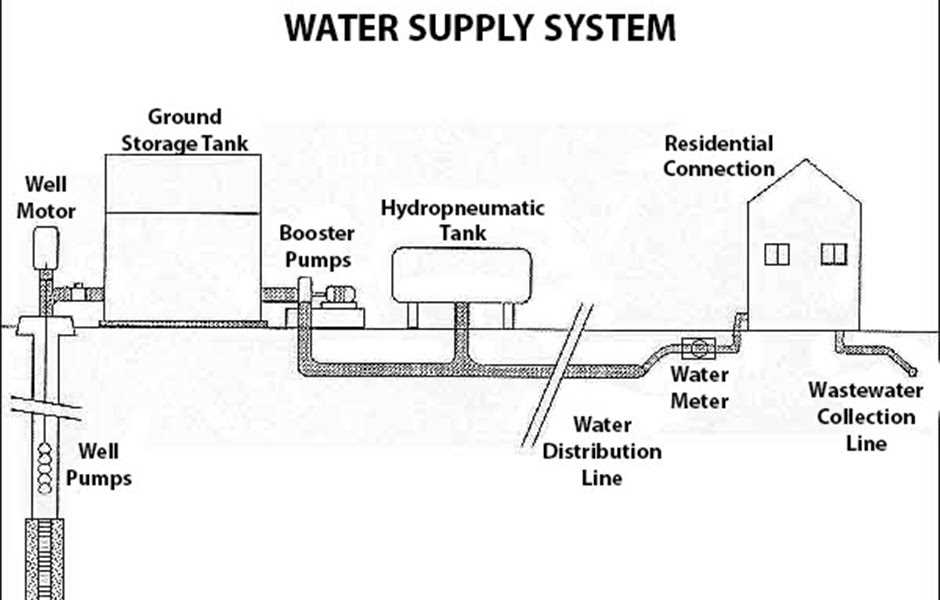
In any RV water system, the water heater plays a crucial role in ensuring a comfortable and convenient experience for showering and dishwashing. Without a functioning water heater, these essential activities would be challenging and unpleasant.
The water heater is responsible for heating the water that flows through the faucets and showers in an RV. It typically operates on either electricity or propane gas, depending on the RV model. The heated water is stored in a tank, ready to be used whenever needed.
When it comes to showering, a hot water supply is a must for many people to feel refreshed and clean. Stepping into a cold shower can be a shock to the system, especially in colder climates. With a functioning water heater, RV owners can enjoy a warm and relaxing shower, similar to the comforts of home.
Dishwashing in an RV also benefits greatly from a water heater. Hot water helps to remove grease and food residues more effectively, making the cleaning process more efficient. Whether it’s for washing dishes by hand or using the RV’s built-in dishwasher, a water heater ensures that hot water is readily available, making dishwashing a breeze.
Proper maintenance of the water heater is essential to ensure its longevity and efficient operation. Regularly flushing the tank and checking for any leaks or malfunctions will help prevent any issues that could disrupt the water supply. Some RV owners also choose to install insulation blankets around the water heater to improve energy efficiency and reduce heat loss.
In conclusion, the water heater is a vital component of any RV water system, providing the necessary hot water for showering and dishwashing. Its proper functioning ensures comfort and convenience for RV owners, allowing them to enjoy these essential activities while on the road.
Exploring the Role of Plumbing: Pipes and Valves
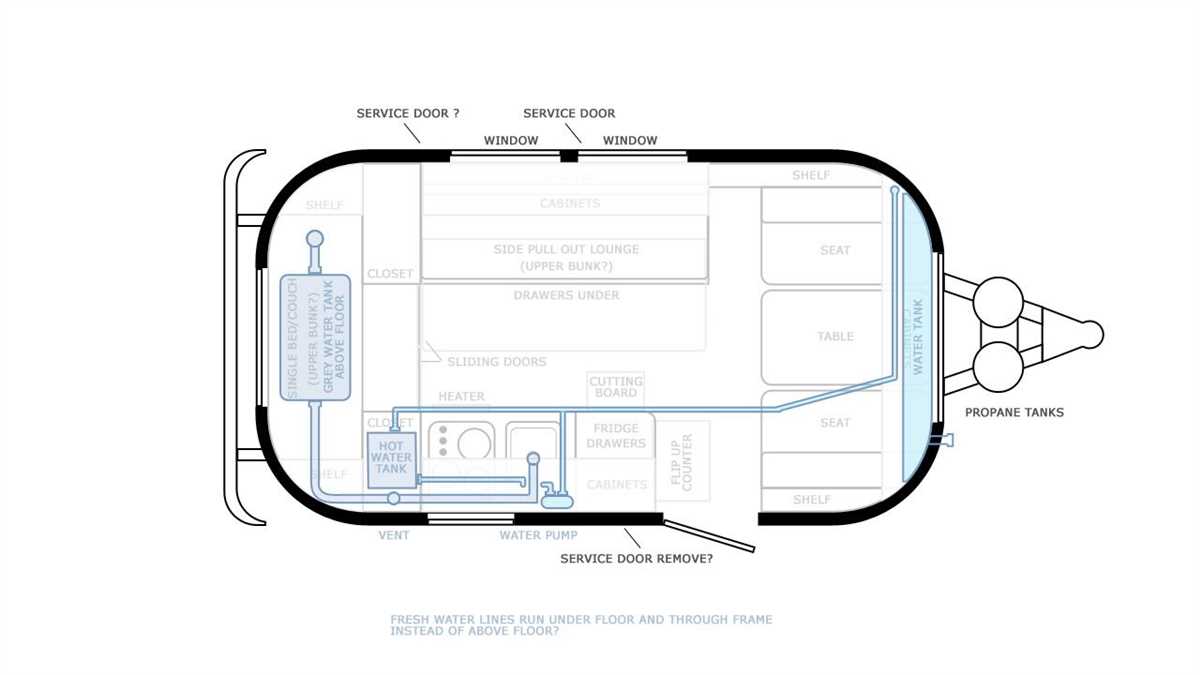
Plumbing plays a crucial role in the functioning of various systems, including the water supply in RVs. When it comes to the water system in an RV, understanding the role of pipes and valves is essential. These components work together to ensure a reliable and efficient water supply throughout the vehicle.
Pipes in an RV water system serve as the conduits that transport water from the source to the various fixtures and appliances. They are typically made of durable materials like PVC or copper to withstand the demands of the system. The pipes are carefully routed and connected to ensure proper water flow and prevent leaks or blockages. By following a well-designed schematic, RV owners can have a clear understanding of how the pipes are laid out and how they connect to different parts of the water system.
Valves
- Shut-off valves: These valves are used to control the flow of water into different sections of the RV’s water system. They allow users to isolate certain areas for maintenance or repairs.
- Check valves: Check valves are designed to prevent backflow, ensuring that water flows in one direction only. They are typically installed near the water pump or in other strategic locations to prevent contamination.
- Pressure regulators: These valves help maintain a consistent water pressure throughout the RV to protect the system from damage. They are often adjustable to accommodate different water sources with varying pressures.
Understanding the role of pipes and valves is crucial for troubleshooting and maintaining an RV’s water system. Identifying potential issues such as leaks, blockages, or improper water flow becomes easier when one has a good grasp of how these components should function. Regular inspection, maintenance, and proper use of valves also contribute to the longevity and efficiency of the water system.
Overall, the plumbing system in an RV is a complex network of pipes and valves that work together to provide a reliable and efficient water supply. By understanding the role of each component and following the proper maintenance procedures, RV owners can ensure a trouble-free water system during their travels.
Understanding the Function of the Water Filtration System
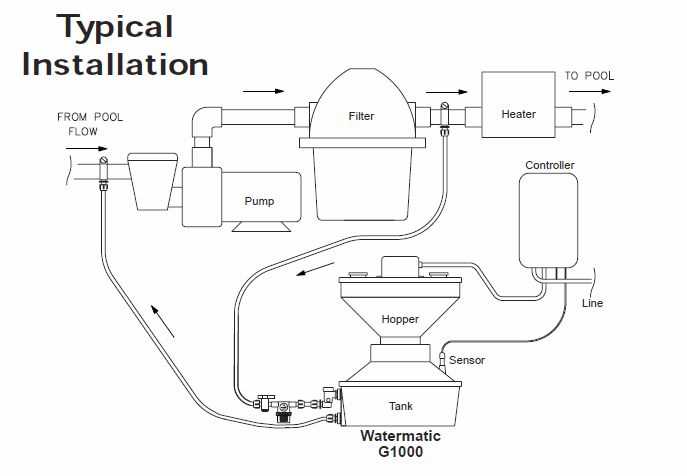
The water filtration system in an RV plays a crucial role in providing clean and safe drinking water while on the road. It is designed to filter out impurities and contaminants, ensuring that the water you consume is of high quality and free from harmful substances.
The system typically consists of several components, including a sediment filter, a carbon filter, and sometimes a UV light sterilizer. Each of these components has a specific function in the filtration process.
- Sediment filter: This filter is the first line of defense and is responsible for removing larger particles such as dirt, rust, and sediment from the water. It helps to prevent clogs and damage to the other filters in the system.
- Carbon filter: The carbon filter is designed to remove chlorine, chemicals, odors, and unpleasant tastes from the water. It also helps to improve the overall clarity of the water.
- UV light sterilizer: In some systems, a UV light sterilizer is included to kill bacteria, viruses, and other microorganisms that may be present in the water. This provides an extra layer of protection and ensures that the water is safe for consumption.
It is important to understand that the water filtration system in an RV is not a guarantee of completely pure water. While it can significantly improve the quality of the water, it may not be able to remove certain contaminants that are smaller in size or more resistant to filtration.
Regular maintenance and replacement of the filters are essential to ensure the optimal performance of the water filtration system. This includes periodically cleaning or replacing the sediment filter, replacing the carbon filter as recommended by the manufacturer, and monitoring the UV light sterilizer for any signs of malfunction.
By understanding the function of the water filtration system in an RV and properly maintaining it, you can have peace of mind knowing that the water you consume is clean, safe, and free from harmful impurities.
Tackling the Greywater and Blackwater Tanks: Waste Management
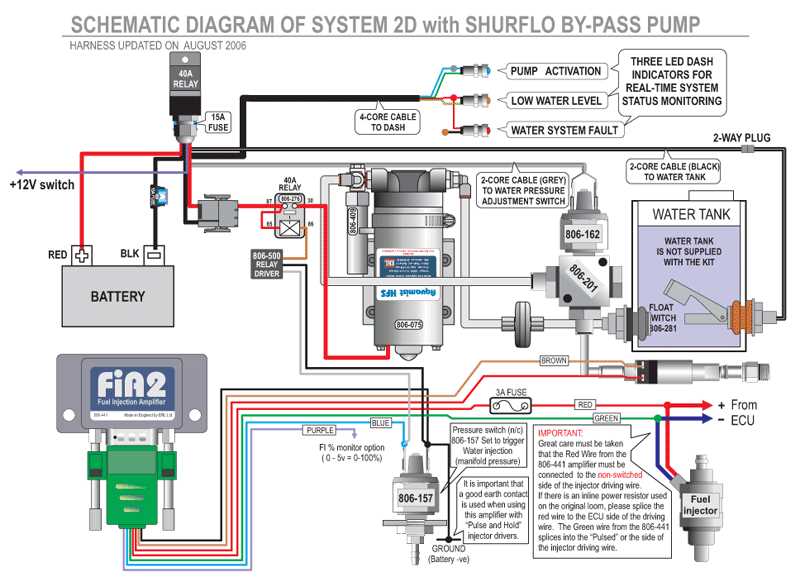
Managing the waste generated by an RV water system is an essential aspect of maintaining a clean and functional environment while on the road. The greywater and blackwater tanks play a vital role in waste management, ensuring that any wastewater generated during your travels is properly handled and disposed of.
Greywater Tank:
The greywater tank is responsible for collecting and storing water that comes from sources such as the kitchen sink, bathroom sink, and shower. This water may contain soap, food particles, and other debris that can accumulate over time. To ensure proper waste management, it is essential to regularly empty and clean the greywater tank. This can be done by accessing the tank’s valve and draining the wastewater into an appropriate disposal station or sewer system. Additionally, using biodegradable soaps and products can help minimize the environmental impact of the greywater.
Blackwater Tank:
The blackwater tank is designed to handle the waste from the RV’s toilet. This tank must be emptied regularly, following proper sanitary procedures to prevent contamination and unpleasant odors. Typically, blackwater tanks are equipped with a valve that can be opened to release the waste into a designated dumping station or sewer connection. Proper waste management also involves treating the blackwater tank with chemicals or additives that aid in breaking down solid waste and controlling odors.
Summary:
- The greywater tank collects wastewater from sources like the kitchen sink, bathroom sink, and shower.
- Regular emptying and cleaning of the greywater tank are necessary for proper waste management.
- Using biodegradable soaps and products can help minimize the environmental impact of the greywater.
- The blackwater tank is responsible for handling waste from the RV’s toilet.
- The blackwater tank must be emptied regularly using proper sanitary procedures.
- Chemicals or additives can be used to break down solid waste and control odors in the blackwater tank.
Proper waste management of the greywater and blackwater tanks is essential not only for the health and comfort of those traveling in the RV but also for the preservation of the environment. By following recommended maintenance and disposal procedures, RVers can ensure a clean and efficient waste management system, allowing them to enjoy their adventures while minimizing their impact on the planet.