
If you are looking to install or troubleshoot a Seaflo sfbp1-g750-06 water pump, having a proper understanding of its wiring diagram is crucial. This comprehensive guide will provide you with all the necessary information to ensure a successful installation or resolve any wiring issues you might encounter.
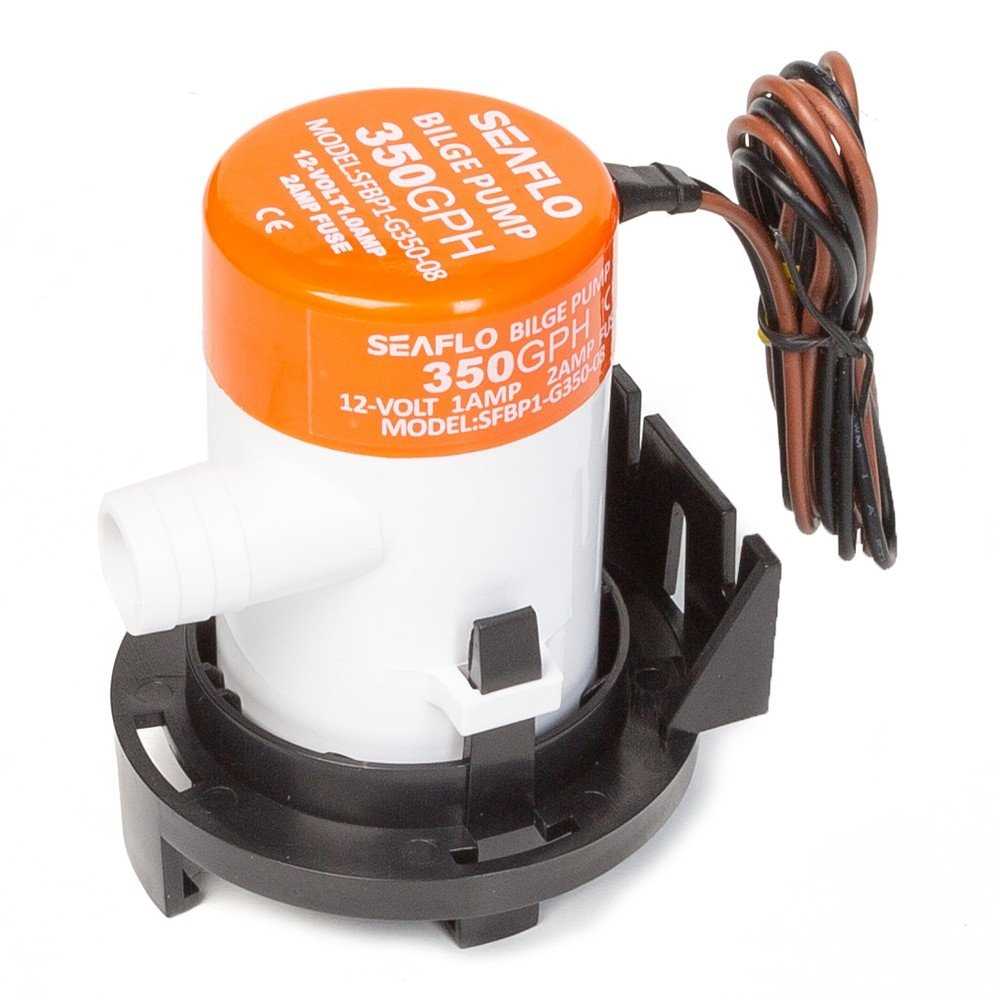
The Seaflo sfbp1-g750-06 is a highly efficient and reliable water pump that is commonly used in various applications such as RVs, boats, and agricultural systems. It is designed to provide a consistent and steady flow of water, making it an essential component in any water transfer system.
The wiring diagram of the Seaflo sfbp1-g750-06 consists of several key components including the pump itself, an on/off switch, a pressure switch, and a power source. Understanding the connections and functions of these components is crucial in ensuring the proper operation of the pump and preventing any potential electrical hazards.
In this guide, we will walk you through the step-by-step process of wiring the Seaflo sfbp1-g750-06 water pump. We will explain each component’s role and provide clear instructions on how to connect them correctly. Additionally, we will also discuss some common troubleshooting tips for resolving any wiring issues you might encounter along the way.
Whether you are a seasoned DIY enthusiast or a beginner looking to install a Seaflo sfbp1-g750-06 water pump, this comprehensive guide will equip you with all the information you need to ensure a successful installation and trouble-free operation. So let’s dive in and explore the world of Seaflo sfbp1-g750-06 wiring!
Overview

The Seaflo sfbp1-g750-06 is a high-quality and durable water pump designed for use in boats, RVs, and other marine applications. It is an essential component of the water system, providing a reliable source of water for various tasks.
The wiring diagram for the Seaflo sfbp1-g750-06 illustrates the proper connections and configurations for the pump’s electrical components. This diagram serves as a guide for installing and troubleshooting the pump, ensuring that it operates safely and efficiently.
The Seaflo sfbp1-g750-06 wiring diagram includes the main electrical connections, such as the power source, ground, and switch. It also shows the connections for the pump’s pressure switch and control panel, ensuring that all components are properly connected for the pump to function correctly.
The diagram may also include additional information, such as wire sizes, recommended fuses, and specific instructions for wiring the pump in different applications. It is essential to follow the wiring diagram closely and consult the pump’s installation manual for any specific requirements or recommendations.
Overall, the Seaflo sfbp1-g750-06 wiring diagram is an important tool for anyone installing or troubleshooting this water pump. It provides a clear and concise guide for proper electrical connections, ensuring the pump operates safely and efficiently in various marine applications.
Components
In the wiring diagram for the Seaflo sfbp1-g750-06, several components are shown. These components play a crucial role in ensuring the proper functioning of the water pump system. Understanding the purpose and connection of each component is essential for successful installation and maintenance.
The main components depicted in the wiring diagram include:
-
Power Source: In this diagram, the power source is indicated as a battery. It provides the necessary electrical energy to power the water pump.
-
Pump Controller: The pump controller is responsible for regulating the operation of the water pump. It manages the start and stop cycles and may include additional features such as pressure sensors for automatic activation.
-
Water Pump: The water pump itself is the primary component that moves water from one location to another. It is typically connected to hoses or pipes for water transfer.
-
Wiring Connections: The diagram illustrates the various wiring connections that need to be made for the system to work correctly. These connections include the power supply connections, the pump controller connections, and the wiring between the pump and the controller.
By understanding the role and connection of these components, the wiring diagram can serve as a valuable resource for troubleshooting and maintenance of the Seaflo sfbp1-g750-06 water pump system. It is essential to follow the diagram carefully and ensure proper installation to maintain the system’s efficiency and longevity.
Connecting the battery
When installing the Seaflo sfbp1-g750-06 water pump, it is important to properly connect the battery to ensure the pump operates efficiently and safely. Here are the steps to connect the battery:
- Gather the necessary materials: Make sure you have all the required materials at hand, including the Seaflo sfbp1-g750-06 water pump, a 12V battery, battery cables, and a battery terminal cleaner.
- Clean the battery terminals: Before making any connections, it is crucial to clean the battery terminals using a battery terminal cleaner. This will ensure a good electrical contact between the battery and the pump.
- Connect the positive cable: Attach one end of the positive cable to the positive terminal of the battery. Make sure it is securely tightened to prevent any loose connections.
- Connect the negative cable: Attach one end of the negative cable to the negative terminal of the battery. Again, ensure that it is tightly secured to maintain a solid connection.
- Connect the pump: The Seaflo sfbp1-g750-06 water pump should have two wires for connection. The positive wire should be connected to the positive cable coming from the battery, and the negative wire should be connected to the negative cable.
- Double-check the connections: Before powering on the pump, double-check all the connections to ensure they are properly secured and tightened. This will prevent any potential electrical malfunctions or accidents.
Remember to follow the manufacturer’s instructions and guidelines when connecting the battery for the Seaflo sfbp1-g750-06 water pump. Properly connecting the battery is essential for the pump’s optimal performance and longevity.
Connecting the pump
When it comes to connecting the Seaflo sfbp1-g750-06 pump, there are a few key steps that need to be followed for successful installation. Firstly, it is important to ensure that all power to the pump is turned off before beginning any wiring. This will prevent any potential accidents or damage to the pump or other electrical components.
Step 1: Start by identifying the positive and negative terminals on the pump. These are usually designated by a + and – sign or by color-coding (red for positive, black for negative). It is important to make sure that the correct terminals are used to avoid any electrical damage to the pump.
Step 2: Once the terminals have been identified, connect the positive wire from the power source to the positive terminal on the pump. This can be done by stripping the end of the wire and attaching it securely to the terminal. It is recommended to use a crimping tool or solder the connection for a secure and reliable connection.
Step 3: Next, connect the negative wire from the power source to the negative terminal on the pump. Again, strip the end of the wire and attach it securely to the terminal using a crimping tool or soldering the connection for a secure and reliable connection.
Step 4: After the wiring is complete, it is important to double-check all connections to ensure they are secure and free from any loose wires or exposed metal. This will help prevent any potential electrical issues or accidents.
Step 5: Finally, once all connections have been verified and secured, it is safe to turn on the power to the pump and test its functionality. If the pump is functioning properly, it should start pumping water as intended.
Following these steps and ensuring that all connections are secure and properly made will help in the successful installation and operation of the Seaflo sfbp1-g750-06 pump.
Wiring the switch
When it comes to wiring the Seaflo sfbp1-g750-06 switch, it is important to follow the provided wiring diagram to ensure proper installation. The wiring diagram specifies the connections for the switch, including the positive and negative terminals.
The first step in wiring the switch is to determine the power source. This can be a battery or other power source capable of supplying the required voltage. Once the power source is identified, the positive terminal of the switch should be connected to the positive terminal of the power source.
Next, the negative terminal of the switch should be connected to the negative terminal of the power source. This completes the basic wiring for the switch. However, additional connections may be required depending on the specific application.
It is important to ensure that all connections are secure and properly insulated to prevent any potential electrical hazards. Additionally, it may be helpful to label the connections for easy reference in the future.
In summary, wiring the Seaflo sfbp1-g750-06 switch requires following the provided wiring diagram and making the appropriate connections to the power source. Proper insulation and secure connections are essential for safe and effective operation.
Testing and Troubleshooting
Testing and troubleshooting the Seaflo sfbp1-g750-06 water pump wiring diagram is an important step to ensure the pump is installed and working correctly. Here are a few steps to help you test and troubleshoot the wiring.
1. Check the power source
Start by checking the power source to ensure it is providing the correct voltage and amperage for the pump. Use a multimeter to measure the voltage at the power source. If the voltage is below or above the recommended range, it may cause issues with the pump’s operation. Additionally, check if the power source is providing a consistent and stable power supply.
2. Inspect the wiring connections
Inspect the wiring connections for any loose or damaged wires. Check if all the connections are properly secured and there are no signs of corrosion or overheating. Ensure that the connections are made according to the wiring diagram provided by Seaflo. If you find any issues with the wiring, repair or replace the affected wires or connections.
3. Test the pump motor
Using a multimeter, check the resistance of the pump motor to ensure it is within the specified range. If the resistance is too high or too low, it may indicate a problem with the motor and it may need to be replaced. Additionally, you can manually test the pump motor by connecting it directly to a power source and checking if it runs smoothly without any unusual noises or vibrations.
4. Check for leaks
After ensuring the wiring and motor are functioning correctly, test the pump for any leaks. Fill the pump with water and observe if there are any leaks around the seals or connections. If you notice any leaks, tighten the connections or replace any damaged seals.
5. Test the pump operation
Finally, test the pump’s operation by connecting it to the power source and turning it on. Observe if the pump starts, runs smoothly, and provides the desired water flow. If the pump does not start or operate as expected, recheck the wiring connections and troubleshoot any issues that may arise.
By following these testing and troubleshooting steps, you can ensure that the Seaflo sfbp1-g750-06 water pump is properly installed and functioning correctly. Addressing any issues early on will help prevent further damage and ensure reliable operation.
Q&A:
What is testing?
Testing is the process of evaluating a system or a component to determine whether it satisfies the specified requirements.
What is the purpose of testing?
The purpose of testing is to identify defects or errors in the system and ensure that it functions as expected.
What are the different types of testing?
There are several types of testing, including unit testing, integration testing, system testing, acceptance testing, and performance testing.
What is troubleshooting?
Troubleshooting is the process of identifying, diagnosing, and resolving problems or issues in a system or a component.
What are some techniques used in testing and troubleshooting?
Some common techniques include black box testing, white box testing, gray box testing, and root cause analysis.
What is testing?
Testing is the process of evaluating a system or component to determine whether it satisfies the specified requirements or not. It involves executing a system or component with the intent of finding errors or verifying that it functions as intended.