
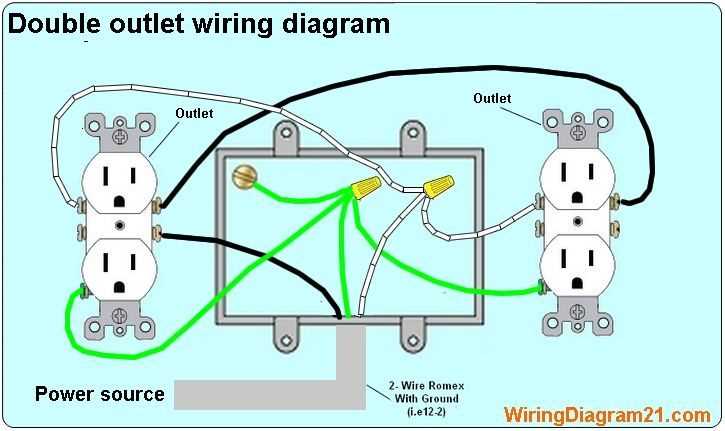
When it comes to operating a tanning bed, understanding its wiring diagram is essential. A wiring diagram is a visual representation of the electrical connections and components within the tanning bed. It provides a roadmap for technicians and users to properly navigate and troubleshoot any electrical issues that may arise.
In a tanning bed, the wiring diagram typically includes information about the power supply, control panel, lamps, ballasts, timers, and other electrical components. The diagram helps identify the different wires, terminals, and connections, making it easier to determine if there are any faulty or damaged parts that need to be repaired or replaced.
Having a clear and accurate wiring diagram is especially important for tanning bed technicians and electricians. It allows them to understand how the electrical system works, trace the flow of electricity, and ensure that all connections are properly made and secure. It also serves as a helpful reference for future maintenance and upgrades.
What is a Wiring Diagram?
A wiring diagram is a visual representation of the electrical circuitry of a system or device. It provides a detailed illustration of the connections and components involved, helping to understand how the electrical system is structured and how it functions. Wiring diagrams are commonly used in various industries, including automotive, electronics, and construction.
In a wiring diagram, each component is represented by specific symbols and lines that indicate the electrical connections between them. These symbols and lines show the flow of electricity and the paths it takes through the system. Wiring diagrams are crucial for understanding the wiring layout, diagnosing electrical issues, and troubleshooting problems.
Key Elements in a Wiring Diagram
- Components: The wiring diagram includes symbols that represent various electrical components, such as switches, lights, motors, and connectors. These symbols are standardized to ensure clarity and consistency.
- Lines: The lines in a wiring diagram represent the electrical connections between components. Different line types and styles are used to indicate different types of connections, such as power supply lines, ground lines, and communication lines.
- Labels: Labels and annotations are often used in wiring diagrams to provide additional information about the components or connections. They help to identify specific wires, terminals, or functions, making it easier to understand the overall wiring scheme.
- Color Coding: Wiring diagrams may use colors to distinguish different wires or connections. This color coding can help identify the purpose or function of a wire, simplifying the interpretation of the diagram.
Overall, a wiring diagram serves as a valuable tool for electricians, technicians, and individuals working with electrical systems. It provides a clear and detailed overview of the electrical connections, making it easier to install, repair, or modify the system.
The Importance of a Wiring Diagram
When it comes to electrical systems, having a wiring diagram is essential. Whether you are installing a new tanning bed or troubleshooting an existing one, a detailed wiring diagram can help you navigate through the complex network of wires and connections.
A wiring diagram is a visual representation of the electrical circuitry in a tanning bed. It outlines the different components, their connections, and the flow of electricity. This diagram provides valuable information for understanding how the tanning bed operates and ensures that all the electrical connections are made correctly.
With a wiring diagram, you can easily identify the wires that connect different parts of the tanning bed, such as the power supply, ballast, lamps, timers, and control panels. This information is crucial for proper installation, as connecting wires incorrectly can result in non-functional or unsafe operation.
In addition, a wiring diagram is essential when troubleshooting electrical issues. If a tanning bed is not working properly, having a diagram allows you to trace the circuitry and identify potential problem areas. You can check for loose connections, damaged wires, or faulty components based on the diagram, saving both time and effort.
Overall, a wiring diagram is an invaluable tool for anyone working with tanning beds. It provides a clear and concise representation of the electrical system, allowing for proper installation, maintenance, and troubleshooting. Whether you are a professional electrician or a DIY enthusiast, having access to a wiring diagram is essential for ensuring the safe and efficient operation of your tanning bed.
Understanding the Components

The wiring diagram for a tanning bed can be quite complex, but to simplify it, let’s break down the different components and their functions.
Control Panel: The control panel is the interface between the user and the tanning bed. It allows the user to adjust settings such as the exposure time and intensity of the lamps. The control panel is connected to the rest of the wiring system to transmit these commands.
Timer: The timer is responsible for controlling the duration of the tanning session. It ensures that the lamps turn off after a predetermined amount of time, ensuring the user’s safety. The timer receives signals from the control panel and activates the necessary relays to control the power to the lamps.
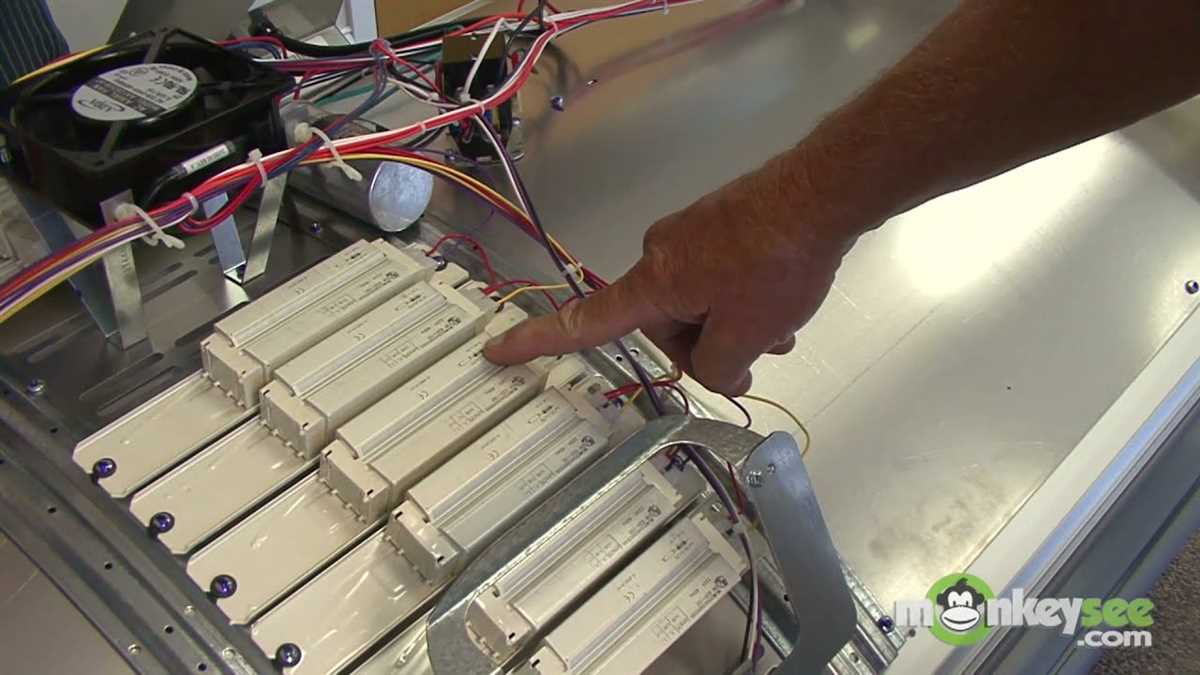
Ballasts: Ballasts are electrical devices that regulate the current flow to the lamps. They provide the necessary starting voltage and control the current to maintain a steady light output. Ballasts can be either magnetic or electronic, depending on the type of tanning bed.
Lamps: The lamps, also known as bulbs or tubes, are the main light sources in the tanning bed. They produce ultraviolet (UV) radiation, which is responsible for tanning the skin. The wiring diagram will show the connections from the ballasts to the lamps.
Relays: Relays are electrical switches that control the flow of electricity to different components. In a tanning bed, relays are used to turn the lamps on and off. They are typically activated by the timer or other control signals.
Power Supply: The power supply is the source of electrical energy for the tanning bed. It can be connected to a standard electrical outlet or require a dedicated circuit. The wiring diagram will show how the power supply is connected to the other components of the tanning bed.
Safety System: Tanning beds have built-in safety features to protect the user from potential hazards. These may include sensors for overheating, emergency stop switches, and ground fault circuit interrupters (GFCI) to prevent electrical shocks. The wiring diagram may include the connections for these safety systems.
Step-by-Step Guide to Wiring a Tanning Bed

Wiring a tanning bed requires careful planning and attention to detail. It’s important to follow the manufacturer’s instructions and consult with a licensed electrician if necessary. Here is a step-by-step guide to help you wire your tanning bed.
1. Gather the necessary materials
Before you begin, make sure you have all the materials you need. This may include electrical wiring, circuit breakers, junction boxes, wire nuts, and a voltage tester. It’s important to use materials that are specifically designed for electrical installations.
2. Locate the power source

Identify the power source in your home where you will connect the tanning bed. This may be a dedicated outlet or a circuit breaker panel. Make sure the power source has the appropriate voltage rating for your tanning bed.
3. Turn off the power
Prior to beginning the wiring process, it’s important to turn off the power to the designated area. This will help prevent electrical accidents and ensure your safety during the installation.
4. Install the circuit breaker
If your tanning bed requires a dedicated circuit, install a circuit breaker in the circuit breaker panel. Make sure to choose a breaker with the appropriate amperage rating for your tanning bed. Connect the breaker to the power source and secure it in place.
5. Run the electrical wiring
Using appropriate electrical wiring, run the wires from the circuit breaker to the location of the tanning bed. Use conduit or wire channels to protect the wires and ensure they are properly secured.
6. Connect the wires
Once the wiring is in place, carefully connect the wires to the appropriate terminals or junction boxes. Make sure to follow the manufacturer’s instructions and use wire nuts to secure the connections. Double-check all connections to ensure they are tight and secure.
7. Perform a voltage test
Before turning the power back on, use a voltage tester to test the wires for proper voltage. This will help ensure that the wiring is connected correctly and reduce the risk of electrical issues.
8. Secure and cover the wiring

Once the wiring is installed and tested, secure it in place using cable ties or clips. Make sure to cover any exposed wires with wire covers or conduit to protect them from damage.
9. Turn on the power
After completing all the necessary wiring and safety checks, you can safely turn the power back on. Test the tanning bed to ensure it is functioning properly.
Remember, if you are unsure about any step or encounter any difficulties during the wiring process, consult with a professional electrician for assistance.
Common Issues and Troubleshooting
Tanning beds can sometimes encounter issues that require troubleshooting in order to diagnose and fix the problem. Here are some common issues that can occur with wiring diagrams for tanning beds:
1. Power supply issues:
One of the most common issues with tanning beds is related to the power supply. If the bed is not turning on or is experiencing intermittent power loss, check the power source and make sure it is securely plugged in. Additionally, check the circuit breaker or fuse box to ensure that there are no tripped breakers or blown fuses. If the issue persists, it may be necessary to inspect the wiring diagram and look for any loose or damaged wires.
2. Lamp failure:
If the tanning bed lamps are not turning on or are flickering, this could indicate a lamp failure. Check the lamps and replace any burnt-out or damaged ones. It is important to refer to the wiring diagram to ensure that the lamps are connected properly and that the wiring is intact.
3. Timer malfunctions:

The timer on a tanning bed controls the duration of the tanning session. If the timer is not functioning correctly, the bed may not turn on or may not shut off at the desired time. Check the wiring diagram to ensure that the timer is correctly connected and that all connections are secure. If necessary, consult the user manual or contact a qualified technician for further assistance.
4. Safety switch problems:
Some tanning beds are equipped with safety switches that prevent the bed from operating if certain conditions are not met. If the bed is not turning on or is not functioning properly, check the safety switch to ensure that it is engaged and functioning correctly. Consult the wiring diagram to locate the safety switch and examine the connections to ensure they are secure.
It is important to note that troubleshooting electrical issues with tanning beds can be dangerous and should only be performed by a qualified technician. Always refer to the manufacturer’s instructions and consult a professional if you are unsure of how to proceed.
Safety Precautions for Wiring a Tanning Bed
When wiring a tanning bed, it is important to prioritize safety to prevent accidents and ensure the proper operation of the equipment. Here are some essential safety precautions to follow:
- Always turn off the power: Before working on the wiring of a tanning bed, make sure to turn off the power supply to prevent electrical shocks. Unplug the bed from the power outlet or switch off the circuit breaker.
- Wear protective gear: When working on the wiring, wear protective gear such as gloves and goggles to protect yourself from electrical hazards.
- Read the manufacturer’s instructions: Familiarize yourself with the manufacturer’s instructions and guidelines for wiring the tanning bed. Follow the recommended wiring diagram provided by the manufacturer.
- Use the correct wiring materials: Ensure that you are using the appropriate wiring materials for the tanning bed. Use wires, connectors, and electrical components that are specifically designed for the voltage and current requirements of the bed.
- Avoid overloading circuits: Do not overload electrical circuits by connecting too many devices to a single circuit. Distribute the load across multiple circuits if necessary.
- Protect the wiring: Install wiring in a secure and protected manner to prevent damage and accidents. Use conduit or appropriate cable management systems to protect the wiring from physical damage.
- Get professional help if needed: If you are not confident in your electrical wiring skills, it is recommended to hire a licensed electrician to wire the tanning bed for you. They have the necessary expertise and knowledge to ensure safe and proper wiring.
By following these safety precautions, you can minimize the risk of electrical accidents and ensure the safe operation of your tanning bed.