
If you own a Harley-Davidson motorcycle and want to enhance your riding experience with some quality tunes, installing saddlebag speakers can be a great way to achieve that. Saddlebag speakers allow you to enjoy your favorite music or podcasts while on the road, without compromising the classic look and feel of your Harley. However, setting up the wiring for these speakers may seem like a daunting task for some riders.
Fortunately, installing saddlebag speaker wiring on your Harley is not as complicated as it may seem. With the right tools and a little bit of guidance, you can have a fully functioning audio system on your motorcycle in no time. This article will walk you through the steps necessary to set up the wiring for your Harley saddlebag speakers, so you can enjoy your music while cruising down the open road.
The first step in setting up your Harley saddlebag speaker wiring is to gather all the necessary materials. You will need a set of saddlebag speakers that are compatible with your Harley model, speaker wire, electrical tape, wire connectors, and a wire stripper. It’s important to choose speakers that are specifically designed for use with motorcycles, as they need to withstand the vibrations and weather conditions that come with riding.
Enhance your riding experience with high-quality sound
When it comes to enjoying the open road on your Harley-Davidson, nothing beats the feeling of freedom and excitement that comes with it. But what if you could take your riding experience to the next level? With high-quality sound, you can do just that. Whether you’re cruising down the highway or taking on winding backroads, having a reliable audio system on your Harley is essential.
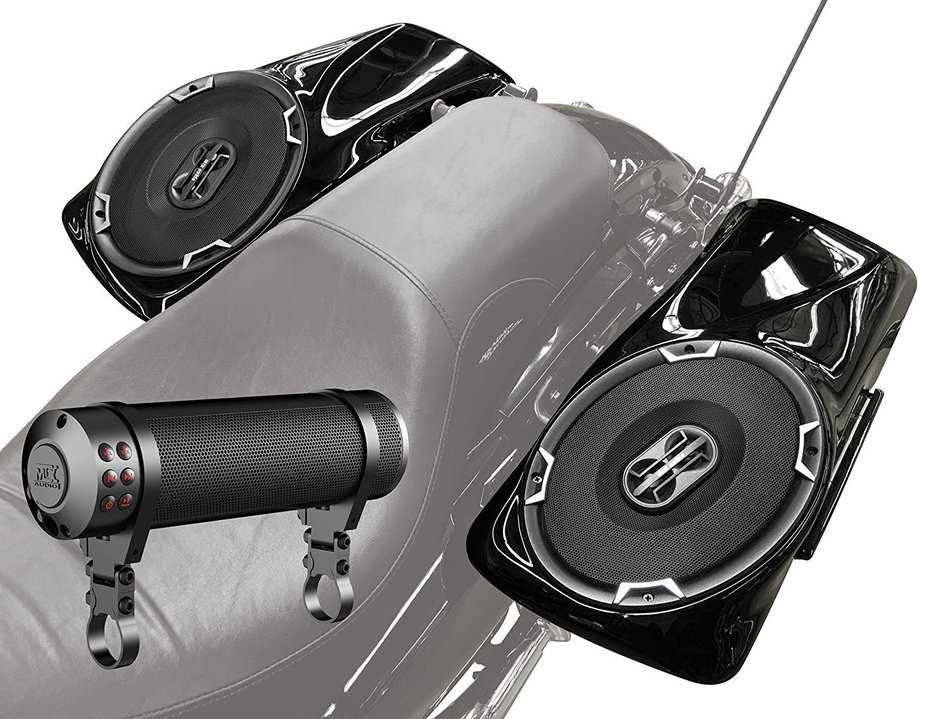
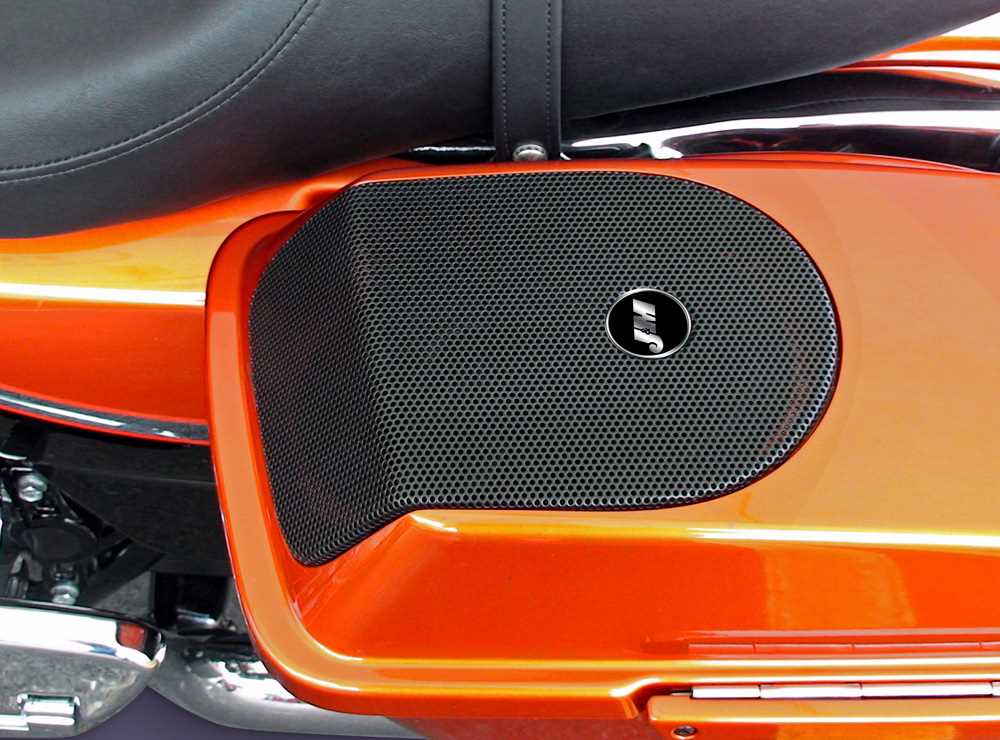
Adding saddlebag speakers to your Harley can greatly enhance your riding experience by providing crisp and clear sound while you’re on the move. These speakers are specifically designed to fit seamlessly into the saddlebags of your bike, so you don’t have to worry about them taking up valuable space or compromising the overall aesthetic of your ride. They are also weather-resistant, ensuring that they can withstand all types of riding conditions.
With the right saddlebag speaker wiring, you can easily connect your speakers to your Harley’s audio system. This allows you to control the volume and switch between your favorite tunes with just a touch of a button, without any hassle. Whether you prefer classic rock, country, or heavy metal, having a reliable and high-quality audio system on your bike will make every ride more enjoyable.
Don’t miss out on the opportunity to enhance your riding experience with high-quality sound. Invest in saddlebag speakers and experience the thrill of cruising down the road with your favorite music playing in the background. Upgrade your Harley and take your rides to a whole new level.
Choosing the right speakers for your Harley saddlebags
When it comes to upgrading the sound system on your Harley Davidson, one of the best ways to enhance your riding experience is by adding speakers to your saddlebags. Not only do saddlebag speakers provide excellent sound quality, but they also add a stylish and aesthetic appeal to your bike. However, choosing the right speakers for your Harley saddlebags can be a daunting task, considering the wide variety of options available in the market.
1. Size and Fit: The first and foremost consideration when choosing saddlebag speakers for your Harley is ensuring they are the right size and fit for your specific model. Measure the available space in your saddlebags and compare it with the dimensions of the speakers to ensure a proper fit. Additionally, check if any modifications or mounting brackets are required for installation.
2. Sound Quality: Another crucial factor to consider is the sound quality of the speakers. Look for speakers that provide clear and crisp audio, with a wide frequency range. Some speakers also come with built-in amplifiers, which can enhance the overall sound output. Read reviews and compare the specifications of different speakers to find the ones that offer the best sound quality.
3. Durability and Weather Resistance: Since saddlebag speakers are exposed to the elements while riding, it is essential to choose speakers that are durable and weather-resistant. Look for speakers that are made from high-quality materials and have a waterproof or weatherproof rating. This will ensure that your speakers can withstand rain, dust, and other outdoor conditions without getting damaged.
4. Compatibility and Connectivity: Before making a purchase, ensure that the speakers you choose are compatible with your Harley’s audio system. Check the connectivity options, such as Bluetooth, USB, or auxiliary input, to make sure they align with your preferences. It’s also a good idea to look for speakers that offer easy installation and wiring options for hassle-free setup.
5. Budget: Lastly, consider your budget when selecting saddlebag speakers. Set a price range and look for options within that range. While it’s tempting to go for the most expensive speakers, keep in mind that there are affordable options available that still deliver excellent sound quality. Compare prices and features to find the best value for your money.
By considering these factors, you can choose the right speakers for your Harley saddlebags that not only meet your audio needs but also enhance your overall riding experience. Whether you’re a music enthusiast or simply enjoy cruising with your favorite tunes, saddlebag speakers are a great addition to your Harley Davidson.
Consider factors such as size, power output, and durability
When it comes to selecting the right saddlebag speaker for your Harley, there are several important factors to consider. One of the first things to think about is the size of the speaker. You’ll want to choose a speaker that fits comfortably within the confines of your saddlebag, without taking up too much space or interfering with other items you may need to carry.
Another crucial factor to keep in mind is the power output of the speaker. The power output determines how loud the speaker can get and how well it can handle different types of audio. You’ll want to select a speaker that has enough power to provide clear and robust sound, especially when riding at higher speeds or in noisy environments.
Lastly, durability is key when it comes to saddlebag speakers. Considering the harsh conditions that motorcycles frequently encounter, it’s important to choose a speaker that is built to withstand vibrations, moisture, and other environmental elements. Look for speakers that are made from durable materials and have a waterproof or weather-resistant design to ensure longevity.
- Size: Choose a speaker that fits comfortably in your saddlebag
- Power output: Select a speaker with sufficient power for clear and robust sound
- Durability: Look for speakers made from durable materials and designed to withstand vibrations and moisture
By considering these factors, you can ensure that you choose a saddlebag speaker that meets your needs and enhances your riding experience on your Harley.
Tools and materials needed for the installation
Before you begin installing speakers in your Harley saddlebags, it’s important to gather all the necessary tools and materials. This will ensure a smooth and successful installation process. Here are some of the items you’ll need:
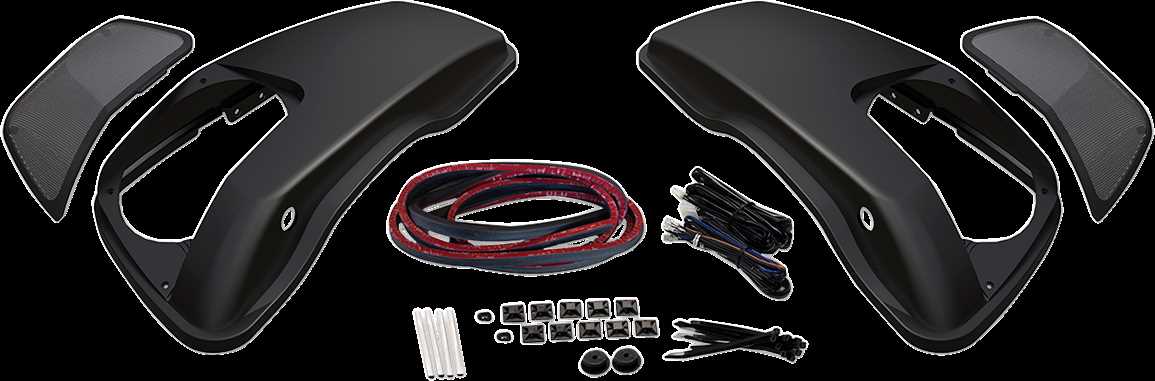
- Saddlebag speaker kit: Purchase a high-quality speaker kit specifically designed for Harley Davidson motorcycles. This kit should include the speakers, mounting brackets, wiring harness, and any other necessary components.
- Wire cutters and strippers: These tools will be used to trim and prepare the wiring for connection.
- Electrical tape: Electrical tape is essential for securing and insulating the wires to prevent any potential short circuits.
- Drill and drill bits: You’ll need a drill and the appropriate drill bits to create holes for mounting brackets and running wiring through the saddlebags.
- Screwdriver or wrench: Depending on the mounting brackets included in your speaker kit, you may need a screwdriver or wrench to secure the speakers to the brackets and the brackets to the saddlebags.
- Wire connectors: Wire connectors are necessary for securely joining the speaker wires to the wiring harness. Choose connectors that are compatible with the size and type of wires you are working with.
- Heat shrink tubing: Heat shrink tubing can be used to further protect the wire connections and provide a clean and professional finish.
Having all these tools and materials ready before starting the installation will save you time and ensure that you have everything you need to complete the job. Additionally, it’s always a good idea to read through the instructions provided with your saddlebag speaker kit to familiarize yourself with the specific requirements and steps for installation.
A comprehensive list of what you’ll need for a successful installation
To successfully install saddlebag speakers on your Harley motorcycle, there are several items you’ll need to gather beforehand. Ensuring you have all the necessary equipment and tools will save you time and frustration during the installation process. Here is a comprehensive list of what you’ll need:
1. Saddlebag speakers:
Of course, the first item you’ll need is the saddlebag speakers themselves. Choose speakers that are compatible with your Harley model and meet your audio preferences. There are various options available, so do some research to find the best fit for your needs.
2. Wiring harness kit:
A wiring harness kit is essential for connecting the speakers to your motorcycle’s electrical system. Look for a wiring harness kit specifically designed for Harley motorcycles. These kits typically include all the necessary wires, connectors, and instructions for a seamless installation.
3. Tools:
Having the right tools on hand will make the installation process much smoother. Some tools you may need include screwdrivers (both flathead and Phillips), wire strippers, wire crimpers, electrical tape, and zip ties. Additionally, having a multimeter can be helpful for testing connections and ensuring everything is working properly.
4. Mounting hardware:
To securely attach the saddlebag speakers to your motorcycle, you’ll need the appropriate mounting hardware. This may include brackets, screws, and any other components required to properly fasten the speakers to the saddlebags. Make sure to check the specifications of your speakers to determine the specific mounting hardware needed.
5. Instruction manual:
While not a physical item, having access to the instruction manual for your saddlebag speakers and wiring harness kit is crucial. Carefully read through the manual before starting the installation process to familiarize yourself with the steps and any specific requirements or considerations.
By gathering all the necessary items listed above, you’ll be well-prepared for a successful saddlebag speaker installation on your Harley motorcycle. Remember to take your time, follow the instructions carefully, and enjoy the enhanced audio experience on your rides.
Step-by-Step Guide to Wiring Your Harley Saddlebag Speakers
Wiring your Harley saddlebag speakers can greatly enhance your riding experience by providing a high-quality audio system on your bike. Whether you’re a music lover or simply want to enjoy your favorite podcasts while cruising, installing speakers in your saddlebags is a popular modification. In this step-by-step guide, we’ll walk you through the process of wiring your Harley saddlebag speakers so you can start enjoying your favorite tunes on the road.
Step 1: Gather the Required Materials

Before you begin the wiring process, make sure you have all the necessary materials. You will need a set of saddlebag speakers, speaker wires, wire connectors, a soldering iron, electrical tape, and a wiring diagram specific to your Harley model. It’s important to have the correct wiring diagram to ensure proper installation and avoid any electrical issues.
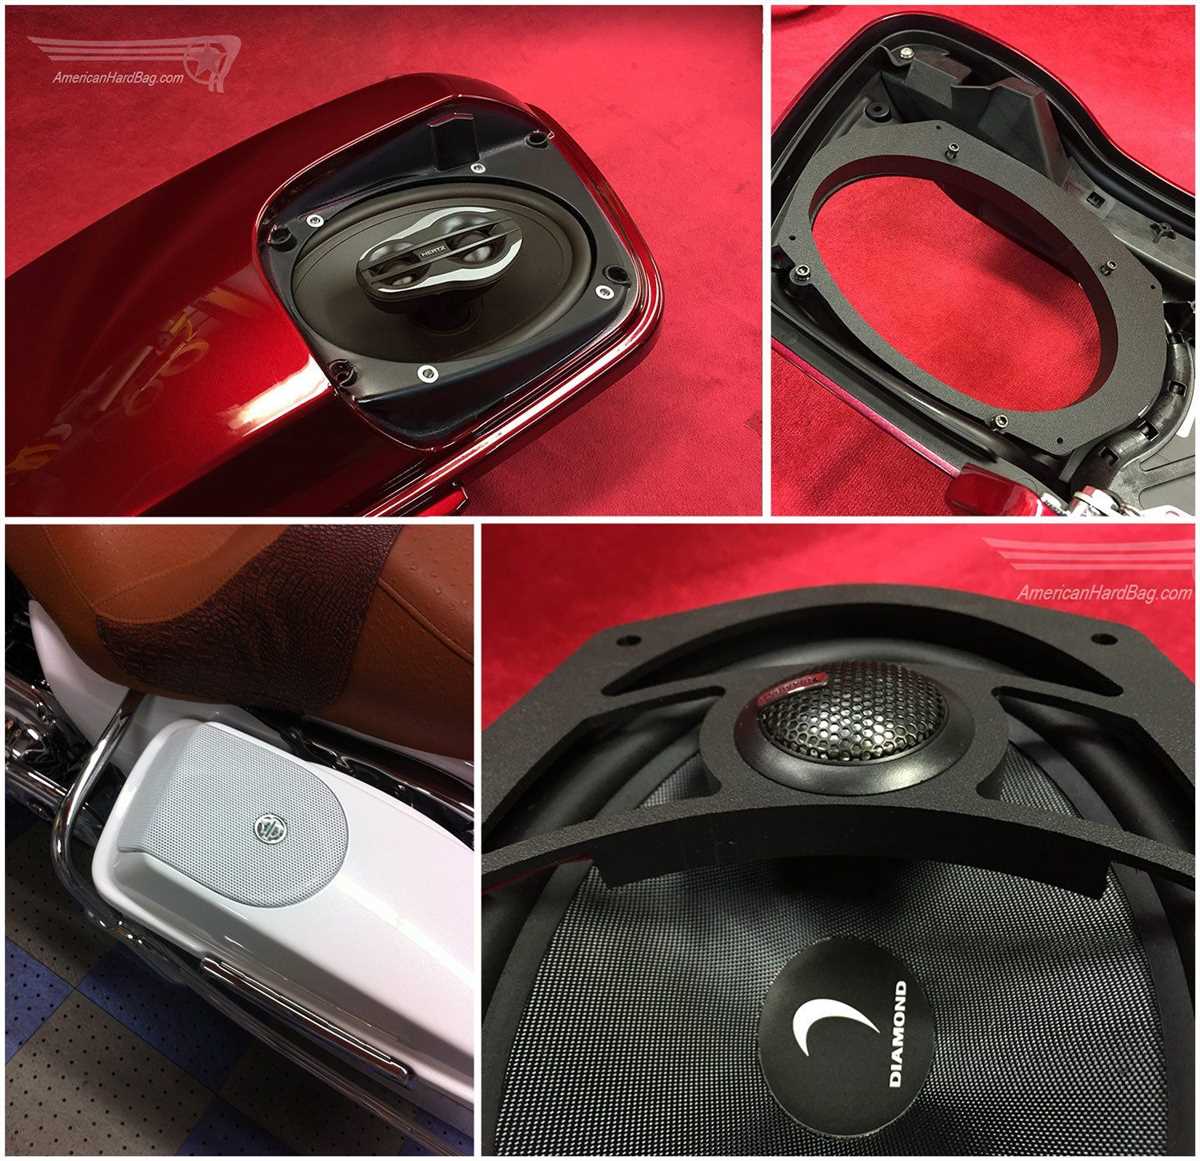
Step 2: Mount the Saddlebag Speakers
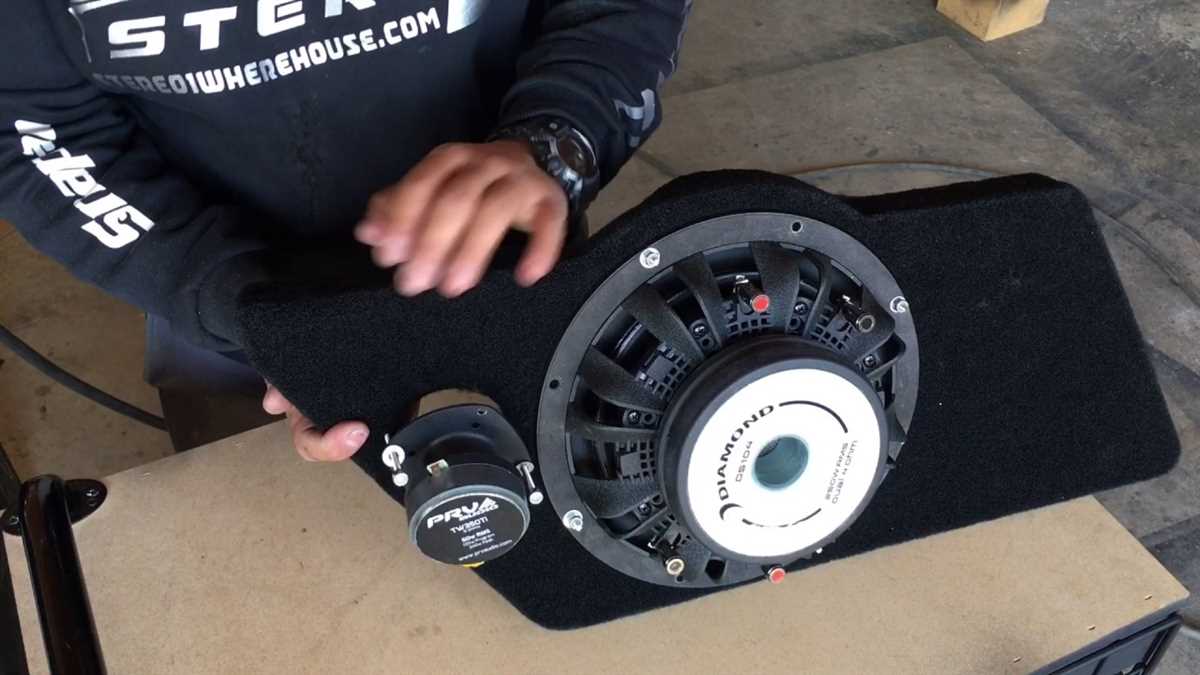
Start by mounting the saddlebag speakers onto your Harley’s saddlebags. Locate a suitable position on each saddlebag where the speakers can be securely installed. Use the appropriate screws or brackets provided with the speaker kit to attach the speakers to the saddlebags. Ensure that the speakers are positioned correctly and facing the desired direction for optimal sound output.
Step 3: Connect the Speaker Wires
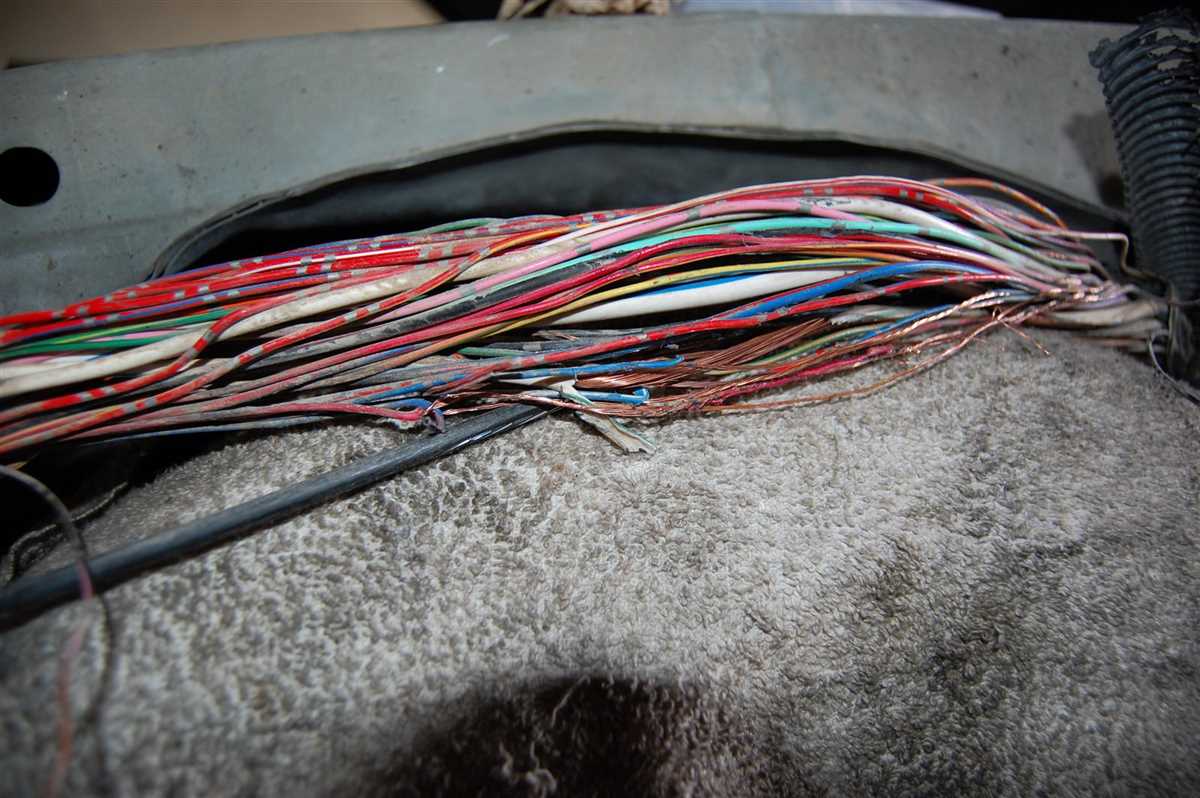
Once the speakers are securely mounted, it’s time to connect the speaker wires. Refer to the wiring diagram for your Harley model to identify the correct wires and connections. Start by stripping the ends of the speaker wires and soldering them to the corresponding wires on your Harley’s audio system. Use wire connectors or electrical tape to secure the connections and prevent any potential short circuits.
Step 4: Test the Speakers
After connecting the speaker wires, it’s important to test the speakers before finalizing the installation. Turn on your Harley’s audio system and play some music to ensure that the speakers are functioning properly. Adjust the volume and sound settings to your desired preferences. If any issues arise, double-check the wiring connections and consult the wiring diagram to troubleshoot the problem.
Step 5: Secure and Conceal the Wiring
Once you’ve confirmed that the speakers are working correctly, it’s time to secure and conceal the wiring. Use zip ties or adhesive clips to secure the speaker wires along the frame of your Harley, ensuring that they are away from any moving parts or areas that could cause damage. Use electrical tape or wire loom to protect the wires and give your installation a clean, professional look.
With these step-by-step instructions, you can easily wire your Harley saddlebag speakers and enjoy an enhanced audio experience on your rides. Remember to follow all safety precautions and consult a professional if you’re unsure about any electrical connections. Now, hit the road and let the music accompany your Harley adventures!
Follow these instructions to ensure a clean and secure installation
Installing speakers on your Harley saddlebags can enhance your riding experience and allow you to enjoy your favorite music while on the road. To ensure a clean and secure installation, follow these instructions:
- Gather all necessary tools: Before you begin, make sure you have all the required tools, including a wire cutter/stripper, electrical tape, butt connectors, and a crimping tool. Having these tools on hand will make the installation process easier and more efficient.
- Prepare the saddlebags: Start by removing the saddlebags from your Harley. Ensure they are clean and free from any dirt or debris that could affect the installation process. It’s also a good idea to check the saddlebags for any damaged or worn areas that may need to be repaired before proceeding.
- Measure and mark the speaker locations: Determine where you want to mount the speakers on your saddlebags. Measure and mark the exact locations to ensure accurate placement. It’s important to position the speakers in a way that allows for easy access and optimal sound quality.
- Drill the speaker mounting holes: Use a drill and the appropriate drill bit to create the speaker mounting holes in the marked locations. Be sure to choose a drill bit size that matches the diameter of the speaker mounting screws to ensure a secure fit.
- Wire the speakers: Carefully measure and cut the speaker wires to the appropriate length. Strip the insulation off the ends of the wires and use butt connectors to connect them to the speaker terminals. Securely crimp the connectors in place to ensure a reliable electrical connection.
- Secure the speaker wires: Use zip ties or adhesive mounts to secure the speaker wires along the inside of the saddlebags. This will help prevent them from tangling or getting in the way while riding.
- Test the speakers: Before reattaching the saddlebags to your Harley, test the speakers to ensure they are working properly. Connect them to a power source and play some music to verify sound quality and volume levels.
- Reinstall the saddlebags: Once you are satisfied with the speaker installation, reattach the saddlebags to your Harley. Ensure they are securely fastened and properly aligned.
Following these instructions will help you achieve a clean and secure installation of speakers on your Harley saddlebags. Enjoy your favorite music while riding and enhance your overall experience on the road!
Troubleshooting common issues during the wiring process
If you encounter any issues during the wiring process of your Harley saddlebag speakers, there are a few common problems that you may come across. Here are some troubleshooting tips to help you resolve these issues:
No sound coming from the speakers
If you have completed the wiring process but there is no sound coming from the speakers, there are a few things you can check:
- Ensure that the speakers are properly connected to the audio source or amplifier.
- Check that all wires are securely connected and there are no loose connections.
- Make sure that the audio source or amplifier is properly powered and the volume is turned up.
Poor sound quality or distortion
If you are experiencing poor sound quality or distortion from the speakers, try the following troubleshooting steps:
- Check the speaker connections to ensure they are secure and not loose.
- Make sure that the audio source or amplifier is not overdriving the speakers. Adjust the volume or gain settings accordingly.
- Verify that the speakers are wired within the recommended impedance range for your audio source or amplifier.
Speaker imbalance or malfunction
If you notice speaker imbalance or one of the speakers is not functioning properly, consider the following troubleshooting steps:
- Check the wiring connections for the affected speaker to ensure they are properly connected.
- Inspect the speaker itself to see if there are any visible signs of damage or malfunction.
- If necessary, swap the affected speaker with a known working speaker to determine if the issue is with the speaker or the wiring.
Summary:

Wiring saddlebag speakers for your Harley can be a rewarding project, but it is not without its challenges. By following proper wiring techniques and troubleshooting any issues that arise, you can ensure that your saddlebag speakers are installed correctly and provide you with excellent sound quality during your rides.
Q&A:
What should I do if my circuit breaker keeps tripping?
If your circuit breaker keeps tripping, it is likely due to an overloaded circuit. You should first try unplugging some devices from the circuit to reduce the load. If that doesn’t solve the issue, you may need to consult an electrician to determine if you need to upgrade your circuit breaker or rewire the circuit.
Why is my light bulb flickering?
If your light bulb is flickering, it may be due to a loose connection between the bulb and the socket. Try turning off the power and tightening the bulb. If that doesn’t work, the issue may be with the socket itself, in which case you may need to replace it.
What can cause outlets to stop working?
There are several possible causes for outlets to stop working. It could be a tripped circuit breaker or blown fuse, a loose or damaged wire connection, or a faulty outlet itself. Start by checking the circuit breaker and fuses, and if those are not the issue, you may need to inspect the wiring and outlets or call an electrician for help.
Why is my electric device not receiving power?
If your electric device is not receiving power, it could be due to a faulty power cord or plug, a tripped circuit breaker, a blown fuse, or a problem with the device itself. Try checking the power cord and plug for any damage, and test the device on a different outlet to see if it works. If the issue persists, you may need to consult an electrician or contact the manufacturer for further assistance.