
The JVC KW-M740BT is a car stereo receiver that offers a range of features for a great audio experience on the road. One important aspect of installing this receiver is understanding its wiring diagram. The wiring diagram provides a visual representation of the wire connections needed for proper installation and functioning of the receiver. It is important to follow the wiring diagram carefully to ensure a successful installation.
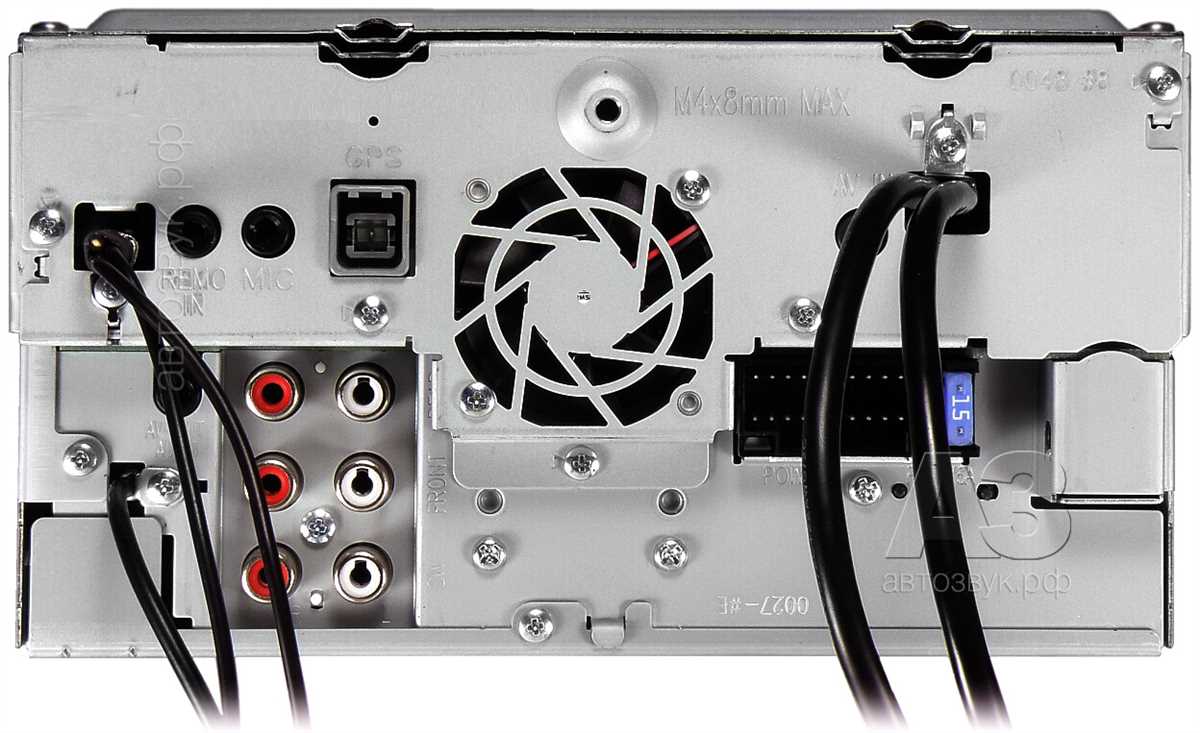
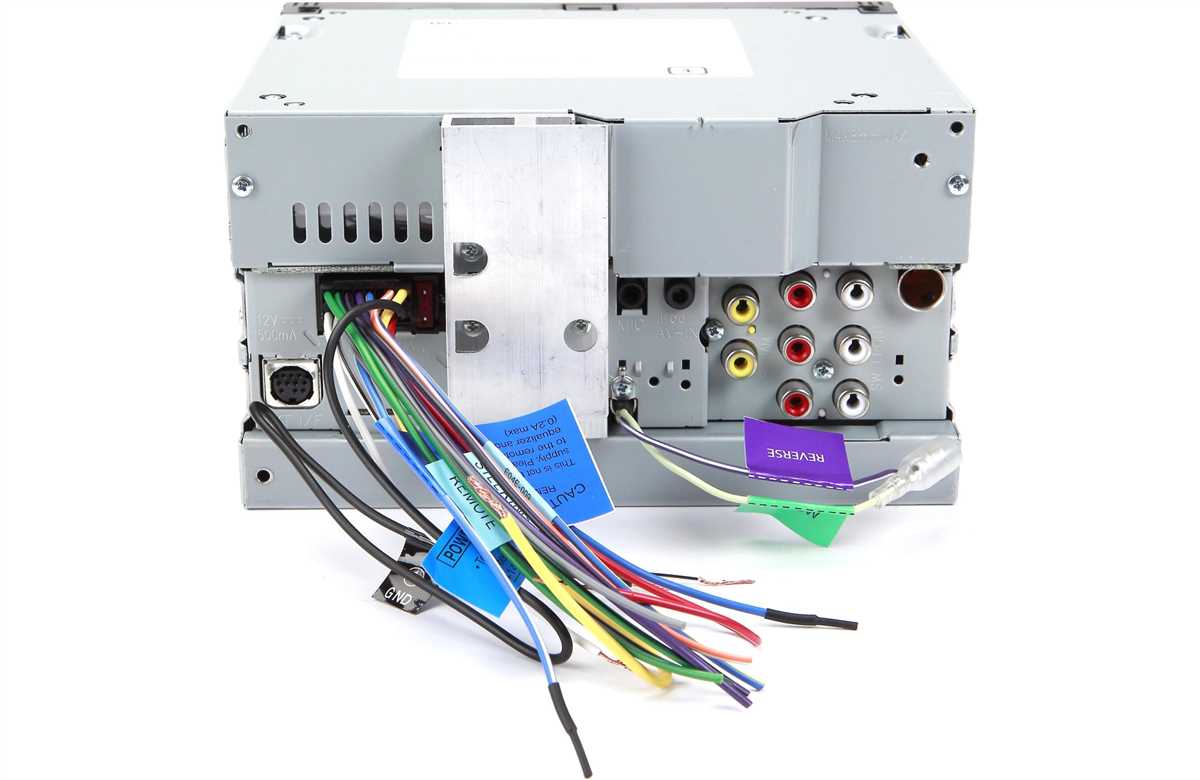
The JVC KW-M740BT wiring diagram includes various connections, such as power connections, speaker connections, antenna connections, and input/output connections. The power connections include connections for the battery, ground, and accessory power. The speaker connections include connections for front, rear, and subwoofer speakers. The antenna connections include connections for AM/FM antennas. The input/output connections include connections for USB, AUX, and video input, as well as connections for preamp outputs and rear camera input.
Following the JVC KW-M740BT wiring diagram step by step will help ensure that each wire is connected to the correct terminal. This will prevent any potential damage to the receiver and ensure optimal performance. It is also important to use the appropriate wire connector or terminal for each connection to ensure a secure and reliable connection. If you are unsure about any aspect of the wiring diagram or installation process, it is recommended to consult a professional car stereo installer or refer to the user manual provided by JVC.
Connecting the Jvc kw-m740bt to your vehicle
When installing the Jvc kw-m740bt in your vehicle, it is important to connect it properly to ensure functionality and compatibility. The following steps will guide you through the process:
1. Disconnect the vehicle’s battery
Before starting any installation, it is crucial to disconnect the vehicle’s battery to prevent any electrical mishaps. This step ensures your safety and protects the vehicle’s electrical system.
2. Gather the necessary tools and materials
Make sure you have all the required tools and materials for the installation, including appropriate wiring harnesses, mounting brackets, and screws. It is essential to have the right equipment to ensure a secure and professional installation.
3. Identify the vehicle’s wiring harness
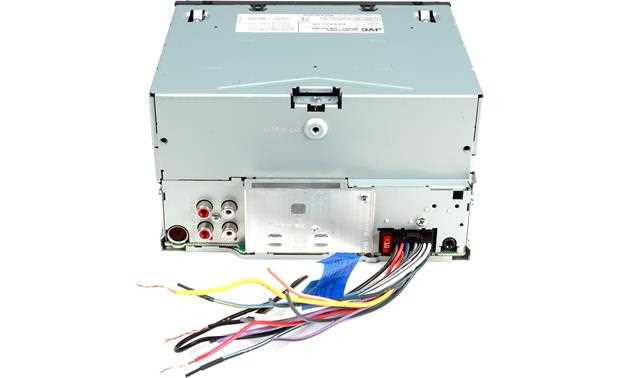
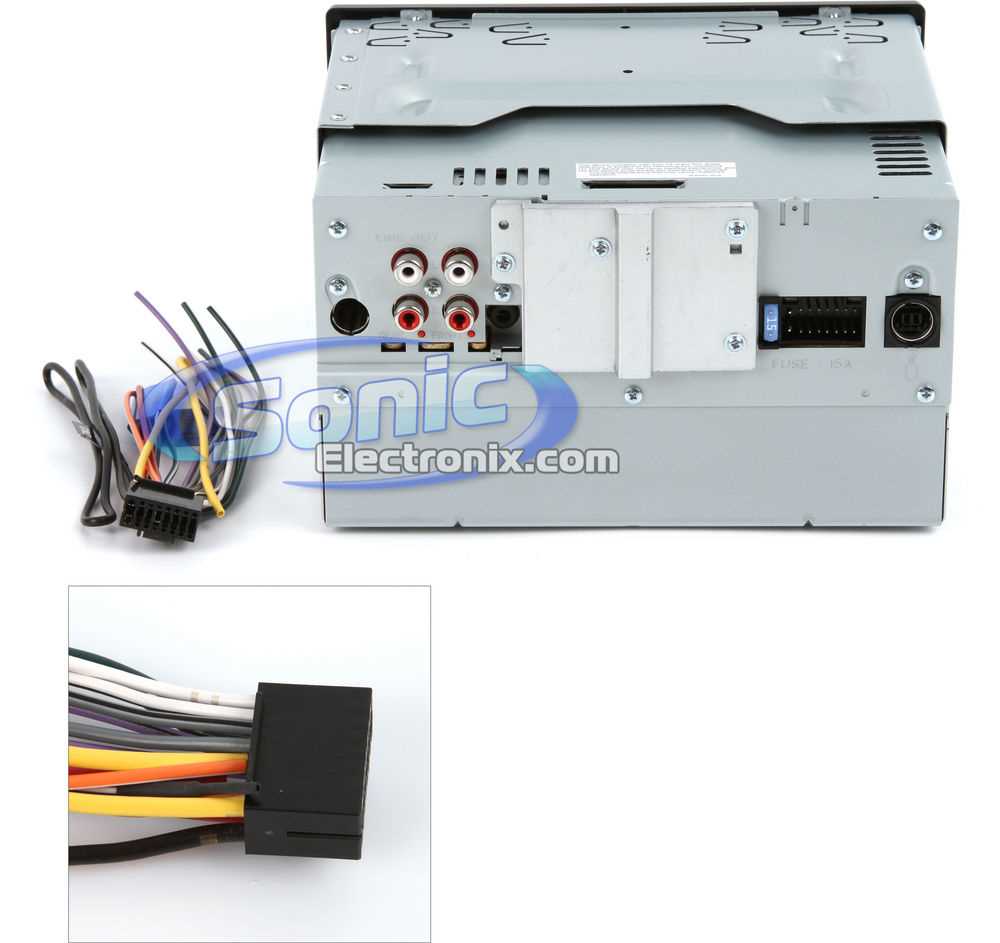
Locate the vehicle’s wiring harness, which is usually located behind the stereo unit. Carefully remove any panels or trim necessary to access the harness. Take note of the different wire colors and functions of each wire.
4. Connect the wiring harness adapter
Connect the wiring harness adapter to the vehicle’s wiring harness. Ensure that the connections are secure and properly matched by following the wiring diagram provided by Jvc for the kw-m740bt.
5. Connect the Jvc kw-m740bt to the wiring harness adapter
Connect the Jvc kw-m740bt to the wiring harness adapter, following the provided wiring diagram. Make sure all connections are secure and properly matched.
6. Mount the Jvc kw-m740bt in the vehicle
Using the appropriate mounting brackets and screws, securely mount the Jvc kw-m740bt in the vehicle’s dashboard. Follow the instructions provided by Jvc for the proper installation position.
7. Reconnect the vehicle’s battery
Once all the connections are secured and the Jvc kw-m740bt is properly mounted, reconnect the vehicle’s battery to restore power.
Following these steps and referring to the wiring diagram provided by Jvc for the kw-m740bt will ensure a successful installation and proper functionality of the unit in your vehicle.
Tips and Recommendations for Installing the JVC KW-M740BT
Installing the JVC KW-M740BT in your vehicle can greatly enhance your in-car entertainment experience. However, it’s important to follow certain tips and recommendations to ensure a smooth installation process and optimal performance. Here are some helpful tips:
- Read the manual: Before starting the installation, thoroughly read the user manual provided with the JVC KW-M740BT. This will give you a clear understanding of the wiring connections and installation steps.
- Gather the necessary tools: Make sure you have all the necessary tools for the installation, such as wire cutters, crimpers, screwdrivers, and a voltage tester. Having the right tools will make the process much easier.
- Take safety precautions: Before starting any electrical work, it’s important to disconnect the negative battery terminal to avoid any electrical hazards. Additionally, use caution when handling wires and avoid creating any short circuits.
- Plan the installation: Take some time to plan the installation, including the placement of the JVC KW-M740BT and the routing of the wires. This will help you ensure a neat and organized installation.
- Verify compatibility: Before purchasing the JVC KW-M740BT, make sure it is compatible with your vehicle’s make and model. Check the dimensions of the unit and compare them with your vehicle’s dashboard to ensure a proper fit.
- Double-check the wiring connections: When connecting the wires, double-check that each connection is secure and properly insulated. Loose or incorrect connections can lead to poor audio quality or even damage to the unit.
- Test the unit: After completing the installation, test the JVC KW-M740BT to ensure it is functioning correctly. Check all the features and functions, including the audio, Bluetooth connectivity, and touchscreen interface.
Following these tips and recommendations will help you install the JVC KW-M740BT successfully and enjoy its features to the fullest. Remember to refer to the user manual for any specific instructions related to your vehicle’s wiring diagram or installation requirements.