
Installing a brake controller is an essential step for anyone who tows trailers or caravans with their vehicle. Brake controllers are designed to allow the driver to control the electric brakes on their trailer or caravan, providing added safety and control while towing. One popular brake controller model is the Voyager brake controller.
The Voyager brake controller is known for its reliability and ease of use. It features a simple and intuitive control system, allowing the driver to easily adjust the braking power of their trailer or caravan to match the towing conditions. However, before you can use the Voyager brake controller, you need to ensure that it is correctly wired to your vehicle’s electrical system.
A wiring diagram is an invaluable tool when it comes to installing a Voyager brake controller. It provides a visual representation of the electrical connections that need to be made between the brake controller and the vehicle’s electrical system. This diagram is especially helpful for those who are not familiar with automotive wiring or who may be installing a brake controller for the first time.
The Voyager brake controller wiring diagram includes information on the color coding of the wires, the locations of the various components, and the connection points between the brake controller and the vehicle’s electrical system. Following this diagram will ensure that the brake controller is wired correctly, allowing it to function properly and provide reliable braking control while towing.
Overview of Voyager Brake Controller
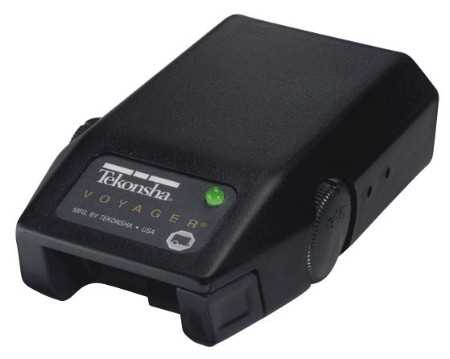
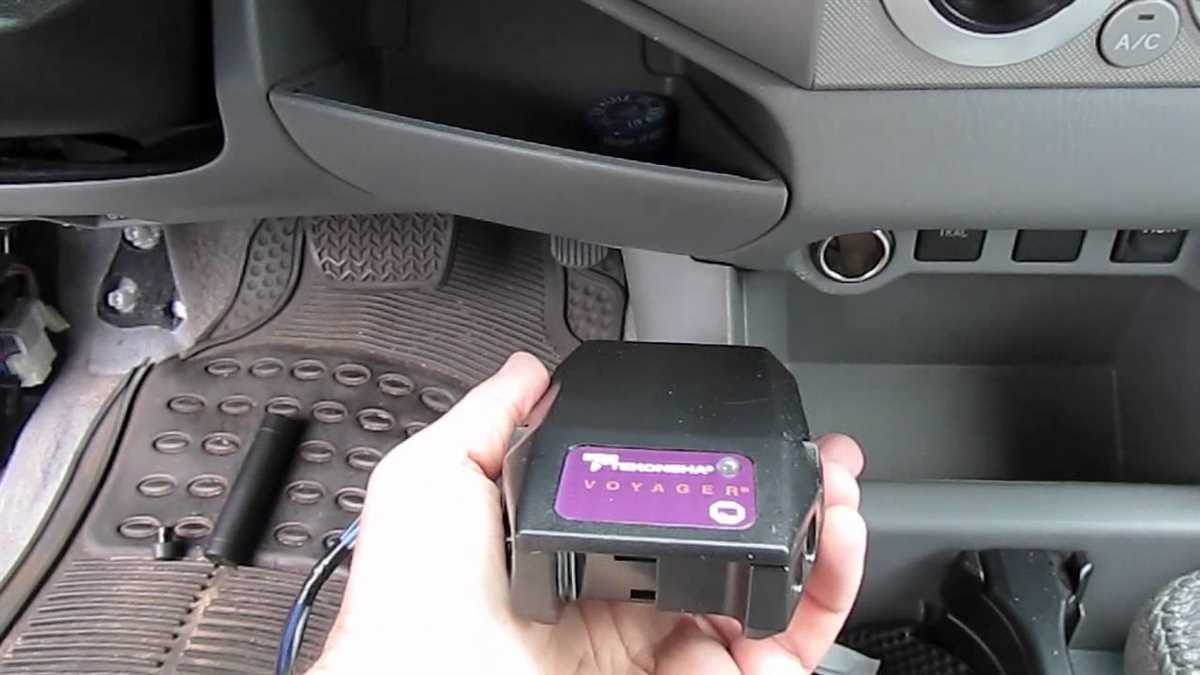
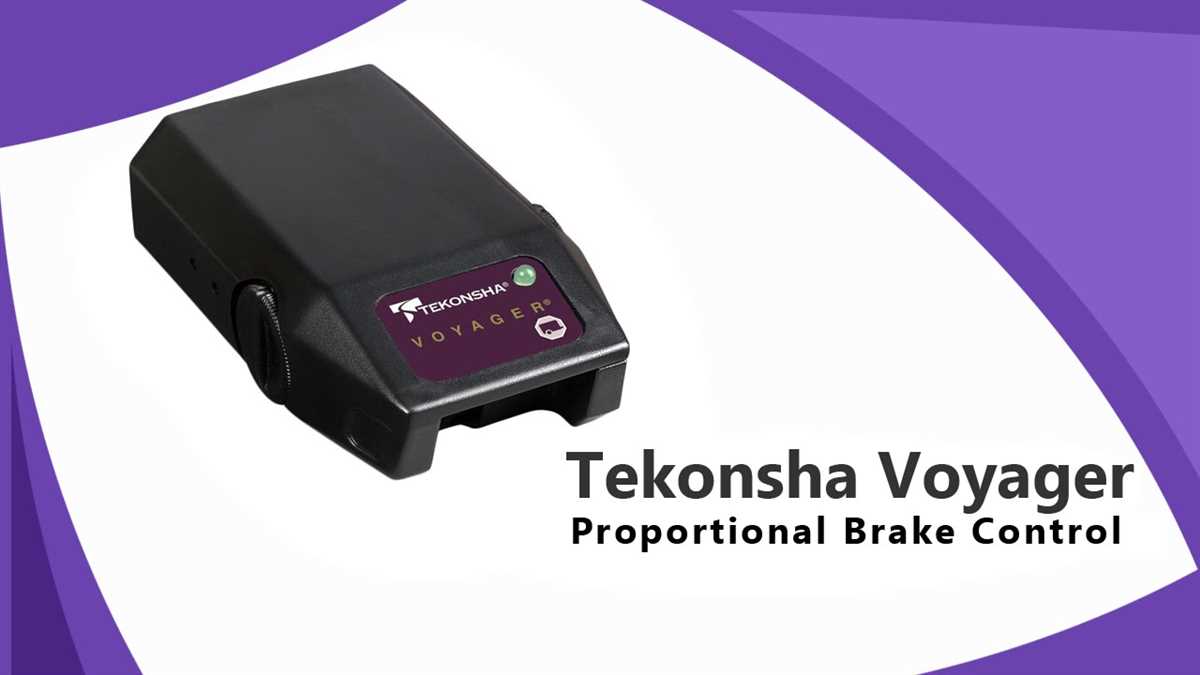
The Voyager Brake Controller is a device used to control the brakes on a trailer when towing with a vehicle. It is an essential component for ensuring safe and efficient braking while towing heavy loads. The Voyager Brake Controller is designed to work with electric trailer brakes, providing proportional brake control based on the deceleration of the towing vehicle.
The Voyager Brake Controller features a compact and user-friendly design, making it easy to install and operate. It comes with a wiring harness that needs to be connected to the vehicle’s electrical system and trailer brakes. The controller is then mounted within reach of the driver, allowing for easy access and adjustment while on the road.
Wiring:
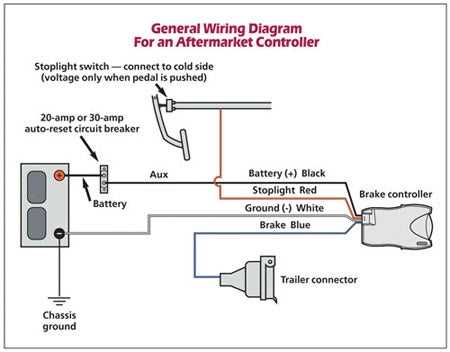
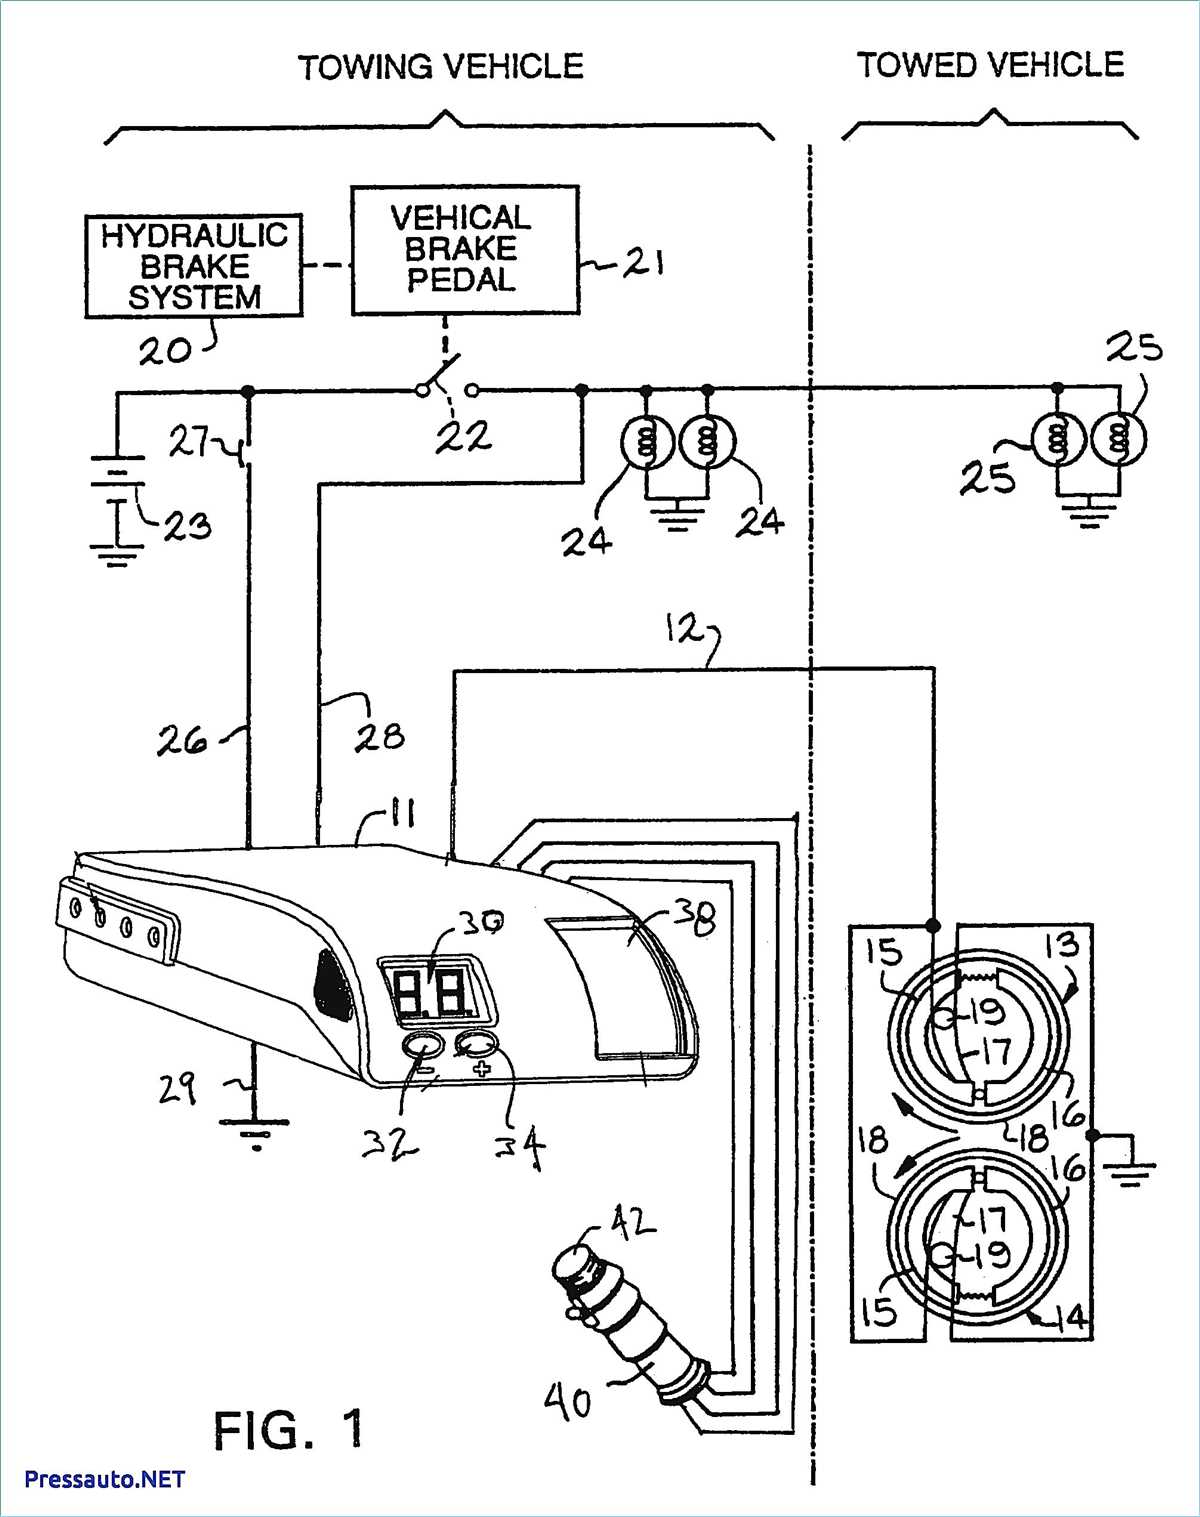
The wiring diagram for the Voyager Brake Controller includes several components, such as the brake controller itself, a brake switch, a battery, and the trailer brakes. The brake controller is typically connected to the vehicle’s brake light switch, which triggers the trailer brakes when the tow vehicle’s brakes are applied.
Installation:
Installing the Voyager Brake Controller involves connecting the wiring harness to the appropriate wires in the vehicle’s electrical system. It is important to follow the wiring diagram and instructions provided to ensure a proper and secure installation. Once the wiring is complete, the brake controller can be mounted using the included hardware.
Operation:
The Voyager Brake Controller is designed to provide proportional braking, meaning that the force applied to the trailer brakes is proportional to the braking force applied by the tow vehicle. This ensures smooth and controlled braking, reducing the risk of trailer sway and maximizing braking efficiency. The driver can adjust the gain (brake output) and sensitivity settings on the brake controller to suit their specific towing needs.
Conclusion:
The Voyager Brake Controller is a reliable and efficient device for controlling trailer brakes. By providing proportional brake control, it ensures safe and smooth braking while towing. Its user-friendly design and easy installation make it an excellent choice for both experienced and novice trailer owners.
Importance of Proper Wiring in Voyager Brake Controller Installation
When installing a Voyager brake controller, it is essential to have a proper wiring setup to ensure the safe and efficient operation of the braking system. The wiring diagram plays a crucial role in guiding the installation process and ensuring that the connections are made correctly.
Accurate Wiring:
- The wiring diagram provides guidance on where each wire should be connected, making it easier to identify the correct terminals for installation.
- Proper wiring ensures that the brake controller receives the necessary power and communicates effectively with the braking system.
- Incorrect wiring can lead to malfunctioning brakes, loss of braking power, or damage to the brake controller itself.
Safety:
- A well-wired brake controller ensures the safety of the driver, passengers, and other road users by allowing the braking system to function optimally.
- Proper wiring helps maintain the integrity of the braking system, enabling quick and efficient response times when the brakes are applied.
- Improper wiring can compromise the braking system’s performance, resulting in extended stopping distances and increased risks on the road.
Longevity and Reliability:
- By following the wiring diagram accurately, the brake controller installation is less likely to encounter electrical issues or failures in the future.
- Proper wiring helps prevent loose connections, short circuits, or other electrical problems that could affect the performance and lifespan of the brake controller.
- A well-wired brake controller ensures reliable operation, allowing drivers to have full control over their braking system.
To ensure a successful Voyager brake controller installation, it is crucial to adhere to the provided wiring diagram and take the time to make proper connections. Proper wiring not only enhances safety but also contributes to the longevity and reliable performance of the brake controller.
Brake controller wiring components
When it comes to wiring a brake controller for your vehicle’s braking system, there are several key components that you will need to consider. These components work together to ensure proper and safe operation of the brake controller.
1. Brake Controller
The brake controller itself is the main component of the wiring system. It is responsible for controlling the amount of brake force applied to the trailer’s brakes based on the input it receives from the vehicle’s brake pedal. The brake controller will typically have various settings and adjustments that allow you to customize the braking power to suit your towing needs.
2. Brake Controller Harness
The brake controller harness is the wiring that connects the brake controller to the vehicle’s electrical system. It typically consists of several wires, including power, ground, brake signal, and brake light wires. The harness should be compatible with both the brake controller and the vehicle’s wiring system.
3. Brake Control Wiring Adapter
In some cases, you may need a brake control wiring adapter to connect the brake controller to the vehicle’s specific wiring system. This adapter plugs into the vehicle’s existing wiring harness and provides the necessary connections for the brake controller. It ensures a proper and secure connection between the brake controller and the vehicle.
4. Brake Switch
The brake switch is a crucial component that provides the brake signal to the brake controller. It is typically located near the brake pedal and activates when the brake pedal is pressed. The brake switch sends a signal to the brake controller, indicating that the brakes are being applied and that the controller needs to activate the trailer’s brakes.
5. Trailer Brake Wiring
In addition to the components mentioned above, you will also need to have the trailer brake wiring properly installed and connected to the brake controller. This wiring runs from the brake controller to the trailer’s braking system, allowing the controller to apply the necessary braking force to the trailer’s brakes.
Overall, these components work together to ensure that the brake controller is properly wired and able to control the trailer’s braking system. It is important to follow the manufacturer’s instructions and guidelines when installing and wiring a brake controller to ensure safe and effective braking while towing.
Step-by-step guide for Voyager brake controller wiring
Installing a brake controller is an essential part of ensuring safe towing on the road. The Voyager brake controller is a popular choice among RV and trailer owners due to its reliability and user-friendly design. To successfully wire the Voyager brake controller, follow these step-by-step instructions.
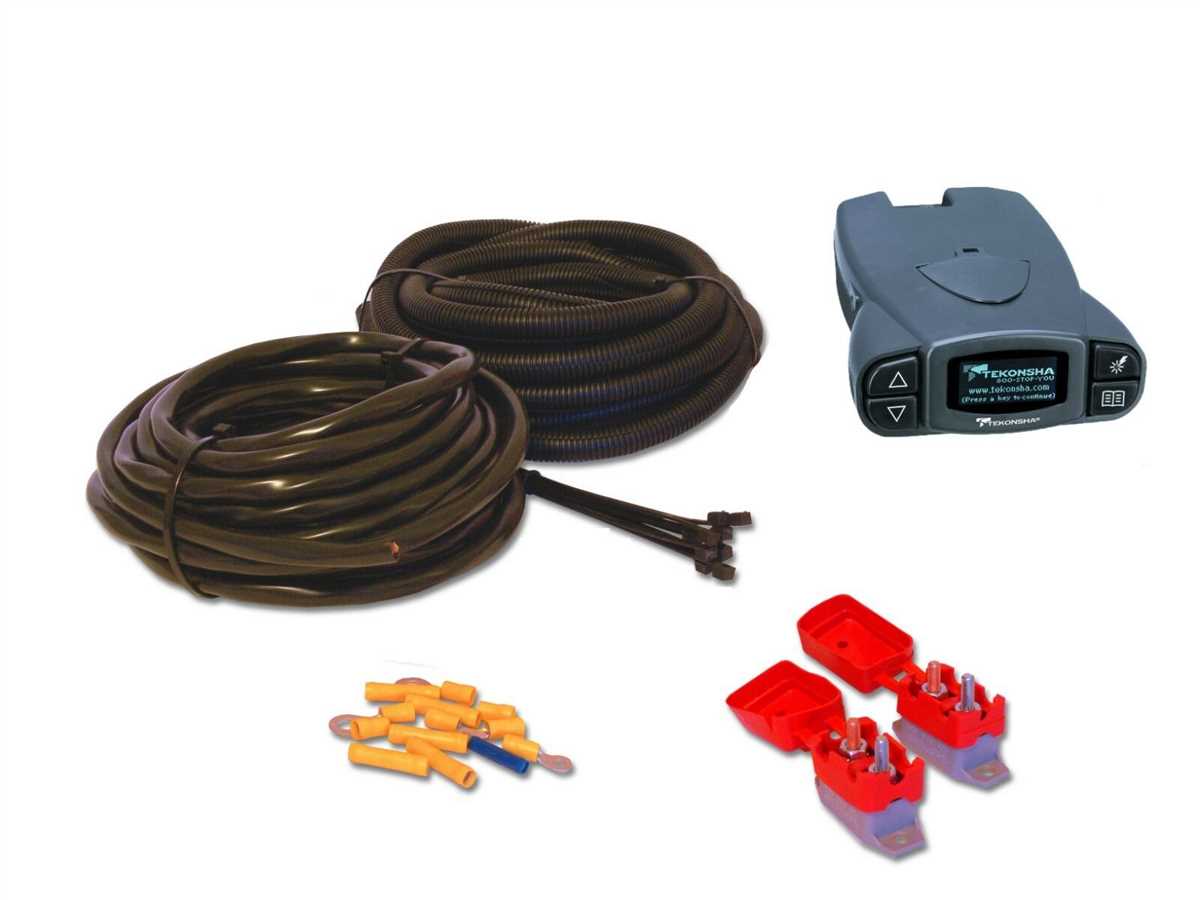
Step 1: Gather the necessary equipment. You will need a Voyager brake controller, a wiring harness, wire strippers, wire connectors, and electrical tape.
Step 2: Locate the brake controller installation spot. Choose a location that is easily accessible for adjustments and monitoring while driving, such as underneath the dashboard near the driver’s side.
Step 3: Mount the brake controller. Use screws or brackets to securely attach the controller to the chosen location.
Step 4: Connect the brake controller to the wiring harness. Insert the wiring harness’ connector into the corresponding port on the brake controller until it clicks into place.
Step 5: Locate the vehicle’s 12-volt battery. This will be the power source for the brake controller. Use wire strippers to strip 1/4 inch of insulation from the positive (+) wire of the wiring harness.
Step 6: Connect the positive (+) wire of the wiring harness to the positive (+) terminal on the vehicle’s battery. Use a wire connector to secure the connection and cover it with electrical tape to prevent any exposed wires.
Step 7: Locate the vehicle’s trailer brake switch wire. This wire sends a signal to the brake controller when the brake pedal is pressed. Use wire strippers to strip 1/4 inch of insulation from the wire.
Step 8: Connect the trailer brake switch wire to the corresponding brake switch wire on the wiring harness. Use a wire connector to secure the connection and cover it with electrical tape.
Step 9: Test the brake controller. Start the vehicle and apply the brakes to ensure that the brake controller is functioning correctly. Adjust the braking power as needed.
By following these step-by-step instructions, you can successfully wire the Voyager brake controller and have peace of mind while towing your RV or trailer.
Troubleshooting common wiring issues
When it comes to brake controller wiring, there are a few common issues that can occur. Understanding these issues and how to troubleshoot them can help ensure smooth operation and optimal performance of your Voyager brake controller.
One common issue is a loose or faulty connection. This can cause intermittent or no power to the brake controller, resulting in inconsistent braking performance. To troubleshoot this issue, start by checking all the connections for tightness. Ensure that the wires are securely attached to their respective terminals and that there are no loose or frayed wires. If any connections appear to be loose or damaged, they should be repaired or replaced.
Another common wiring issue is incorrect wiring connections. It’s essential to follow the wiring diagram provided with your Voyager brake controller to ensure the correct connections are made. Double-check the wiring against the diagram to ensure that all wires are connected to the correct terminals. If any wires are connected incorrectly, simply rewire them following the diagram.
Additionally, it’s important to check for any blown fuses or tripped circuit breakers. These can cause a loss of power to the brake controller, resulting in it not functioning properly. Use a multimeter to check the voltage across the brake controller’s power supply terminals. If there is no voltage or a significantly lower voltage reading, it may indicate a blown fuse or tripped circuit breaker. Replace the fuse or reset the circuit breaker if necessary.
In some cases, the issue may not be with the wiring itself but with the brake controller unit. If you have checked all the wiring connections, fuses, and circuit breakers and are still experiencing issues, it may be necessary to replace the brake controller unit. Consult the manufacturer’s instructions or seek professional assistance for proper installation and troubleshooting of the brake controller unit.
In conclusion, troubleshooting common wiring issues with your Voyager brake controller involves checking for loose connections, verifying correct wiring connections, and inspecting for blown fuses or tripped circuit breakers. By addressing these issues, you can ensure reliable and safe braking performance for your vehicle and trailer.
Additional Tips and Considerations
When installing a Voyager brake controller, it is important to keep a few additional tips in mind to ensure proper operation and maximize performance. Here are some key considerations:
- Read the instructions: Before attempting any installation or wiring, carefully read and understand the manufacturer’s instructions for the Voyager brake controller. This will help you understand the specific requirements and procedures for your vehicle.
- Use appropriate wiring: Make sure to use the correct gauge and type of wiring for your specific brake controller and trailer. Using the wrong wiring can lead to malfunctions or failures in the braking system.
- Ensure proper grounding: Good electrical grounding is essential for the efficient and safe operation of the brake controller. Ensure that the ground wire is securely connected to a clean, unpainted metal surface on your vehicle.
- Mount the brake controller securely: Choose a suitable location to mount the brake controller, ensuring it is easily accessible and securely fastened. Avoid mounting it in a location that may interfere with the driver’s visibility or vehicle controls.
- Test the system: After completing the installation, thoroughly test the Voyager brake controller to ensure it is functioning properly. This includes checking that the braking system engages and releases smoothly, and that the controller responds correctly to braking commands from the vehicle.
- Maintain and inspect regularly: Regularly inspect the wiring, connections, and overall condition of the brake controller. Clean any dirt or debris that may accumulate on the unit, and ensure all connections remain secure and corrosion-free.
By following these additional tips and considerations, you can ensure a successful installation of your Voyager brake controller and enjoy safe and efficient braking performance for your trailer.
Q&A:
What are some additional tips for improving productivity?
Some additional tips for improving productivity include setting specific goals, prioritizing tasks, delegating when possible, taking regular breaks, and avoiding multitasking.
How can I stay organized and manage my time effectively?
To stay organized and manage your time effectively, you can use tools like to-do lists, calendars, and project management software. It’s also important to establish a routine, minimize distractions, and break larger tasks into smaller, more manageable ones.
What should I consider when working from home?
When working from home, it’s important to create a dedicated workspace, establish boundaries between work and personal life, and maintain regular communication with coworkers and supervisors. It’s also helpful to establish a routine, set specific goals, and minimize distractions.
What are some tips for effective communication in the workplace?
Some tips for effective communication in the workplace include active listening, being clear and concise in your messages, using appropriate body language and tone of voice, and seeking clarification when needed. It’s also important to be respectful, considerate, and open to feedback.
How can I manage stress in a professional setting?
To manage stress in a professional setting, you can practice stress-reducing techniques such as deep breathing, meditation, and exercise. It’s also helpful to prioritize tasks, set realistic goals, and seek support from colleagues or a therapist if needed.