
In modern vehicles, fuel gauges play a crucial role in monitoring the level of fuel in the tank. These gauges provide drivers with important information about the amount of fuel remaining, ensuring they don’t run out of gas unexpectedly. While traditional fuel gauges used analog technology, today’s vehicles often come equipped with digital fuel gauges, which offer more precise and accurate readings.
A digital fuel gauge relies on a combination of electrical components and sensors to accurately measure the level of fuel in the tank. The wiring diagram for a digital fuel gauge typically includes several key components. These can include a fuel level sender unit, a gauge control module, an instrument cluster, and wiring harnesses that connect them all together.
The fuel level sender unit is a critical component of the digital fuel gauge system. It is responsible for measuring the actual level of fuel in the tank and sending this information to the gauge control module. The unit usually consists of a float attached to a variable resistor. As the fuel level in the tank changes, the float rises or falls, causing the resistance to change. This change in resistance is then converted into an electrical signal that is sent to the gauge control module.
The gauge control module acts as the brain of the digital fuel gauge system. It receives the electrical signal from the fuel level sender unit and processes it to provide a visual representation of the fuel level on the instrument cluster. Additionally, the module may also have other features, such as low fuel warning lights or a digital fuel consumption display.
Digital Fuel Gauge Wiring Diagram
When it comes to monitoring the fuel level in your vehicle, a digital fuel gauge can provide accurate and convenient readings. To install a digital fuel gauge, you will need to follow a specific wiring diagram that outlines the connections necessary for it to function properly.
Here is a basic wiring diagram for a digital fuel gauge:
- Connect the positive (+) terminal of the fuel gauge to the ignition switch or fuse box to ensure the gauge is powered when the vehicle is turned on.
- Connect the negative (-) terminal of the fuel gauge to a suitable ground point on the vehicle’s chassis to complete the electrical circuit.
- Connect the signal wire of the fuel gauge to the fuel level sending unit in the fuel tank. This wire is responsible for transmitting the fuel level data to the gauge.
- If your digital fuel gauge has a backlight feature, connect the backlight wire to a power source that is controlled by the vehicle’s headlights or instrument panel lights. This will allow the backlight to turn on and off with the vehicle’s lighting system.
It’s important to carefully read and follow the instructions provided with your specific digital fuel gauge, as the wiring diagram may vary depending on the brand and model. Additionally, always ensure you have the necessary tools and equipment to complete the installation safely.
By following the appropriate wiring diagram for your digital fuel gauge, you can easily install and enjoy the benefits of accurate fuel level monitoring in your vehicle. This can help you avoid running out of fuel and provide peace of mind on your journeys.
Digital Fuel Gauge Basics
Understanding the basics of a digital fuel gauge is important for anyone who owns a vehicle. The fuel gauge is an essential component of the dashboard that provides real-time information about the amount of fuel remaining in the vehicle’s tank. It allows drivers to monitor their fuel levels and plan their refueling accordingly, helping to prevent running out of fuel and getting stranded.
A digital fuel gauge typically consists of a sensor, a display, and a wiring system. The sensor, usually located in the fuel tank, measures the level of fuel present and sends the information to the gauge through the wiring system. The gauge then processes the data and displays the fuel level on the screen or dial.
One common type of digital fuel gauge is the electronic fuel level sender. This sender uses a float mechanism attached to a variable resistor. As the fuel level in the tank changes, the float moves accordingly, changing the resistance value. This change in resistance is then converted into a fuel level reading by the gauge.
The wiring system of a digital fuel gauge is crucial for its proper functioning. It typically consists of power wires, ground wires, and signal wires. The power wires provide electrical power to the gauge, while the ground wires complete the circuit and ensure proper grounding. The signal wires carry the fuel level information from the sensor to the gauge. It is important to ensure that the wiring is properly connected and insulated to prevent any electrical issues or inaccuracies in the fuel level readings.
In conclusion, digital fuel gauges are an essential component of any vehicle’s dashboard. They provide real-time information about the fuel levels, allowing drivers to monitor and manage their fuel consumption effectively. Understanding the basics of how a digital fuel gauge works and the importance of the wiring system can help ensure accurate fuel level readings and a smooth driving experience.
Components of Digital Fuel Gauge
In modern vehicles, digital fuel gauges have become a common feature. These gauges provide accurate and real-time information about the fuel level in the vehicle’s fuel tank. The digital fuel gauge consists of several key components that work together to provide this information to the driver.
Fuel Level Sensor: The fuel level sensor is one of the main components of the digital fuel gauge. It is typically located inside the fuel tank and measures the level of fuel in the tank. The sensor usually consists of a float attached to a variable resistor. As the fuel level changes, the float moves up and down, causing the resistance to change. This change in resistance is then converted into a signal that can be interpreted by the gauge.
Gauge Display: The gauge display is the part of the fuel gauge that shows the fuel level to the driver. It can be a digital display or an analog dial. The display is connected to the fuel level sensor and receives the signal indicating the fuel level. It then uses this information to provide an accurate representation of the fuel level to the driver.
Gauge Control Module: The gauge control module is responsible for processing the signal from the fuel level sensor and controlling the gauge display. It receives the signal from the sensor and converts it into a format that can be displayed on the gauge. The control module also enables other features, such as warning indicators when the fuel level is low.
Wiring and Connectors: The wiring and connectors play a crucial role in connecting all the components of the digital fuel gauge system. They ensure a secure and reliable connection between the fuel level sensor, gauge display, and control module. Proper wiring and connectors are essential for accurate and consistent fuel level readings.
Power Source: To operate the digital fuel gauge system, a power source is needed. Typically, the system is powered by the vehicle’s electrical system or battery. The power source supplies the necessary electricity to the gauge control module and the gauge display, allowing them to function properly.
In conclusion, the digital fuel gauge consists of several components, including the fuel level sensor, gauge display, gauge control module, wiring and connectors, and a power source. These components work together to provide accurate and real-time information about the fuel level in the vehicle’s fuel tank, ensuring that the driver can monitor their fuel consumption and make informed decisions about refueling.
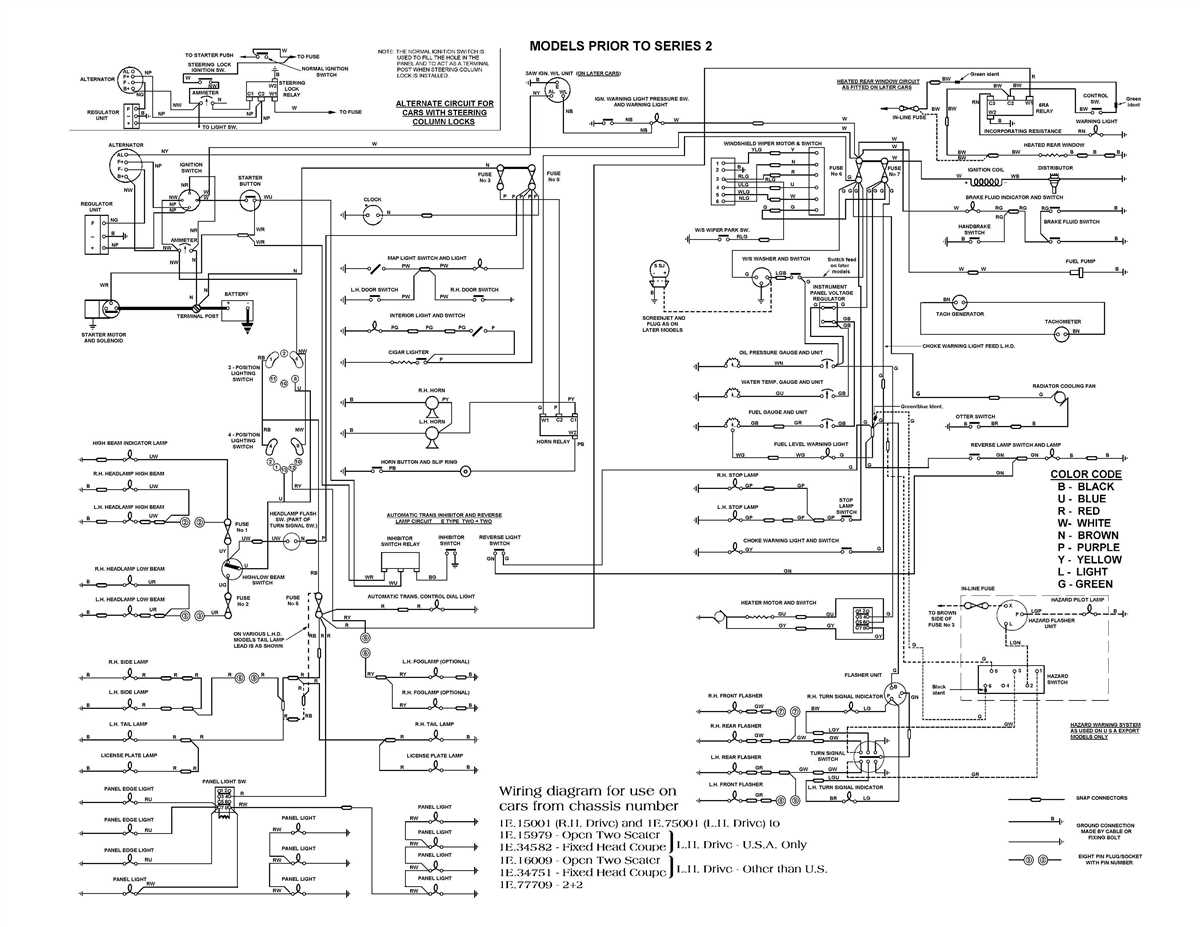
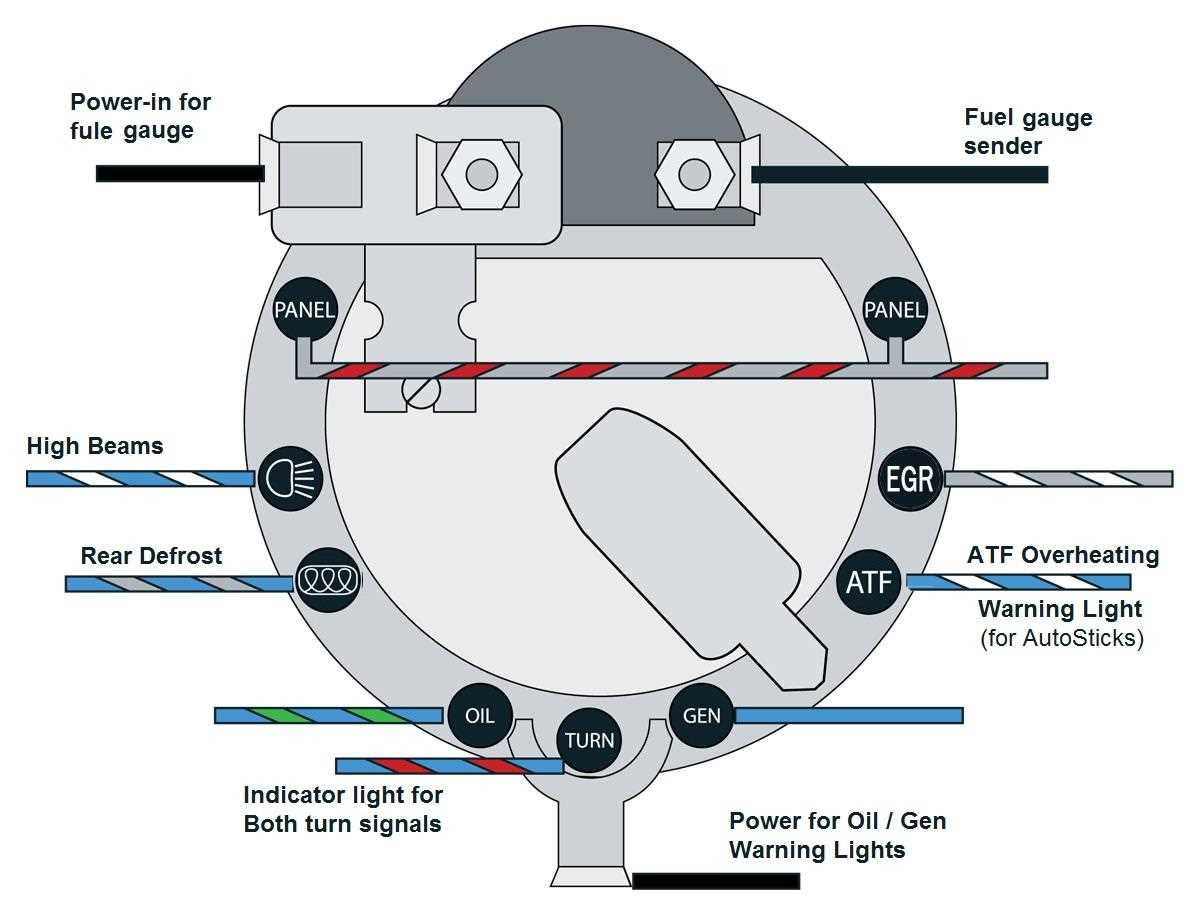
Wiring Diagram for Digital Fuel Gauge
A digital fuel gauge is a device used to measure the amount of fuel in a vehicle’s fuel tank. It provides real-time information to the driver about the fuel level. Understanding the wiring diagram for a digital fuel gauge can be helpful for installation and troubleshooting purposes.
Here is a typical wiring diagram for a digital fuel gauge:
- Black – Ground wire: This wire connects the gauge to the vehicle’s chassis to provide a common ground.
- Red – Power wire: This wire connects the gauge to a power source, such as the vehicle’s battery.
- White – Fuel level sensor wire: This wire connects the gauge to the fuel level sensor in the fuel tank. It provides information about the fuel level to the gauge.
- Green – Backlight wire: This wire connects the gauge to the vehicle’s lighting system. It illuminates the gauge’s display.
It is important to follow the wiring diagram and connect the wires correctly to ensure the gauge functions properly. Incorrect wiring can lead to inaccurate readings or damage to the gauge. Additionally, it is essential to use the appropriate gauge wire and connectors for a reliable connection.
In conclusion, understanding the wiring diagram for a digital fuel gauge is crucial for its installation and troubleshooting. By following the correct wiring connections, the gauge can provide accurate information about the fuel level in a vehicle’s tank.
Step-by-Step Instructions for Wiring the Digital Fuel Gauge
Wiring a digital fuel gauge can seem like a daunting task, but with the right instructions and understanding of the components, it can be a straightforward process. Here are the step-by-step instructions to help you successfully wire your digital fuel gauge.
Step 1: Gather the Necessary Tools and Materials
Before you begin wiring your digital fuel gauge, make sure you have all the necessary tools and materials. This may include a digital fuel gauge, wiring harness, crimping tool, wire strippers, electrical tape, and a multimeter. Having everything prepared will make the wiring process much smoother.
Step 2: Disconnect the Battery
Prior to working with any electrical components, it is essential to disconnect the battery to avoid any potential accidents or damage. Locate the battery and disconnect the negative terminal.
Step 3: Identify the Wiring Harness
Locate the wiring harness for your digital fuel gauge. This harness will have several wires coming out of it, each with a specific purpose. Refer to the wiring diagram provided with your gauge to identify the correct wires.
Step 4: Connect the Power Wire
Find the power wire in the wiring harness, usually colored red, and connect it to the positive terminal of the battery. Use a crimping tool to secure the connection and wrap it with electrical tape for added protection.
Step 5: Connect the Ground Wire
Locate the ground wire, typically colored black, and connect it to a solid ground point on the vehicle. This could be a metal frame or a designated grounding point. Ensure a secure connection and insulate it with electrical tape.
Step 6: Connect the Sensor Wire
The sensor wire, usually colored blue or green, will connect from the fuel tank to the fuel gauge. Refer to the wiring diagram to determine the specific connection point on the fuel gauge and make the appropriate connection.
Step 7: Test the Connections
Once all the necessary connections have been made, it is important to test them before securing everything in place. Use a multimeter to check for proper voltage and continuity.
Step 8: Secure the Wiring

After confirming the successful connections, carefully secure the wiring to avoid any potential damage or interference. Use zip ties or wire clips to neatly organize and secure the wires.
Step 9: Reconnect the Battery
With everything in place and secured, reconnect the battery by attaching the negative terminal. Ensure a tight connection to restore power to the vehicle’s electrical system.
Step 10: Test the Fuel Gauge
Finally, turn on the ignition and test the digital fuel gauge. Verify that it is displaying the correct readings and functioning properly. If any issues arise, refer back to the wiring diagram and double-check all connections.
By following these step-by-step instructions, you should be able to successfully wire your digital fuel gauge. Remember to exercise caution and utilize the provided wiring diagram for guidance. If you encounter any difficulties, consult a professional for assistance.
Common Issues and Troubleshooting for Digital Fuel Gauge
If you are experiencing issues with your digital fuel gauge, there are a few common problems that may be causing the malfunction. In this section, we will discuss these issues and provide troubleshooting steps to help you diagnose and resolve the problem.
1. Inaccurate Reading
One of the most common issues with digital fuel gauges is inaccurate readings. This could be due to a faulty sensor or a calibration problem. To troubleshoot this issue, start by checking the sensor for any signs of damage or corrosion. If the sensor appears to be in good condition, you may need to recalibrate the gauge. Refer to the manufacturer’s instructions or consult a professional for guidance on how to correctly calibrate your digital fuel gauge.
2. No Reading or Blank Display
If your digital fuel gauge is not displaying any readings or the display is completely blank, there may be a power issue. Start by checking the power connections and ensure that the gauge is properly connected to a power source. Additionally, check the fuse associated with the gauge to see if it needs to be replaced. If the connections and fuse are all intact, it could indicate a malfunctioning gauge that needs to be replaced.
3. Erratic Readings
Erratic readings, such as fuel level rapidly fluctuating or jumping around, can be caused by a poor electrical connection. Check all the wiring connections to make sure they are secure and not loose or corroded. If the connections are in good condition, it could indicate a faulty gauge or sensor that needs to be replaced.
Conclusion
Overall, troubleshooting common issues with digital fuel gauges involves inspecting the sensor, checking the power connections, and ensuring proper calibration. In some cases, a malfunctioning gauge or sensor may need to be replaced. If you are unsure of how to diagnose or resolve the problem, it is recommended to consult a professional for assistance. By addressing these issues promptly, you can ensure the accuracy and reliability of your digital fuel gauge.